How to Install DIY Cable Rail

This post is sponsored by Feeney and contains affiliate links. As always, all opinions and design are 100% our own. Thank you for supporting the brands that allow us to bring you inspiring content!
It’s been a while since we’ve written a blog post, but that’s because we’ve been hard at work chipping away at our fixer upper! If you follow me on Instagram, you may have noticed we have another little guy on the way early this summer — which gave us a nice tidy deadline to finish up some outstanding projects. One of those was installing DIY cable rail on our deck, which was in desperate need of some TLC! When we bought our place, the deck looked like this:
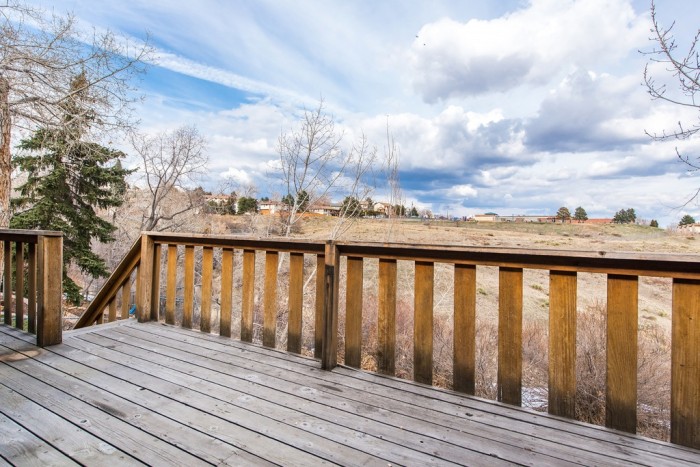
I’m pretty sure it’s original (our home was built in 1972), but at the very least it hadn’t been cared for in a very, very long time. The wood had all turned gray and what’s more, it didn’t fit with the vision we had for our house at all.
My biggest gripe was that although it provided a decent degree of privacy from our neighbors, the vertical slats also completely blocked our view. We happen to abut protected open space that really is gorgeous to look at (you’ll have to trust me, as these two photos were taken in the winter) and is one of the main reasons we bought our house. What’s more, our living room (which I haven’t shared yet) has two large, glass sliding doors and the sofa faces the view. When we sat on the sofa before, all we saw were slats, slats, slats! And ugly slats at that. It was seriously driving me crazy.
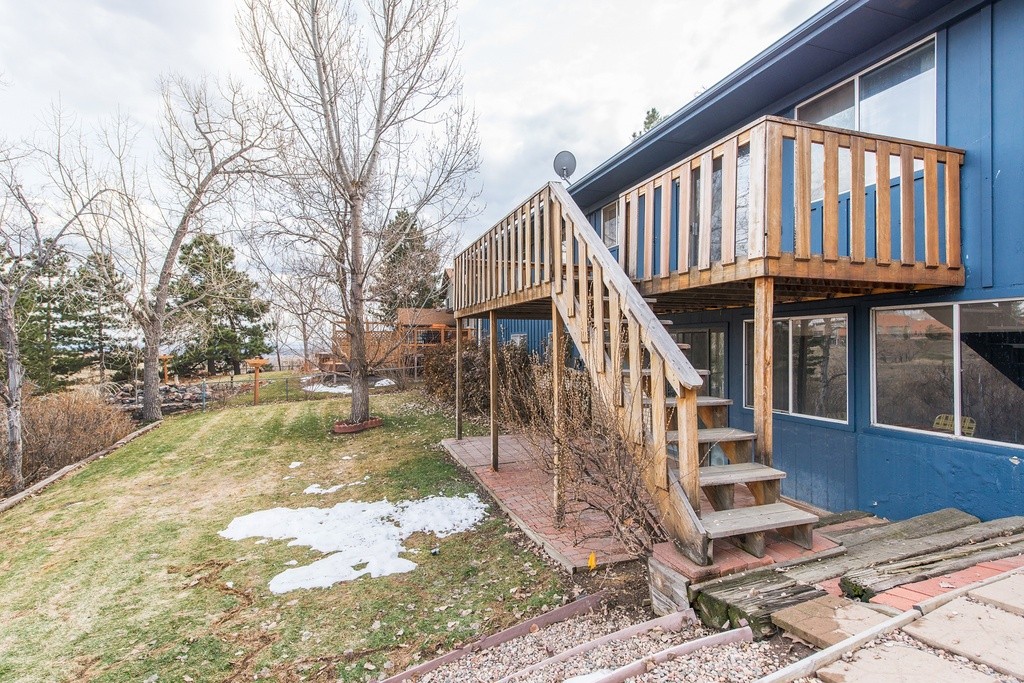
Since a new deck wasn’t in the budget, the plan became to open it all up and cable rail seemed like the obvious answer. If you’re not familiar with cable rail, it’s a more modern kind of railing system that uses cables in a horizontal pattern and lasts longer than wood. And since the cable is thin, it really opens everything up visually which is exactly what we needed.
I hadn’t heard of Feeney before this project, but I was really impressed with their site and the fact that they offer DIY cable rail kits. Even though we’re getting to be seasoned DIYers (at least I hope so!), starting a project like this was intimidating and we weren’t sure where to start. The reps at Feeney were super helpful in determining exactly which parts we needed; I sent them photos of our old deck, some measurements, and a description of what we were envisioning: cable rail on the view-side only. This is the plan we came up with, which I modeled in Sketchup so I could visualize it better:
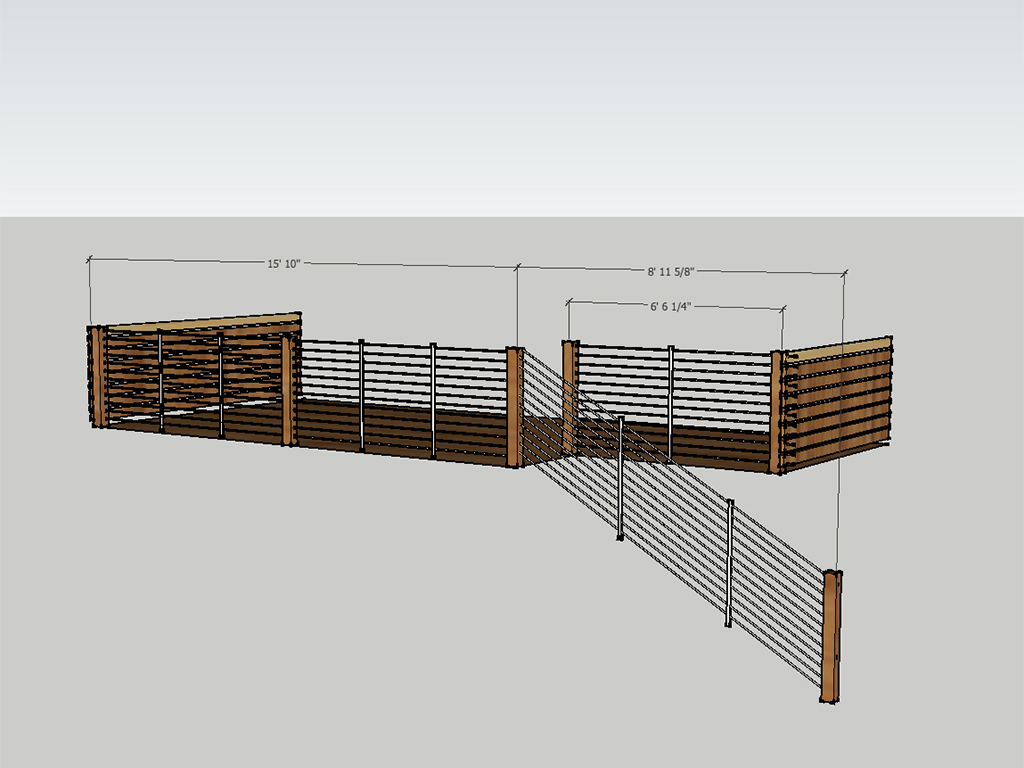
The convenient thing about Feeney’s DIY cable rail is that it comes in standard lengths of anywhere from 5 to 70ft, so we didn’t have to worry about measuring and ordering the exact right amount — we just said hey, this section is this many feet, and rounded up from there. Each packet of cable also comes with the hardware needed to install it, and the directions are printed on each one of the packages so it’s super easy to reference. At least, that’s what I kept reminding Austin every time he tried to ‘wing it’…
The stairs were the only tricky part due to the angle change at the top — we had to add a couple rows of extra cable to the long section to keep the minimum gap required for code. Thankfully Feeney was quick to point this out to us, so we were totally prepared!
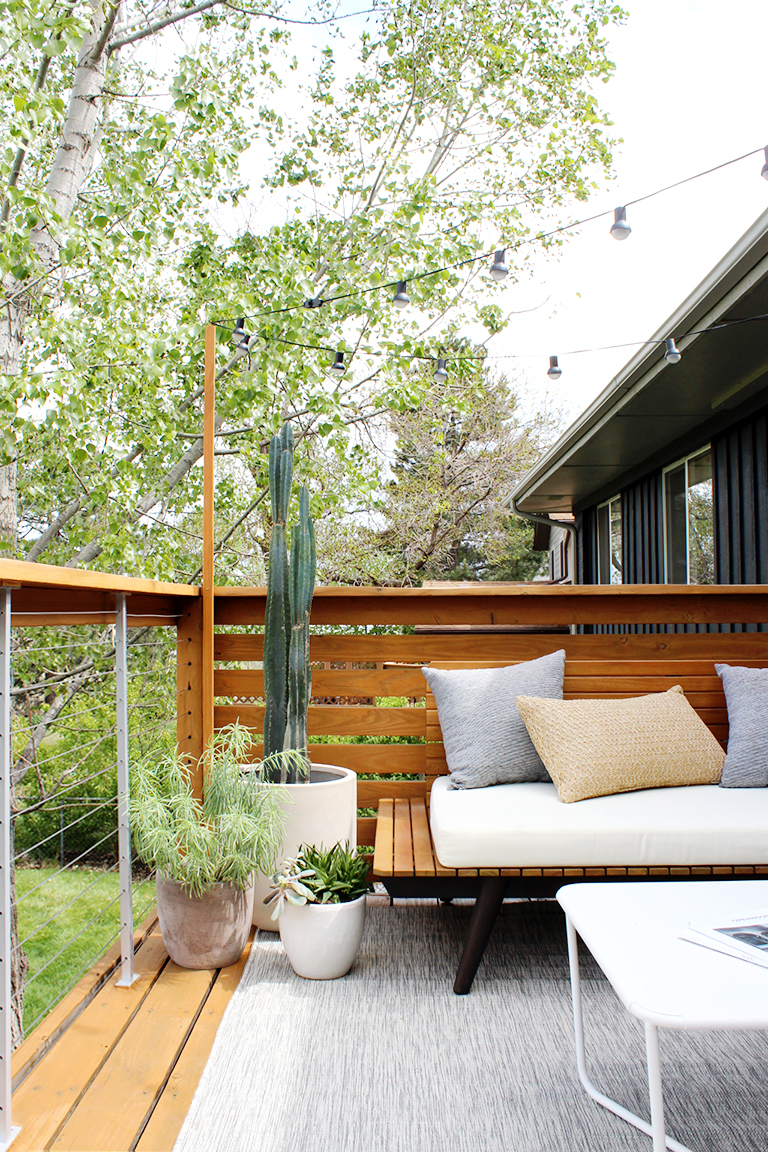
Here is what it looks like today:
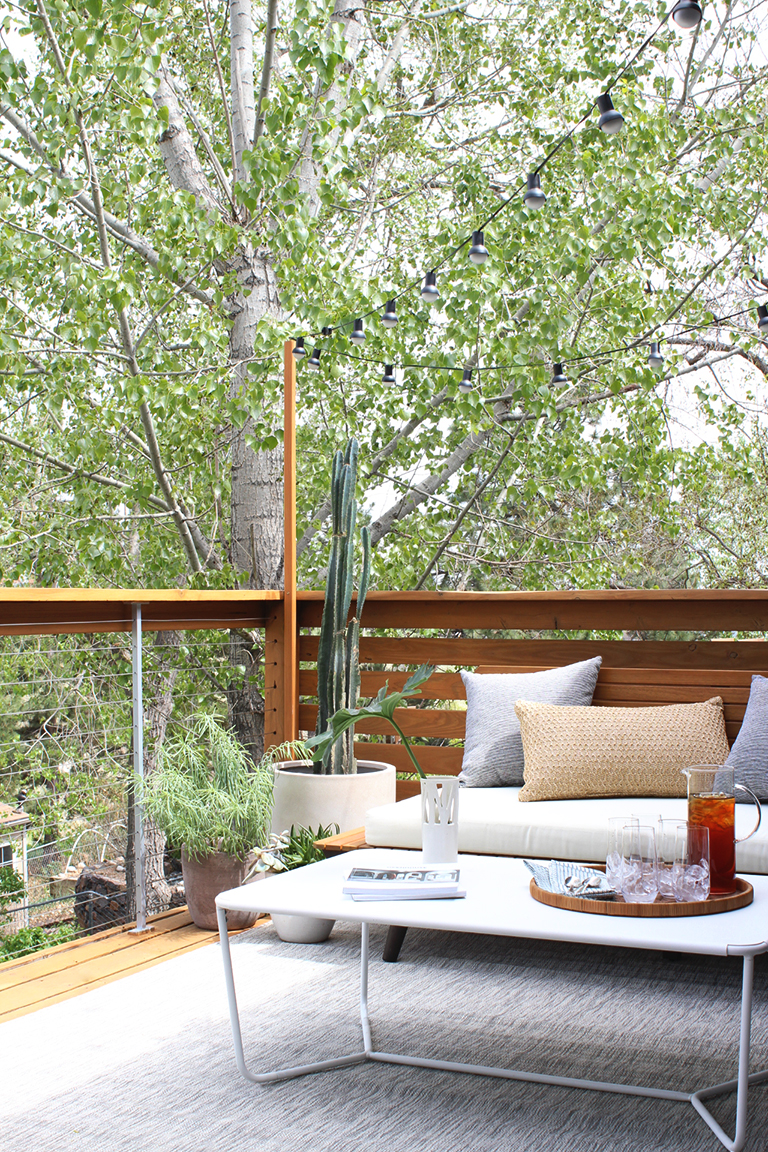
Before we installed the cable rail we also sanded and stained the deck with Behr’s Cedar Naturaltone Semi-transparent stain. I love how the color turned out; it looks so sharp against the stainless steel railings! All-in-all the cable rail and everything we needed to install it was about $1k, which I consider an absolute steal compared to the cost of a new deck, or even having someone else install it for us. (Has anyone priced out a new deck? It’s ridiculous.)
Check back tomorrow for a post with allll the details on the design and decor (yes there will be links! And discounts! And it’s all very budget-friendly!), but for now let’s chat about how to install your DIY cable rail and totally transform your deck:
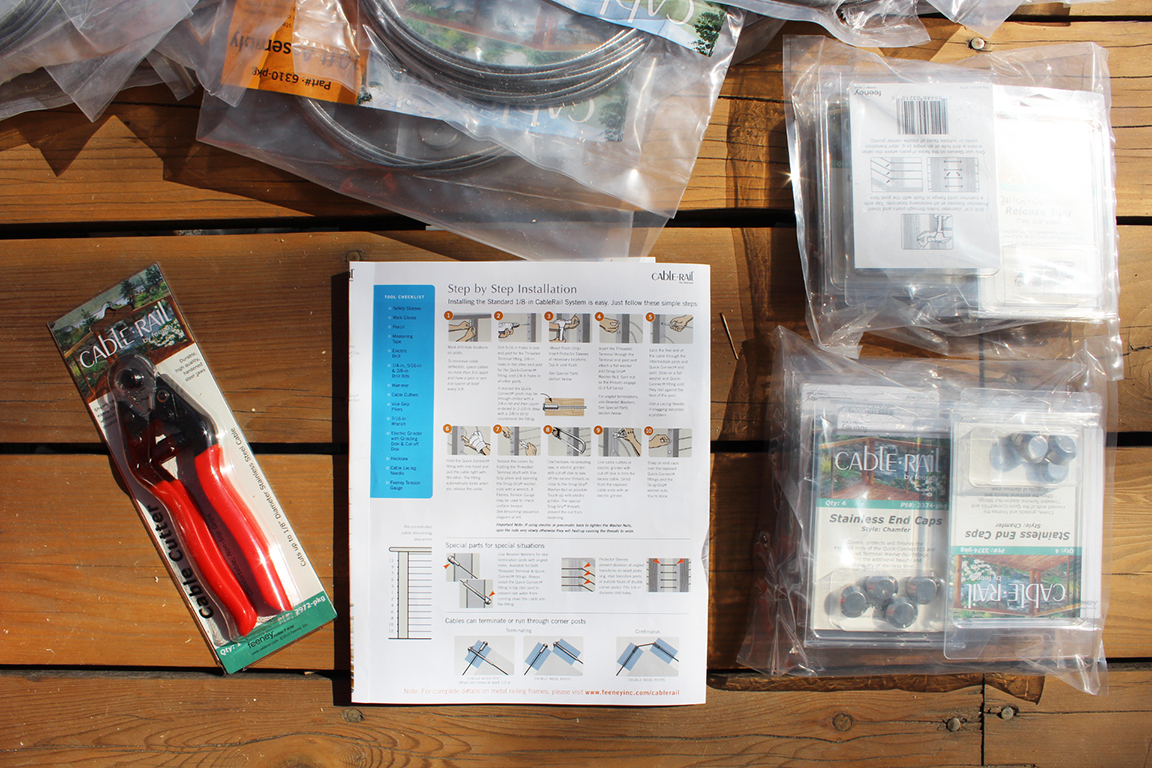
See all those directions! So helpful.
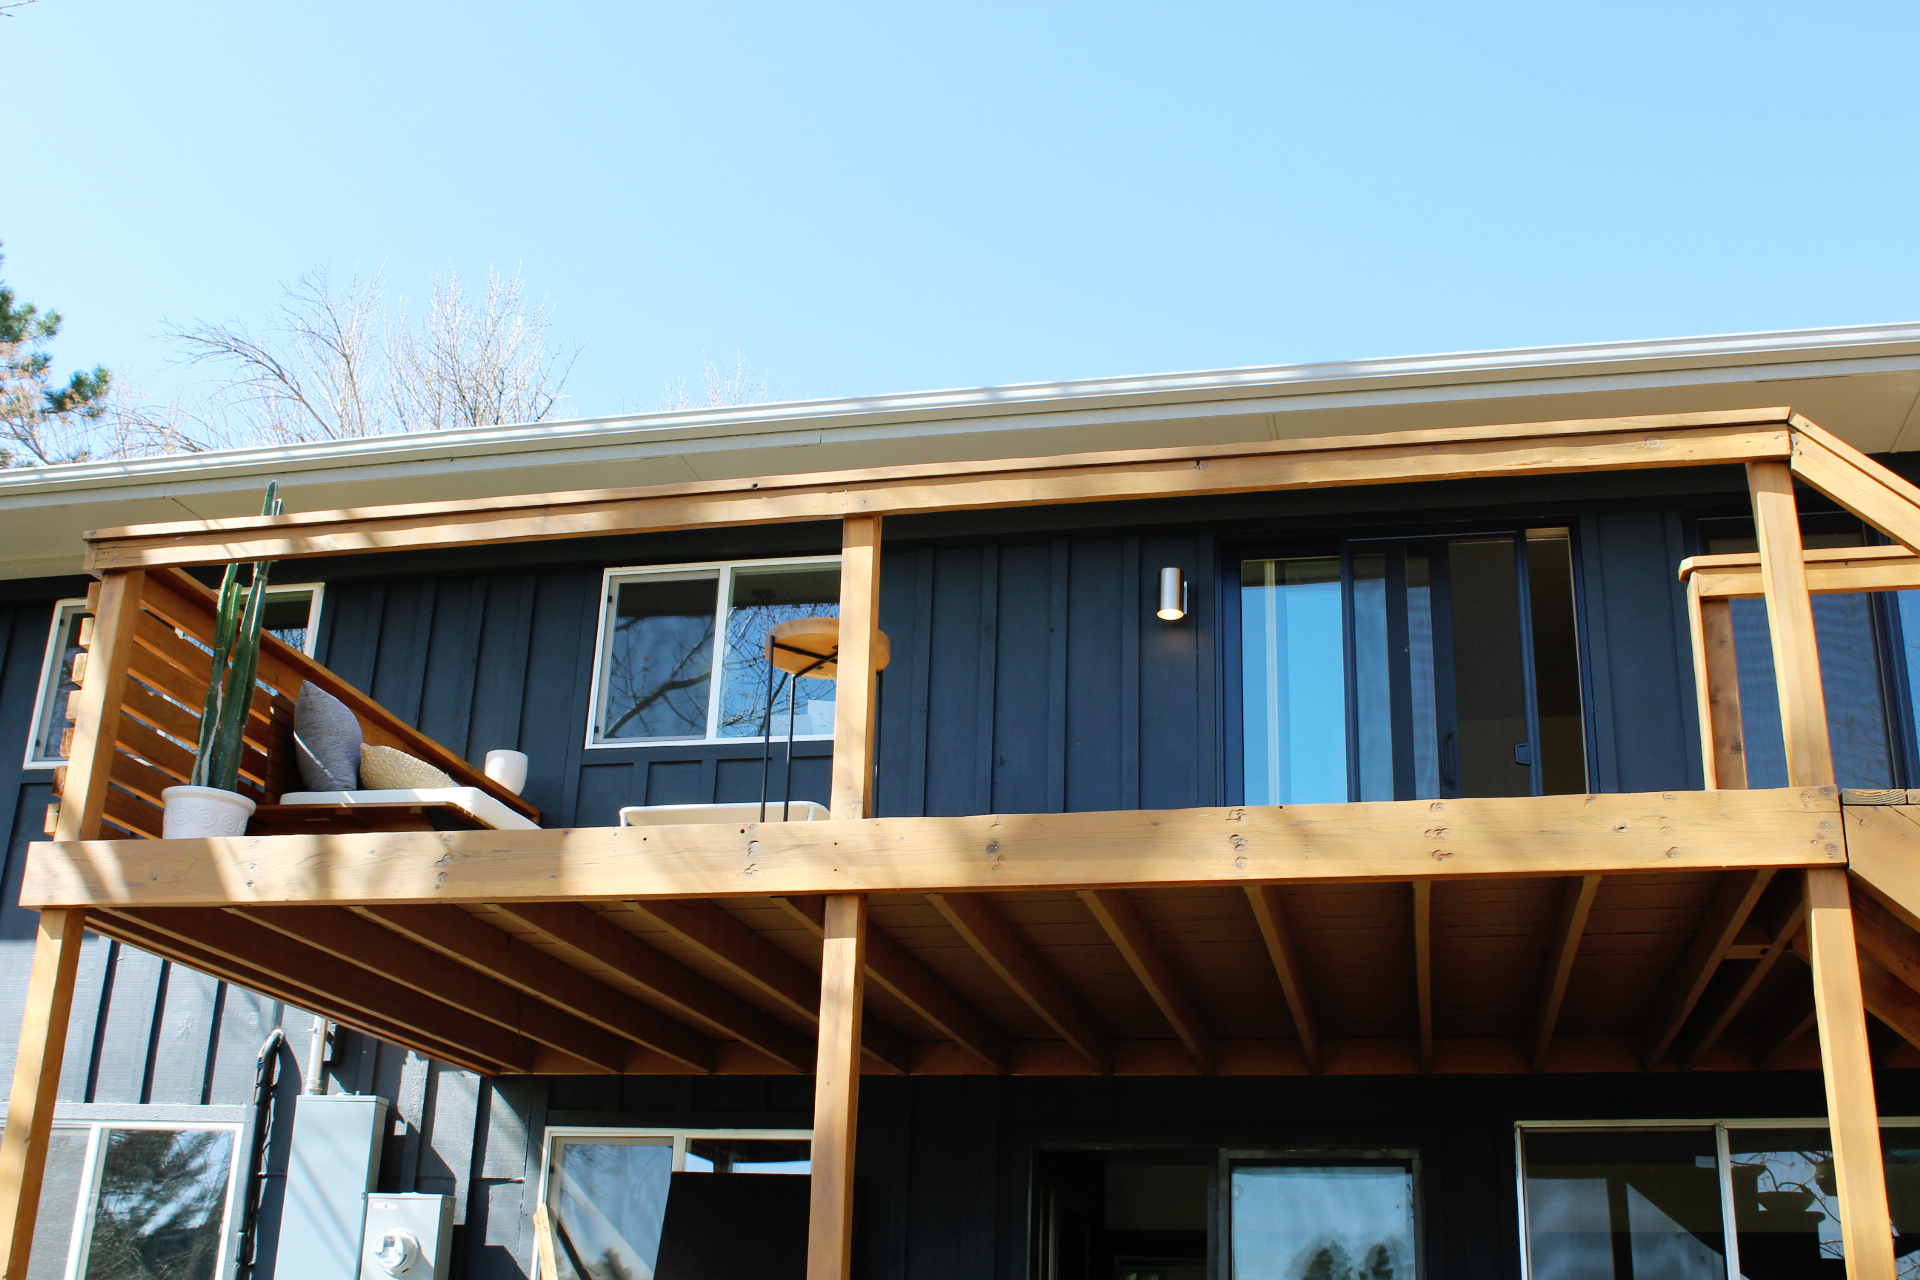
This is what it looked like when we started, after sanding, staining, and attaching the horizontal slats on the sides (privacy!).
TOOLS YOU’LL NEED:
- Safety glasses
- Electric drill
- 5/16″ bit, 3/8″ bit, 1/4″ bit, each at least 6″ long
- #2 square bit
- Tape measure and pencil
- Hacksaw or electric grinder (a chop saw is handy too)
- Level
- Vise-grip pliers
- Work gloves
- 7/16″ wrench
- Cable cutters
If you have stairs:
- Sliding T-bevel
- Angle drill guide
- Hammer
HOW TO INSTALL DIY CABLE RAIL
1. Determine your starting locations. The hardware you use to install the cable rail is different at each end; we went from left to right and started at the base of our stairs.
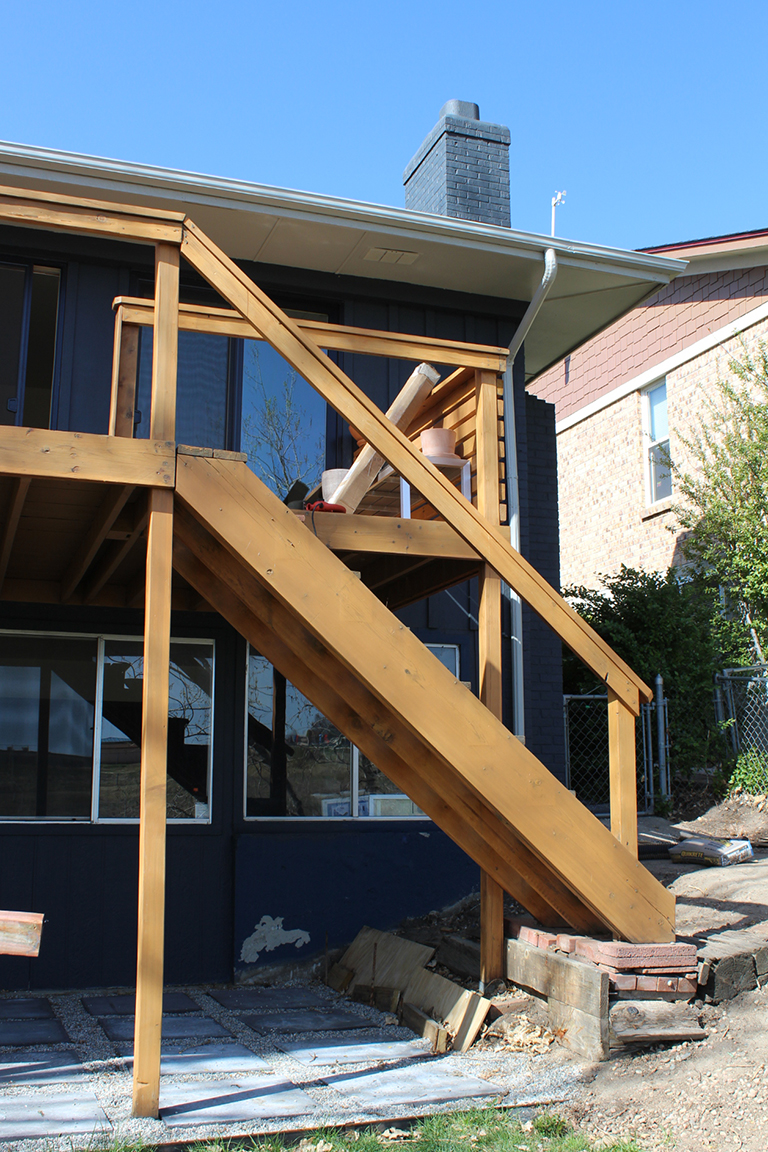
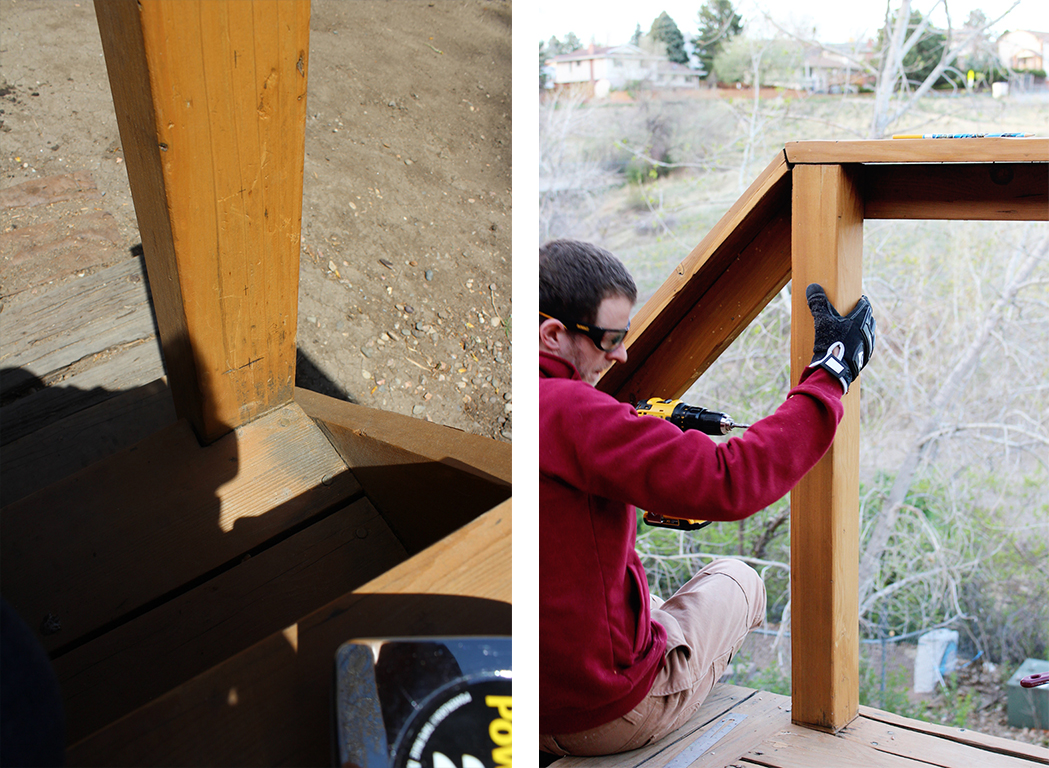
2. Measure, mark, and drill holes in all your posts. The holes should be 3″ apart; Feeney actually sells intermediate metal pickets which keep your cables straight and evenly spaced — I recommend using them as a guide to mark your holes. The important thing to remember is to use Feeney’s recommended drill hole sizes for starting, intermediate, and end posts — and to pre-drill the holes to prevent splitting the wood.
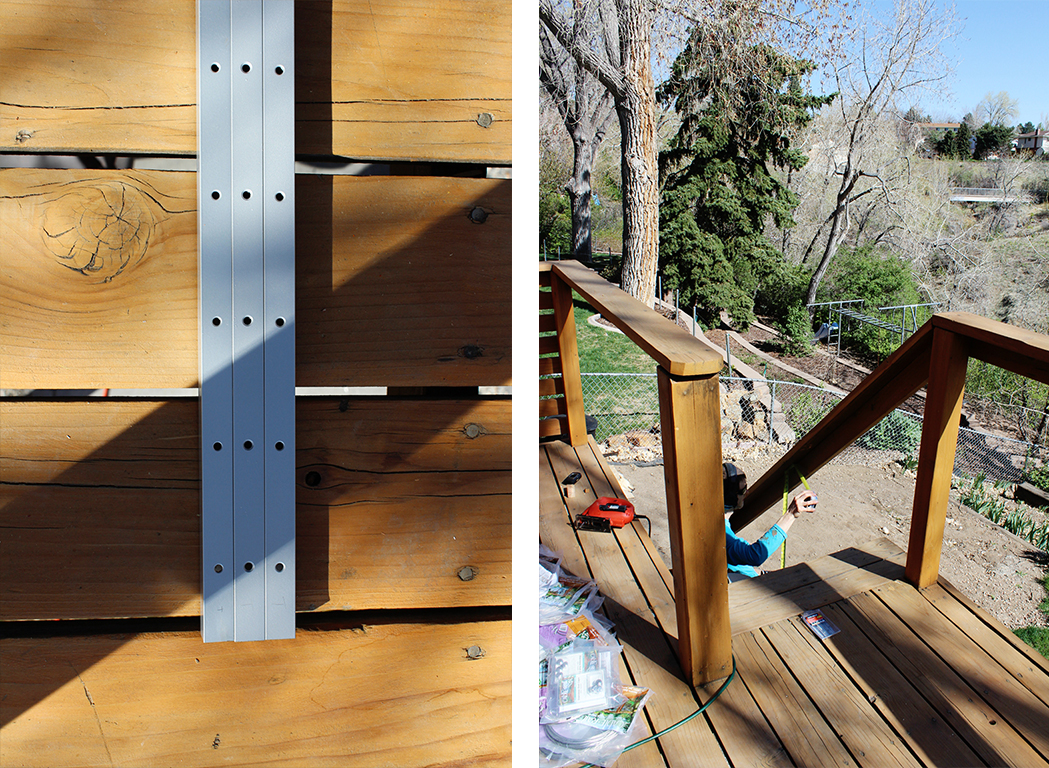
3. Measure, mark, and cut your pickets (if using). The pickets are spaced at least every 3 feet between your larger posts. Make sure to cut them so that the holes line up with the ones you drilled, but don’t stress if it isn’t exact. We fudged a few and they still looked great! Mark the top and bottoms too, because otherwise you’ll definitely forget and install a few upside down (we totally did).
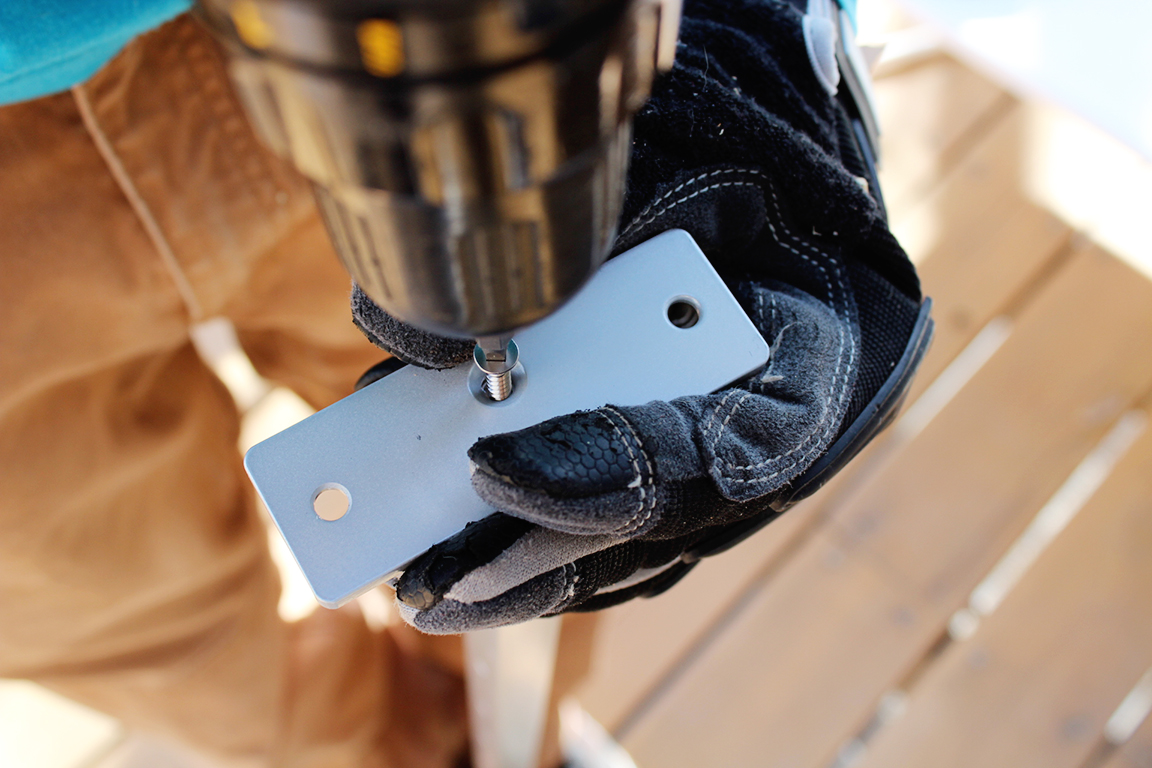
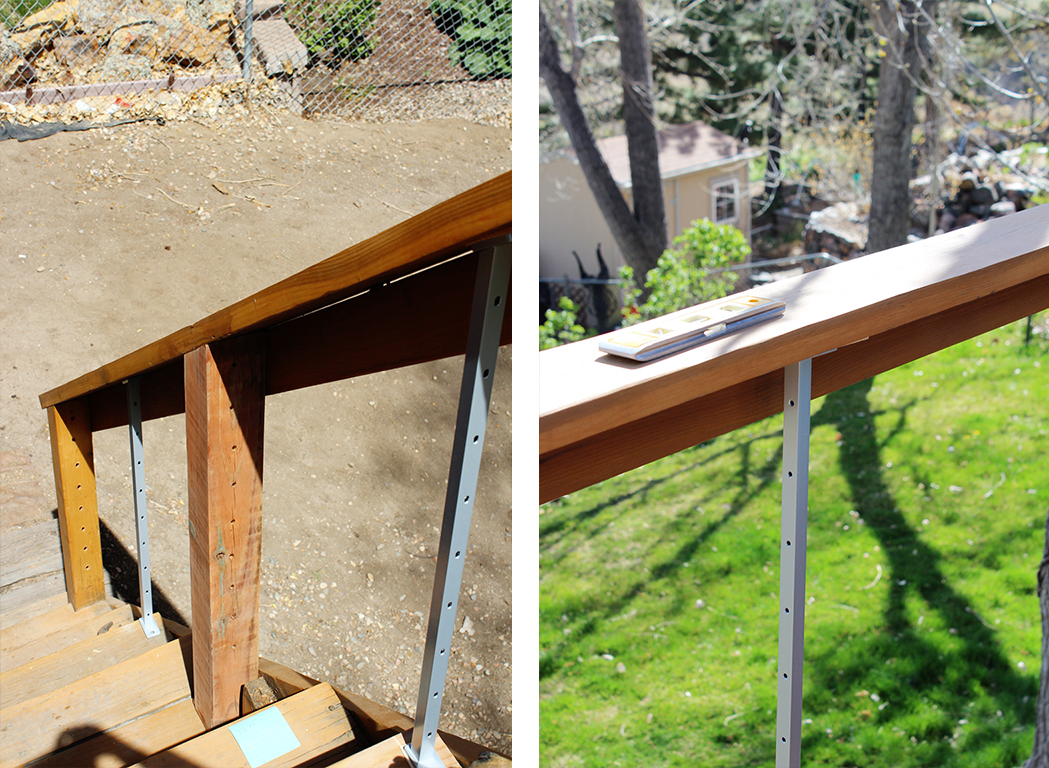
4. Assemble the pickets and install (if using). Screw the base plates to both ends of the pickets using an electric drill with a #2 square bit. Install the pickets equidistant between your deck posts and at least every 3 feet, making sure they are the right way up. Make sure to use the level and check for plumb!
If you have stairs…
You’ll need to drill angled holes in the stair posts using an angle drill guide (you can find the angle of your railing using the sliding T-bevel). On the top stair post, insert protector sleeves where the cable changes angles — this will keep the cable from wearing down the wood post. Note: If there’s a threaded terminal at the bottom of the stairs, you’ll use beveled washers at that location.
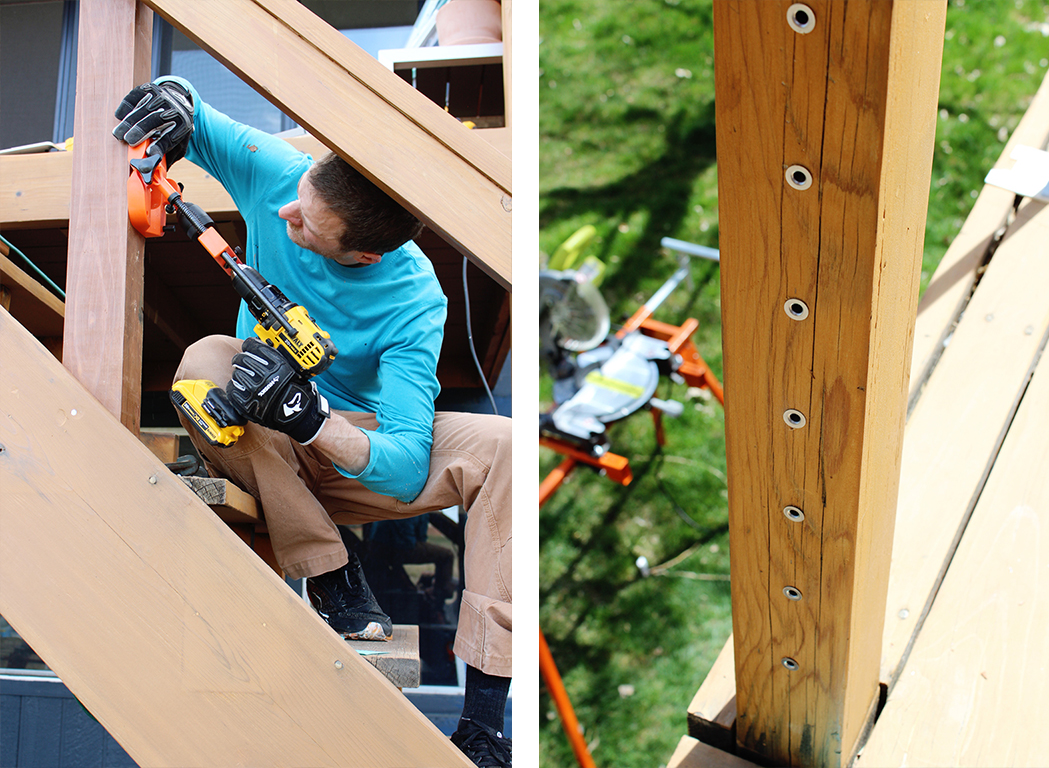
5. Insert the threaded terminal that comes with each bag of cable rail through the holes in your starting post and attach the Snug-grip washer-nut. Hold the threaded terminal with the pliers and spin the nut twice to secure it.
6. Lace the cable(s) through the rest of your pickets and post.
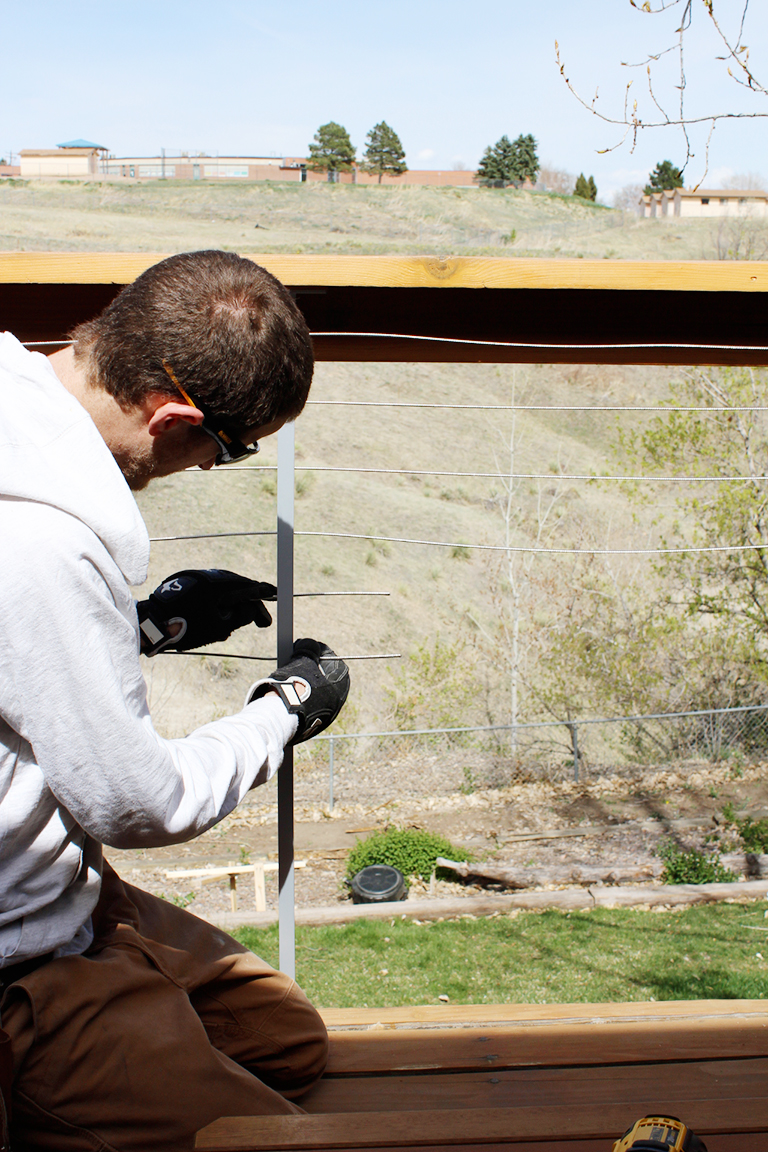
7. Secure the ends. Slide on a washer and Quick-Connect fitting at your end post. Hold the fitting in one hand (wear gloves!) and pull the cable tight with the other. It automatically locks!
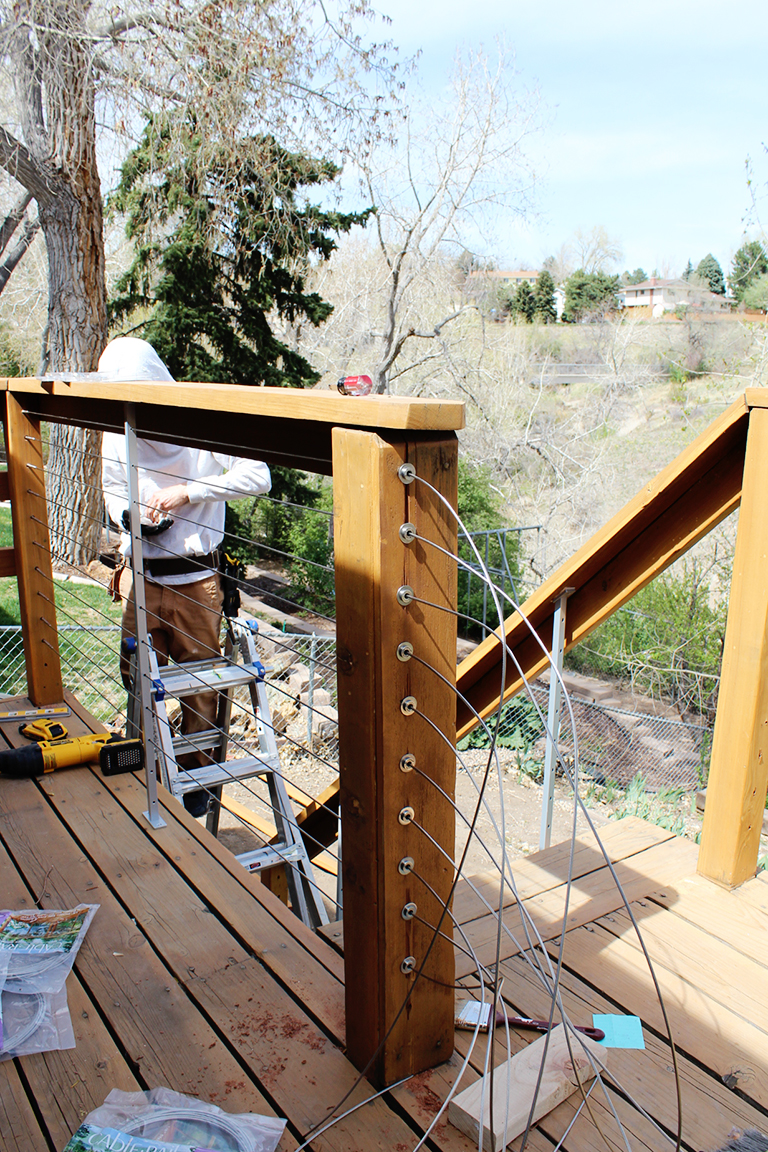
8. Tighten the cables. Back at the starting post, hold the threaded terminal shaft with the pliers and tighten each cable by spinning the washer-nuts with the wrench. Start with the middle cable, then the one above it, then the one below the middle, etc. and keep alternating/working outwards until all the cables are tightened.
9. Trim the cable. Saw off the excess threads at the starting post with the hacksaw or grinder and use cable cutters to trim the cable at the terminating posts.
10. Snap on the end caps. Feeney makes really pretty end caps to hide all the hardware, so you’re left with a clean look at each end post.
That’s it!
Feeney does give all the instructions in a very easy-to-read format, complete with step-by-step visuals so it’s all pretty simple. To be honest, the hardest part was getting started and wrapping our minds around the project (plus assembling the right tools – so important!). Once we actually got going it really flew. We managed to do it in one weekend, but I bet you could easily do it in a day if you don’t happen to have, say, small children who ask for snacks every 5 minutes (where do they put it all???).
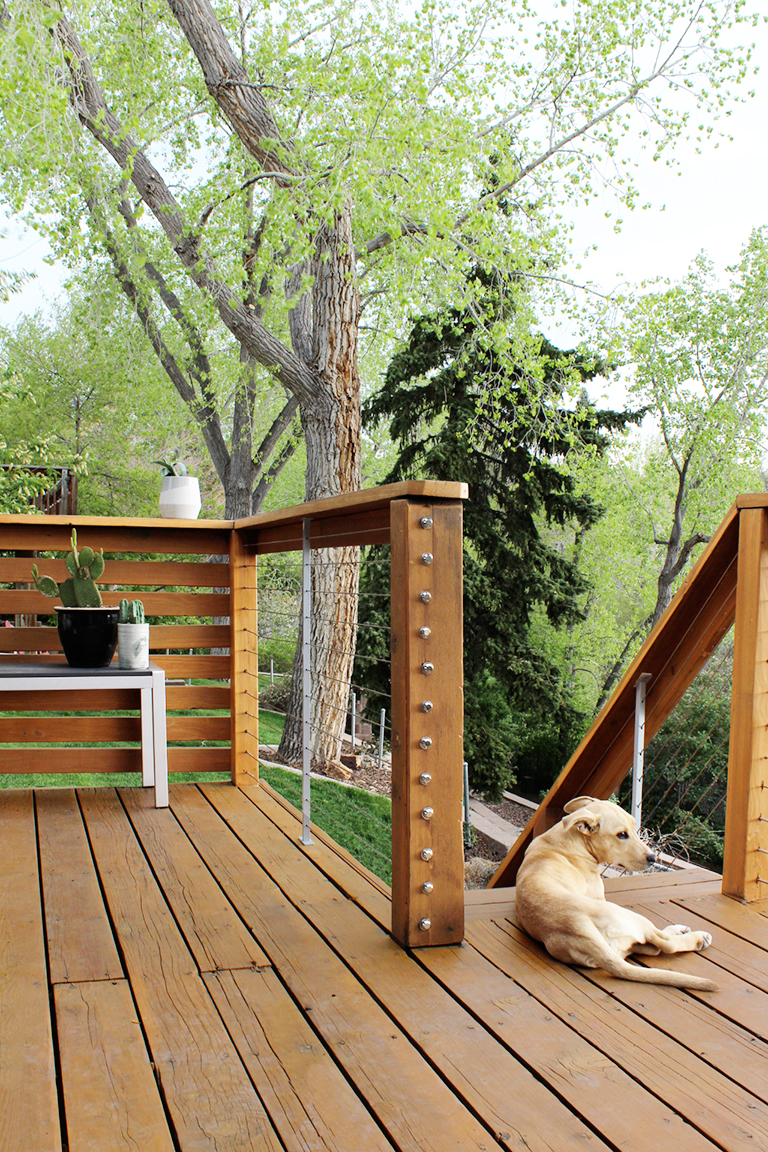
Lu, enjoying the view.
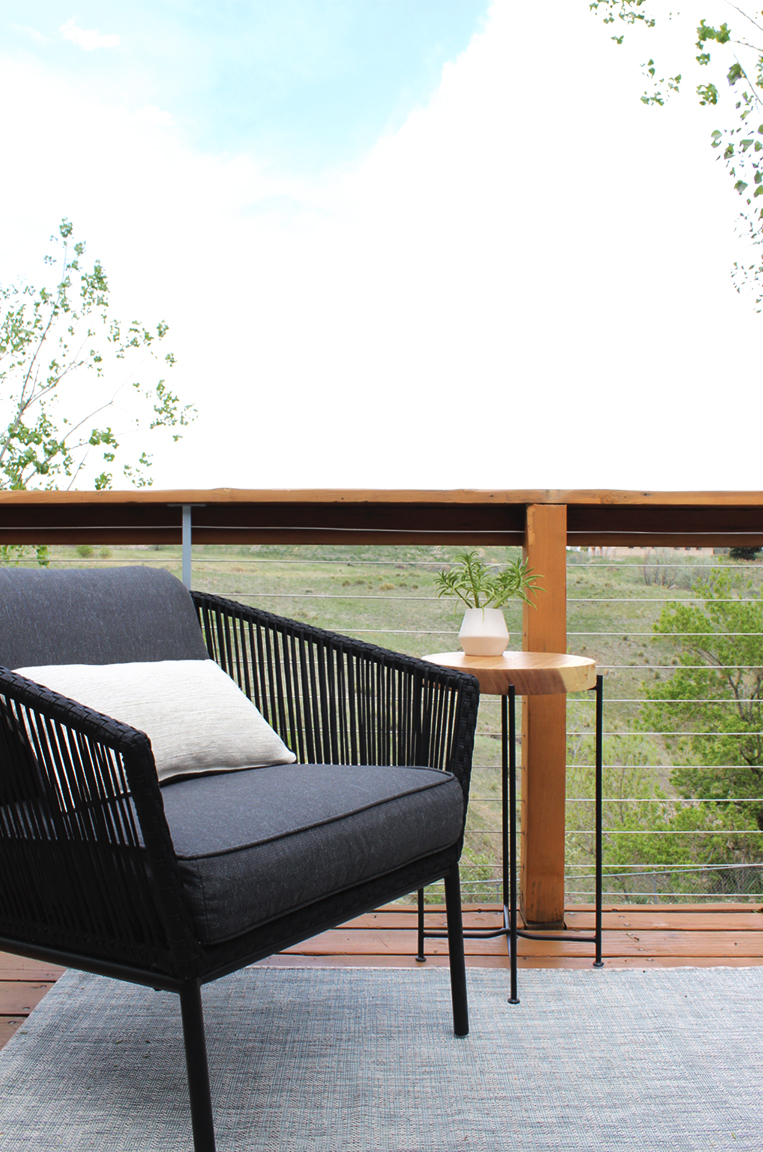
We can seeeeeeee!
You can use Feeney’s system with both wood and metal posts, as well as different post sizes, which makes retrofitting older decks like ours tons easier. And if any part of your old deck isn’t going to work, Feeney will help you sort it out and find a solution — this is especially helpful if you’re going to get your deck or home inspected.
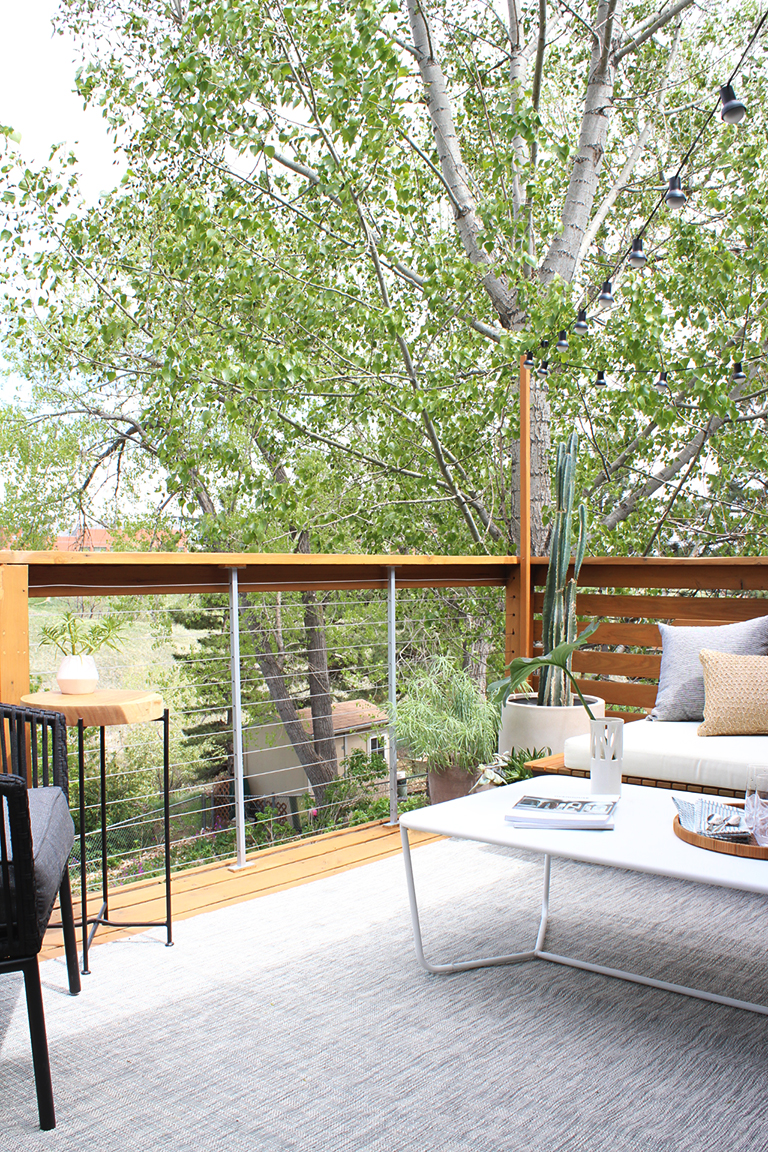
We’re super happy we went the DIY route and love the way the cable rail turned out. What do you think?
Check back tomorrow for more details on the decor!







John mark mcdougal
| 12 September 2017Very helpful – getting ready to take on a project to replace our rails
Bonnie Russell
| 11 November 2017As a sailor, For years i’ve Adopted – okay, stolen, nautical desiGns For their clear, conCise, compact efficiency for the home. Cable works great indoors, too.
So I approve This design. ✅
Vanessa
| 6 January 2018That is an excellent idea!
SARAH
| 16 March 2018THE END POSTS WHERE YOU’VE GOT END CAPS FOR THE CABLES AND ALSO THE WOOD SLATS, WHAT WAS YOUR SOLUTIOn?
Auntie B Combs
| 11 April 2018I love how the deck turned out! We are looking for a solution to our railing on the deck out back of our reno house that won’t block the magnificent view…..I think you may have solved the problem!
Jessica
| 24 April 2018Beautiful! I love the look you achieved using the cable rail. I wish I could use it at my home but my city is strict on their building codes…
Great job….
Roger Rock
| 20 August 2018This is amazing cable rails, it really looks great and awesome. I really love this design of yours, This is a stunning makeover for those people who want cable rails. thank you for sharing this one.
Michelle
| 23 September 2018Can you let us know how much this cost? Just so we have a rough idea before heading to the store?
Angie Kilby
| 25 October 2018I am arguing with my husband about our deck. We have a beautiful view of a 10 acre lake. He is a researcher of everything. He has Read negative things about the CABle Loosing a lot And the cable TIGHTNErs stripping out. Help me!
Alvin
| 2 April 2019Where can I get the cable system?
Connie hamblen
| 27 August 2019This deck is gorg!! The side with privacy slats what size lumber did you use? It looks 2×4?
christine
| 5 November 2020im currently converting my deck 14×24′ by replacing the wooden 2×2″ spindles with stainless steel cable so far so good doing the stairs right now the project will cost @$700 beats painting every few years
not sure how to post a picture?