DIY Desk Calendar
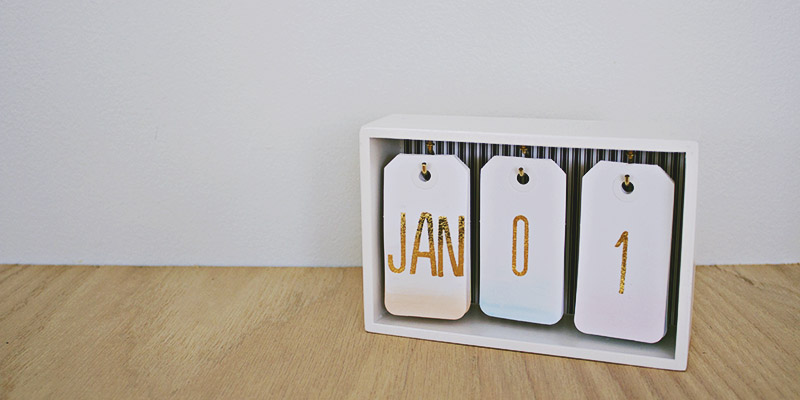
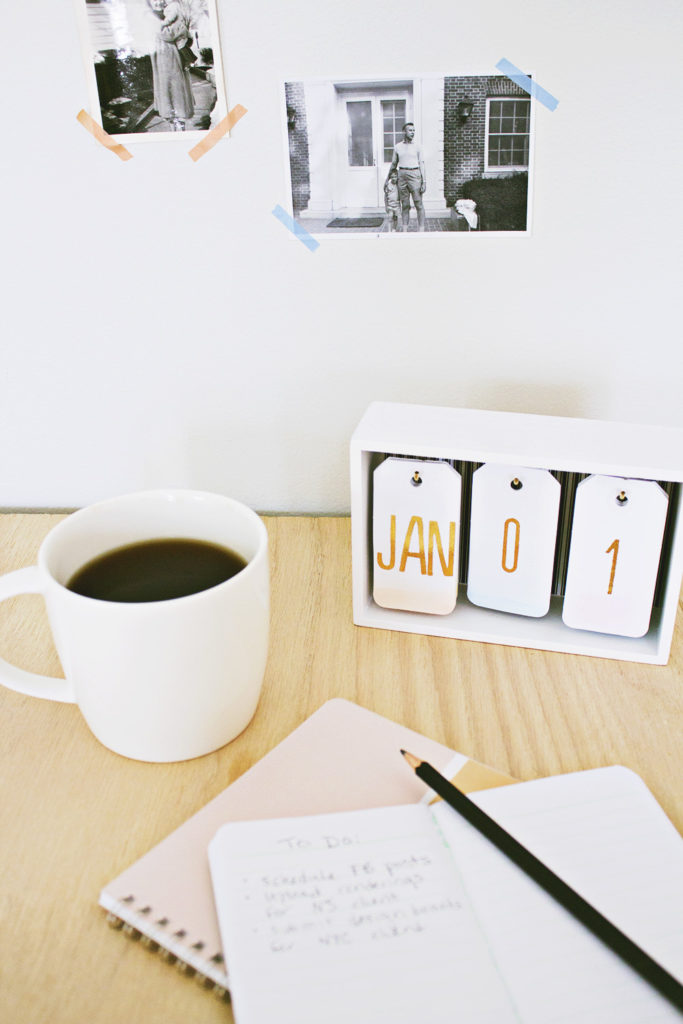
In my annual flurry of organization around January 1st, I realized I didn’t have a calendar in our office anywhere. I wanted something small that wouldn’t take up too much space, and this DIY desk calendar was born!
It combines two of my favorite things–watercolor and ombré–and I think it’ll make a pretty little addition to any desk:
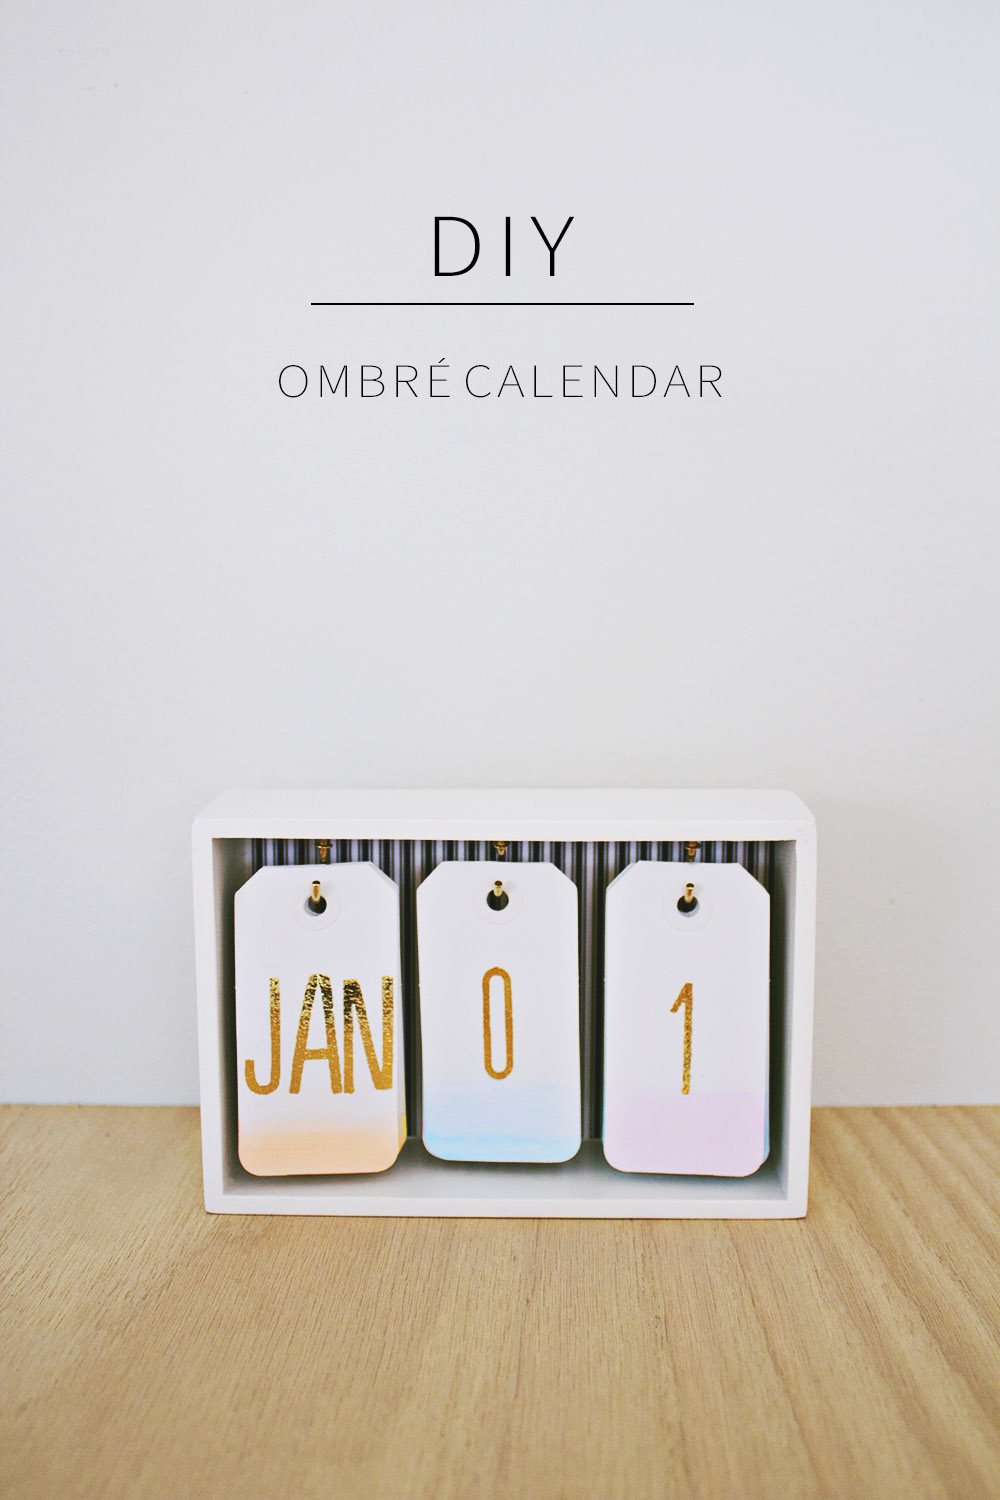
Supplies
- Gold rub-on transfers (letters & numbers–I found mine at Target)
- 1 sheet of patterned paper
- Small, white wooden box
- 3 small C-hooks
- White eyelet gift tags
- Modge podge
- Sponge brush
- Watercolors & brush
- Pencil
- Measuring tape
- Scissors
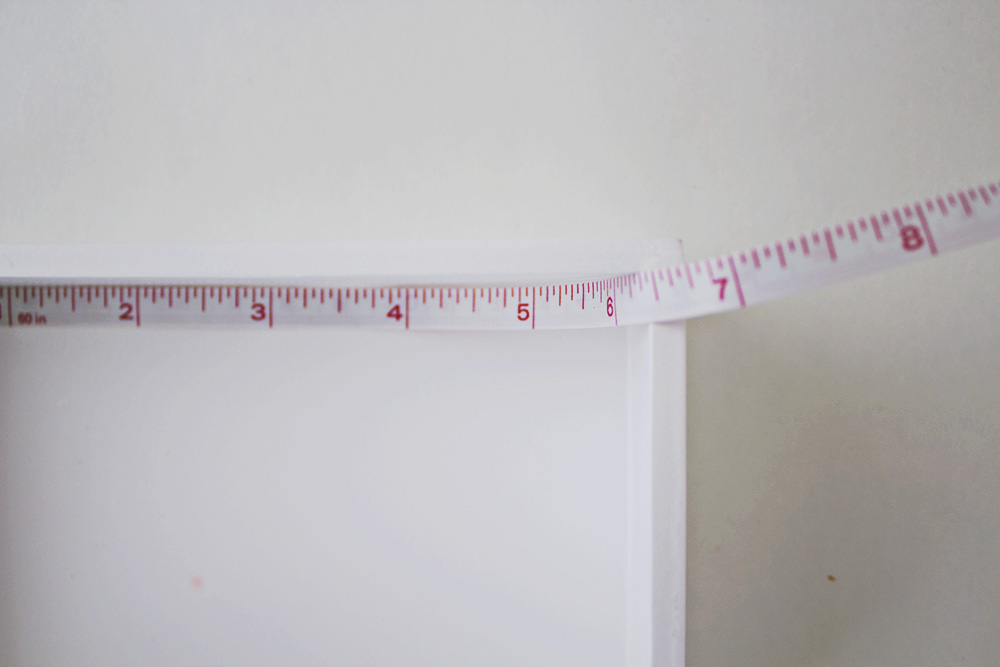
First, measure the interior of your box (mine was 5 5/8” x 3 5/8”–you won’t need the lid). Then, measure and draw a corresponding rectangle on the back of the patterned paper and cut it out.
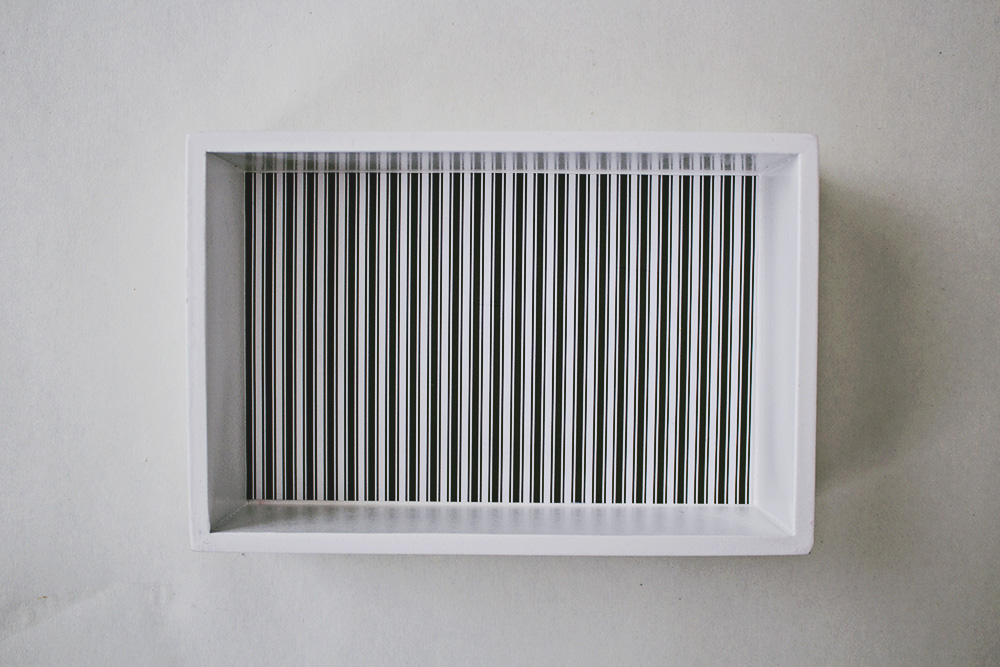
 With the sponge brush, add a layer of modge podge to the bottom of the box and the back of the paper. Place the paper on the bottom of the box, and smooth out any wrinkles/bubbles (a credit card works great for this!). Let dry for 15 minutes.
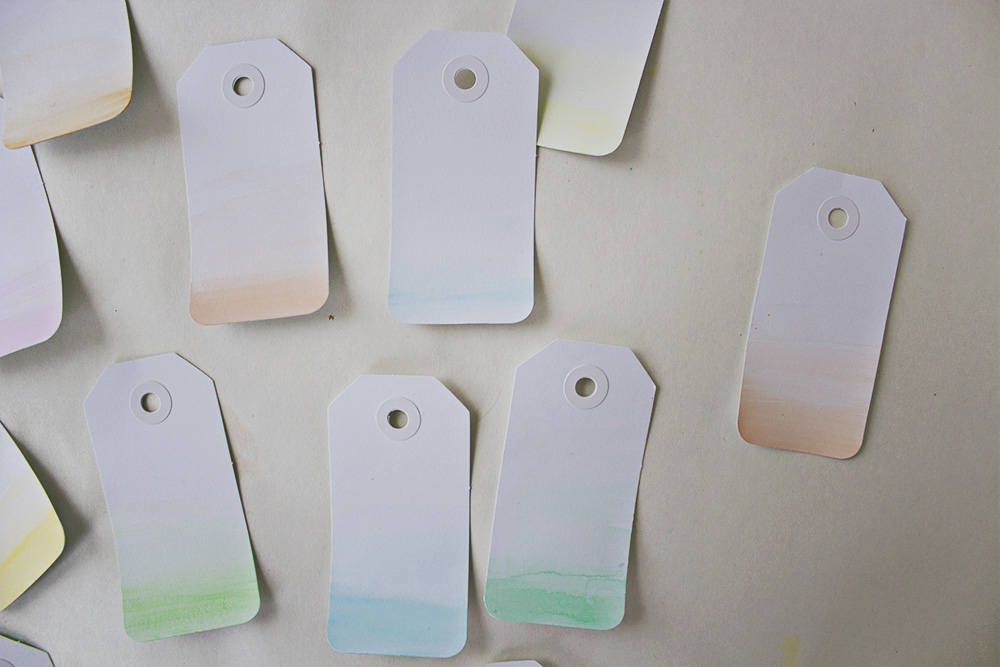
In the meantime get out the watercolors, a small dish of water, and the gift tags. I chose to work with pinks, blues, and greens, but you can do any combination of colors you choose–or even a single hue.
Dip the paintbrush into the water and wet the first color, ensuring you have a decent amount of pigment on the brush. Make a large stripe across the bottom of the first tag (remember: do a few practice ones first). Rinse the brush, wipe lightly, and paint another stripe above and adjacent to the first using only water. Repeat these steps until you reach halfway up the card. The color should be darkest at the bottom and gradually lighten until it matches the white of the tag.
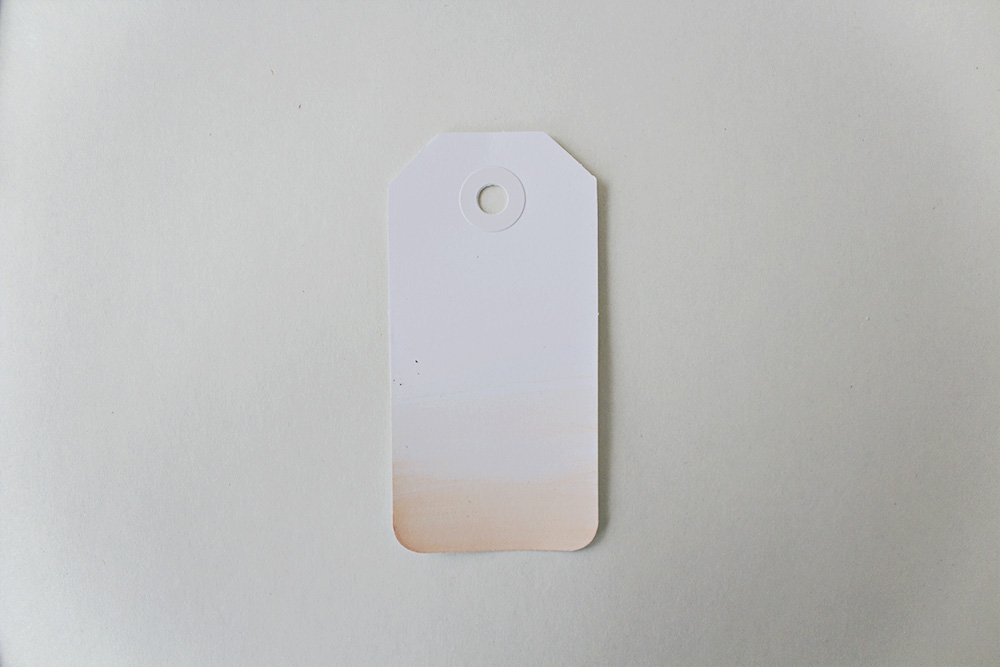
Repeat this process on 13 of the tags. Let dry, and repeat on the other sides. Don’t worry if the paper starts to curl — painting both sides will flatten it out, and you can always bend it slightly afterwards.
While the tags dry, add another thin layer of modge podge to the bottom of the box and let dry for another 15 minutes, taking care to make it smooth.
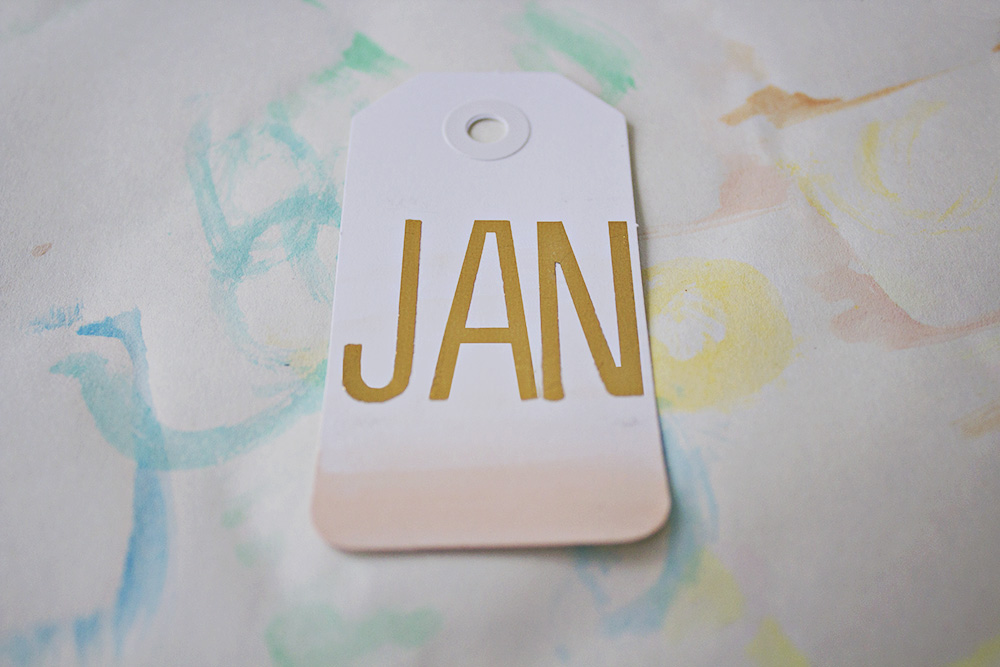
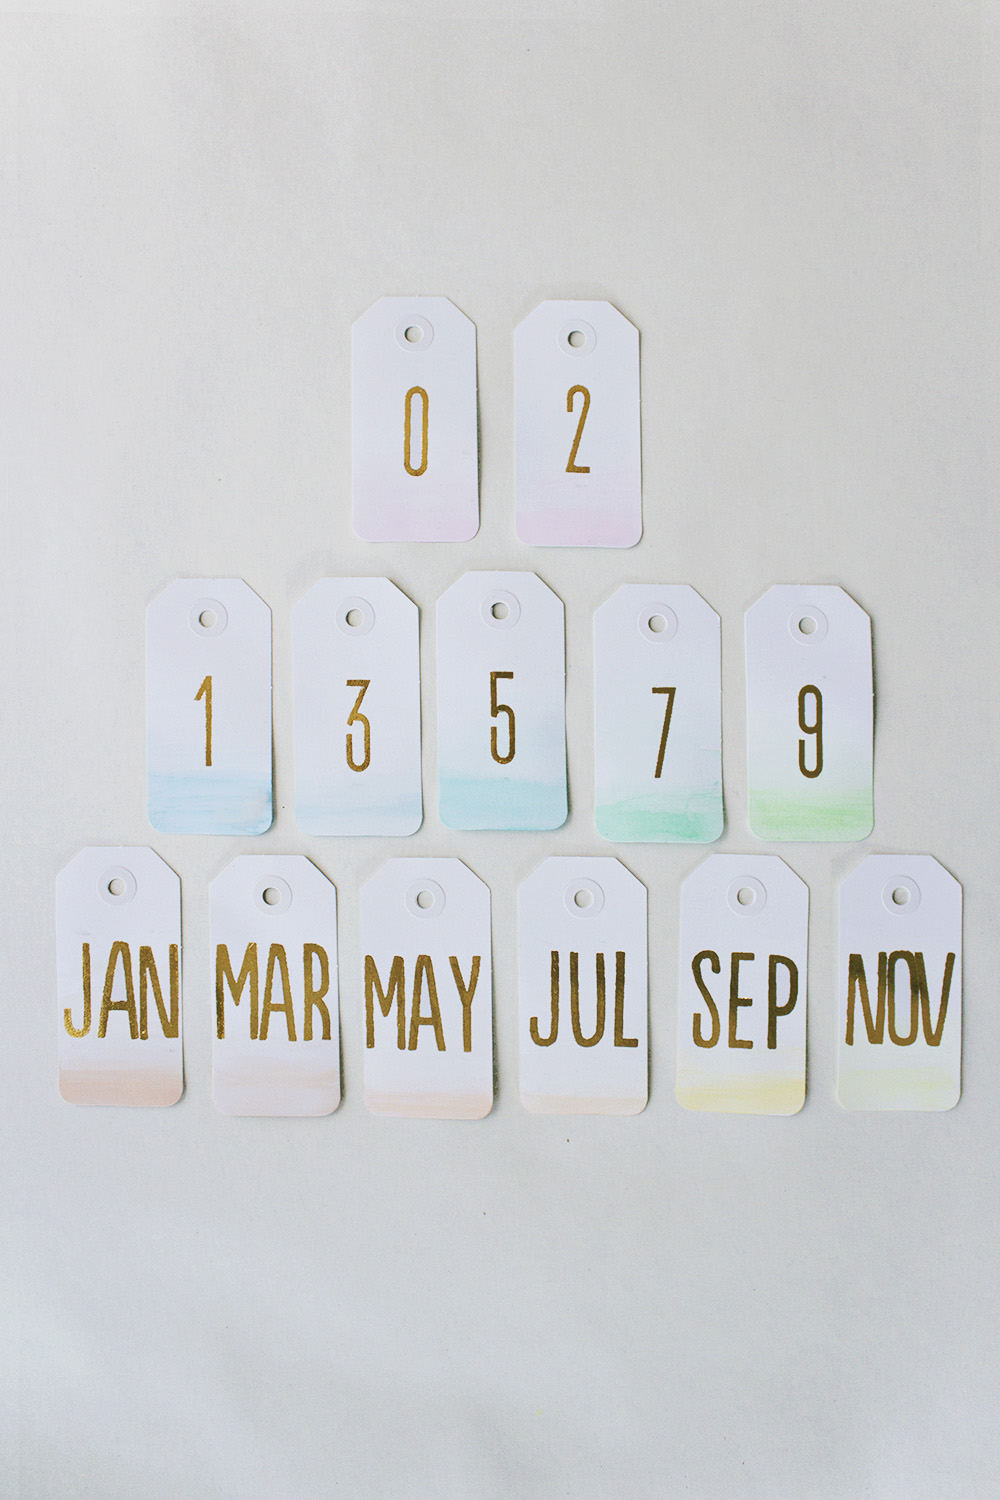
Divide the tags into three piles of 6, 2, and 5 respectively. The first pile will be the months, the second pile will be the day’s first digit, and the third pile will be the day’s second digit. Follow the directions of the rub-on letters and apply the following to the tags (front/back): jan/feb, mar/apr, may/jun, jul/aug, sep/oct, nov/dec, 0/1, 2/3, 0/1, 2/3, 4/5, 6/7, 8/9.
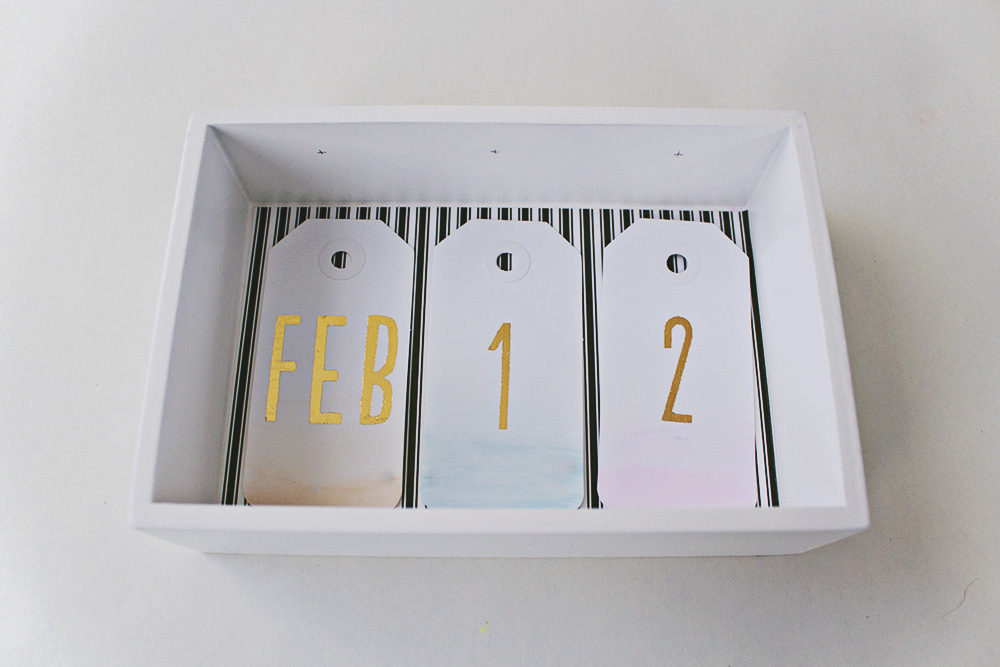
Next place three tags into your box, evenly spaced. Use them as a guide to make three marks on what will be the “ceiling” of the box, ½” from the front edge.
Screw the three C-hooks into the ceiling of the box. Or ask your hubby to do it. These babies take some muscle!
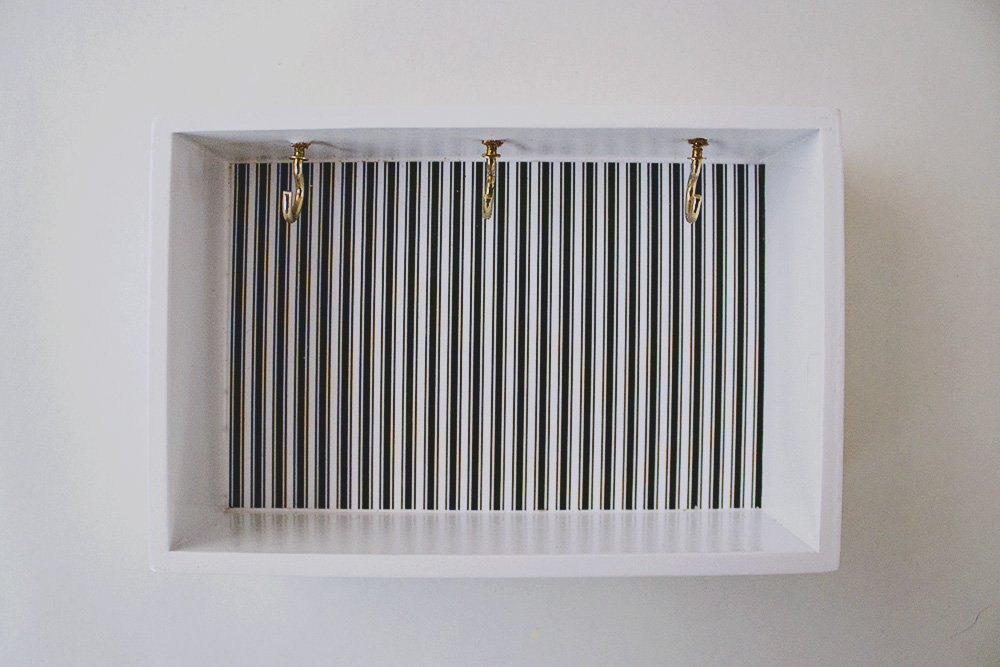
Place the tags onto the hooks! If you find they aren’t easy to hang, you can trim the tops or bottoms until they fit perfectly.
Now place it in a handy spot, and enjoy!








Kristen
| 19 January 2015That is really cute!
annabode
| 19 January 2015Thanks Kristen!
Kristen
| 5 June 2016Your welcome
Magenta
| 16 January 2019How did you make that ombre look on the calender? It lookS very Cool! Thanks for sharing kristen!
Leslie j
| 5 March 2016Where can i get a wooden box?
annabode
| 7 March 2016Hey Leslie — I found mine at Michaels’. I’d look at your local craft store or on Amazon.
Theonna
| 15 June 2016How much did it cost
emma
| 7 May 2016Hey leslie…i just used an old shoe box . it came out well
Susan
| 28 May 2016This is so cute I wated to buy something like this but I found this and its much cheaper
Pénelope kristeza
| 1 April 2018Trop beua je vais l’offir à mon amie pour ses 13 ans
JJ
| 19 January 2015What a great idea!
annabode
| 24 January 2015Thank you!
devon
| 19 January 2015I am absolutely making this this weekend!! So cute
annabode
| 19 January 2015Aw, thanks Devon. If you make it, tag me on instagram/whatever social media you use–I’d love to see it! 🙂
Jessica
| 21 September 2015I’ve made this, it doesn’t look as good as yours but I love it. So much better than technology these days.
annabode
| 16 October 2015Oh, yay! I’m so glad you made one! I’m sure yours is awesome 🙂
Shannon Churchill
| 22 January 2015Loving this!! Don’t get me wrong, I appreciate my iPhone calendar, but I always, always prefer good old fashioned paper to any technology. So pretty.:)
annabode
| 24 January 2015Haha, thanks Shannon!
Leigh Anne
| 27 January 2015This is a great idea!!
annabode
| 2 February 2015Thanks Leigh Anne, I’m glad you like it!
Micro
| 26 February 2015What a wonderfull idea !!
annabode
| 26 February 2015Thanks so much!
Analize lopez
| 14 February 2016I agree this is An AMAzING!!:)
Cat @ therusticwillow
| 27 February 2015Such a great idea, and so cute! I’ve included this in my “Links I love” for this week: http://therusticwillow.com/links-love-2272015/
annabode
| 3 March 2015Thanks so much Cat! Great post!
Stephanie
| 8 October 2015Where did you get the box from if you can remember? Is it just a white wooden one?
annabode
| 8 October 2015Hi Stephanie — I got the box from Michael’s, but it was a seasonal item. They might have something similar still, but you can also buy my DIY kit from Darby Smart here: http://www.darbysmart.com/projects/desk-calendar. Yes, it was just a white, wooden box. Hope that helps!
Kyara
| 28 October 2015Wow this is pretty cute i just wish i had all the material to make this and set it up in my room it will be very helpfull.
annabode
| 28 October 2015Hey Kyara — you can buy all the supplies in one place, through my DIY kit on Darby Smart!
jess
| 20 March 2016I really liked it until I got to the part saying “Screw the three C-hooks into the ceiling of the box. Or ask your hubby to do it. These babies take some muscle!” Women shouldn’t be making comments like this. Sigh. I am sure most women are perfectly capable of screwing tiny screws into a little box and don’t need help. We’re not all damsels in distress incapable of lifting out little fingers to do ANYTHING other than housework. :-/
annabode
| 21 March 2016Hey Jess — sorry, didn’t mean to offend! I think women can do just as much when it comes to DIY as men can — if you’ve followed our house renovations at all, you’ll see what I mean. My hubs and I have split the labor pretty 50/50 but he is a lot stronger than I am, so there are definitely times when I need his help. I did for this project, but maybe I’m just a weakling when it comes to screwing hooks in by hand :). That’s not to say we all are!
Lin
| 20 June 2016good. idea. .
Szabo renata
| 19 July 2016I like your idEa soo much
Good jOb
merle
| 27 September 2016where did you buy the gift tags and the C-hooks???
Kouas
| 28 October 2016Vraiment MIGNON mais il faut que j’arrive a trouver une boite en bois en France mais vraiment une bonne idée très jolie!!Merci !!!
VideoPortal
| 17 March 2017It s super easy to turn all the cards to show the date. You could also make a super cute countdown calendar with these! Just think of the possibilities!
Jennifer
| 12 November 2017Helloo!! Here i am two years later trying to find these items to make it mYself and i have Had no luck! Do yoi by any chance sell these? I tried looking at other comments and noticed there was a link to purchase the items but the link was expIred 🙁
annabode
| 17 January 2018No sorry!
Maya
| 4 December 2017Made my own and it looks awsome thanks for the great idea. I might Show you a pic on instagram.
Angela
| 19 December 2017What can I use instead of hooks if don’t have any?
annabode
| 17 January 2018Try brass nails!
Briannna
| 22 July 2018Where do i get the white tags?