DIY: How to Make a Modern Wall Banner for $15

Despite growing up in northern New Hampshire, I only ever went to one real, honest-to-goodness, outdoorsy camp as a child. It was the summer before seventh grade, and I was anything but thrilled (up until that point, nature and I had never really gotten along). I suffered through the hiking, rock climbing, and spelunking that the week entailed, all the while grumbling under my breath.
We had spent the week sleeping in cabins, but on the very last night the entire camp hiked to the top of the mountain where there was a large, flat outcropping of rock. That night we slept out under the moon and counted shooting stars (19!), and when the sun rose the next morning it truly was the most beautiful sight my middle-school self had ever seen. At 26, I’m not exactly the biggest nature girl in the world—but from that day forward I had a new love for the mountains that surrounded my home, one which my fiancé shares and which I hope to pass on to our son.
This week, I’m back in New Hampshire at my childhood home. Sitting here by the lake, I thought it was the perfect time to bring you all a vintage-inspired DIY project that you can make cheaply and on the fly!

Camp-inspired decor seems to be everywhere these days. I think in this technology-tied world, many of us carry nostalgia for those innocent summers past, or wish we could have experienced what we’ve seen so often in movies like The Parent Trap. Admittedly there is a trend now for hanging wall banners with quotations, but I can’t get enough of them! Every now and then, everyone needs a little inspiration, and wall banners are a quick and easy way to add a modern, handmade touch to any room. (Or in this case, a tree…)
Follow the steps below for a modern wall banner DIY that is quick, easy, and best of all: CHEAP 🙂 Mine cost about $15.
Supplies:
- 1 wood dowel, ($1-2)
- Leather lace ($5-6)
- 36 x 36″ piece of felt, ($3.99 at Michael’s)
- 1-2 felt sheets, ($0.29 each at Michael’s)
- A pen
- Pins or safety pins
- Liquid Stitch ($3.37 at Walmart)
- Needle and thread
Equipment:
- Ruler or yardstick
- Computer and printer
- Optional:
- Sewing machine
- Saw, if your dowel is too long
First, decide what you want your banner to say. If you don’t have a specific quote in mind, browse around on Pinterest until you find one that resonates (just be sure it’s short – 7 words or less). Play around on your computer with different fonts and layouts until you like what you see. Just be sure the font is relatively thick!
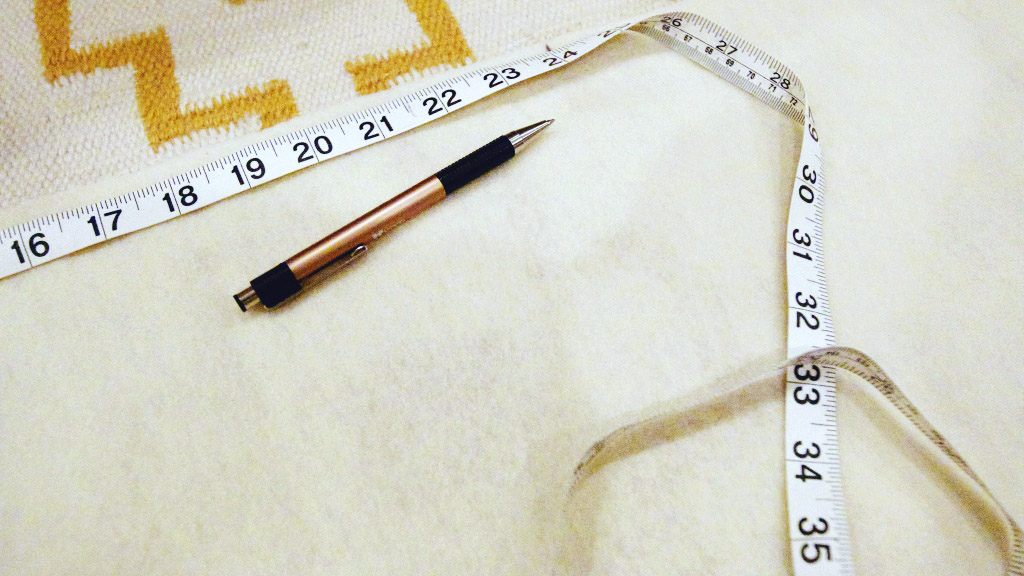
To make a 24” wide banner, measure the width of your large piece of felt and mark it at 26” (if you want something smaller, feel free to adjust). Continue measuring and marking 26” down the felt. Draw a line connecting the marks, and cut. You should now have a rectangular piece of felt.
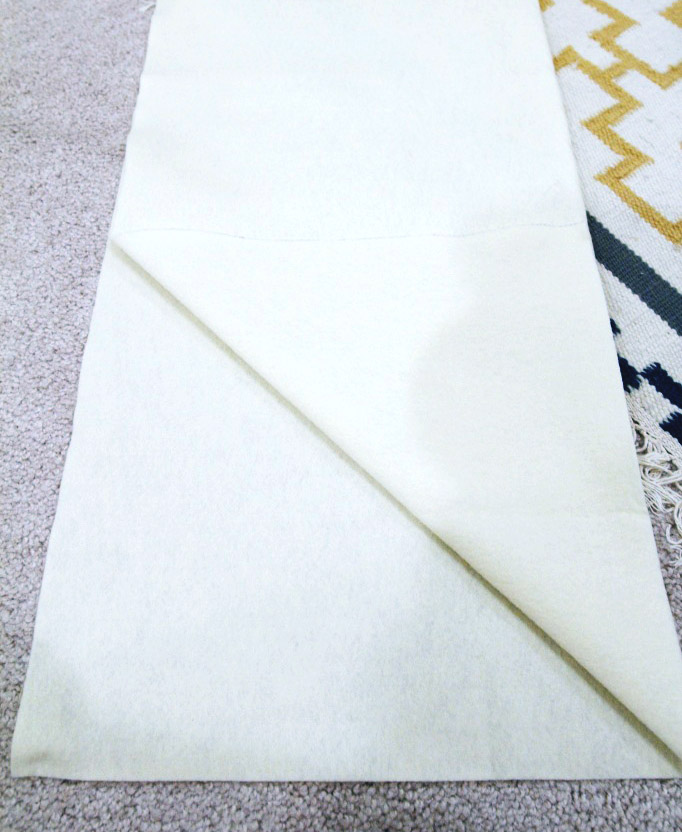
Fold the felt in half, from side to side. Find the center, and fold the bottom corner up and away so that it is flush with the center fold.
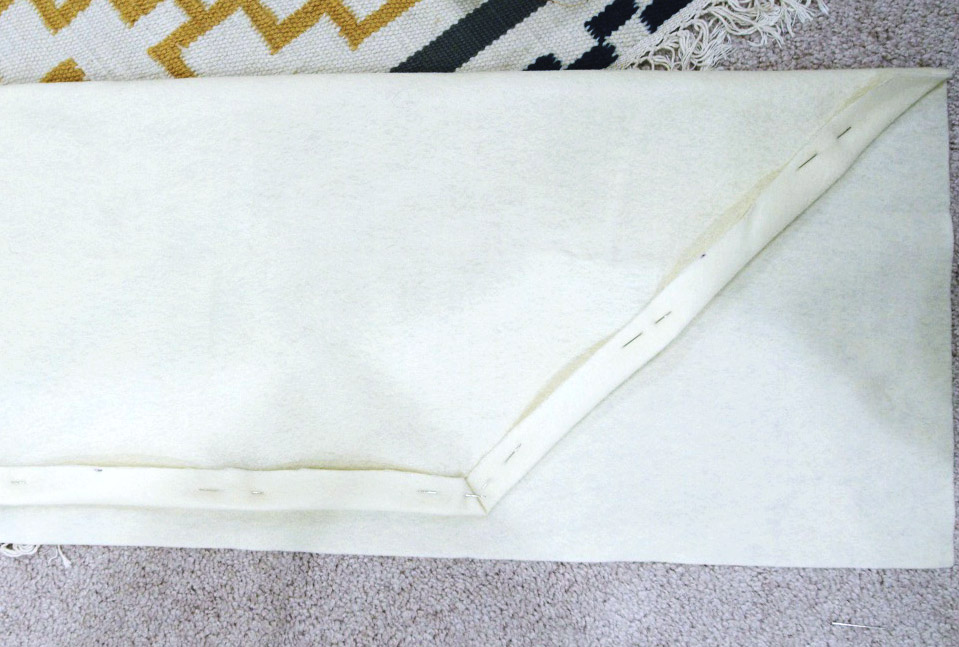
Pin it in place, and then make several 1” marks along the new fold. Connect your marks, and cut along the line.
Fold over the long, outer side of the felt so that there is a 1” border there as well. Pin in place. Flip the entire piece of felt over, and repeat these two steps on the other side.
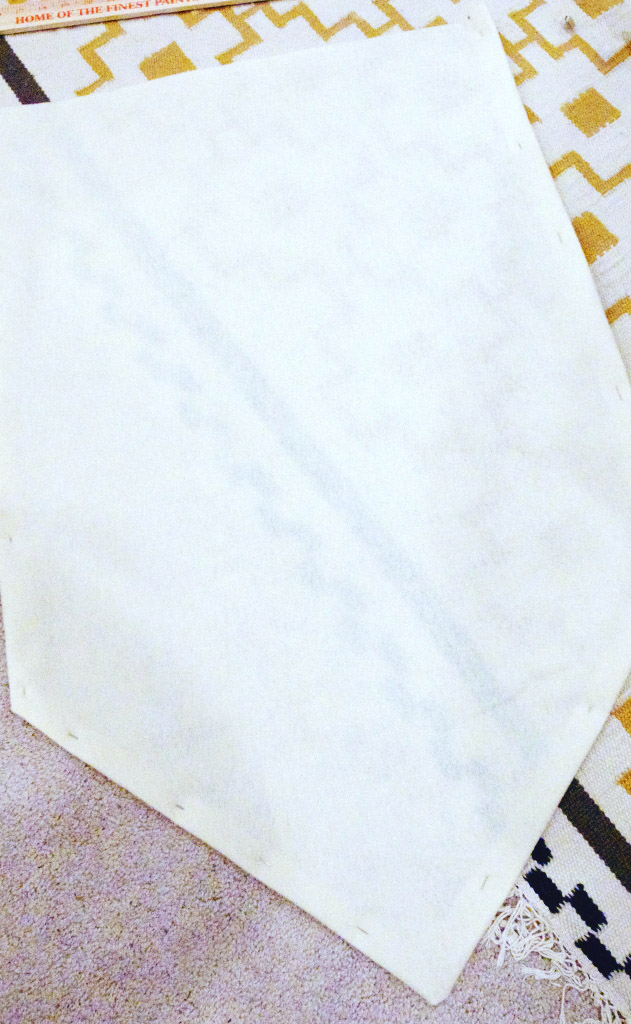
Now choose a thread in a contrasting color, and sew around the BOTTOM FOUR sides of the banner using an overcast stitch.
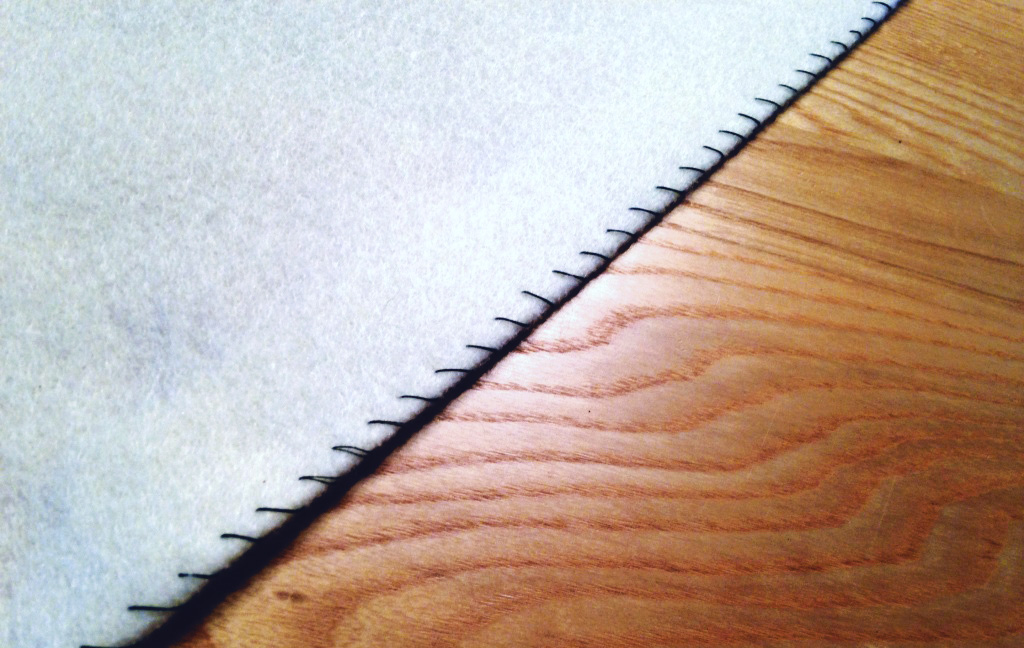
Once you have finished sewing the edges, fold the top of the banner over the dowel and pin it down, making sure it is perfectly perpendicular to the sides of the banner. Remove the dowel, switch to a thread that matches your felt, and sew using a running stitch.
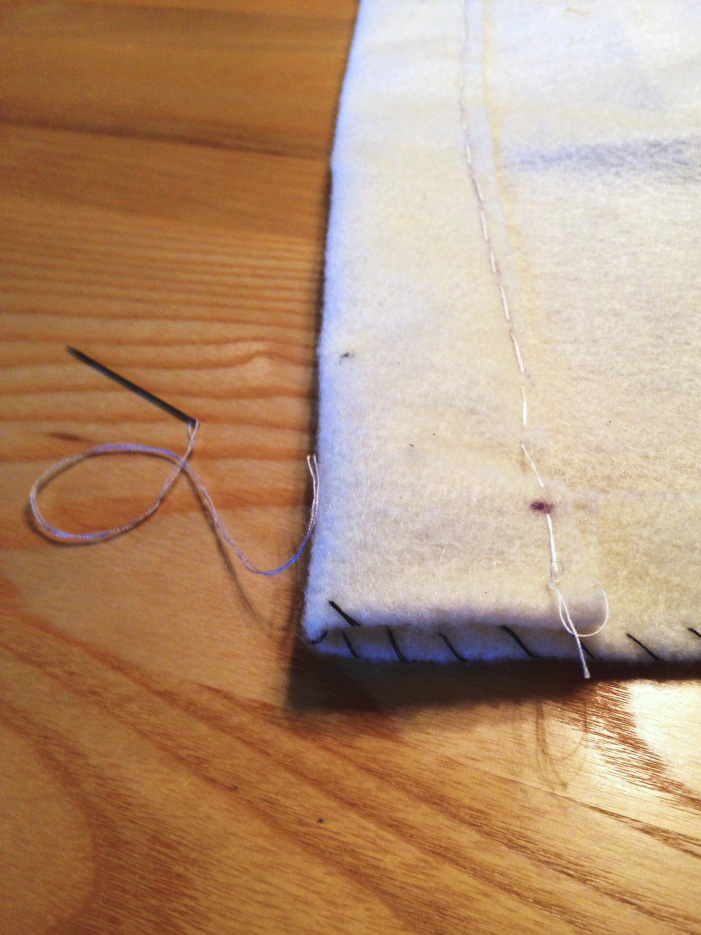
Now is a good time to measure and cut your dowel down to size, if it is too large.
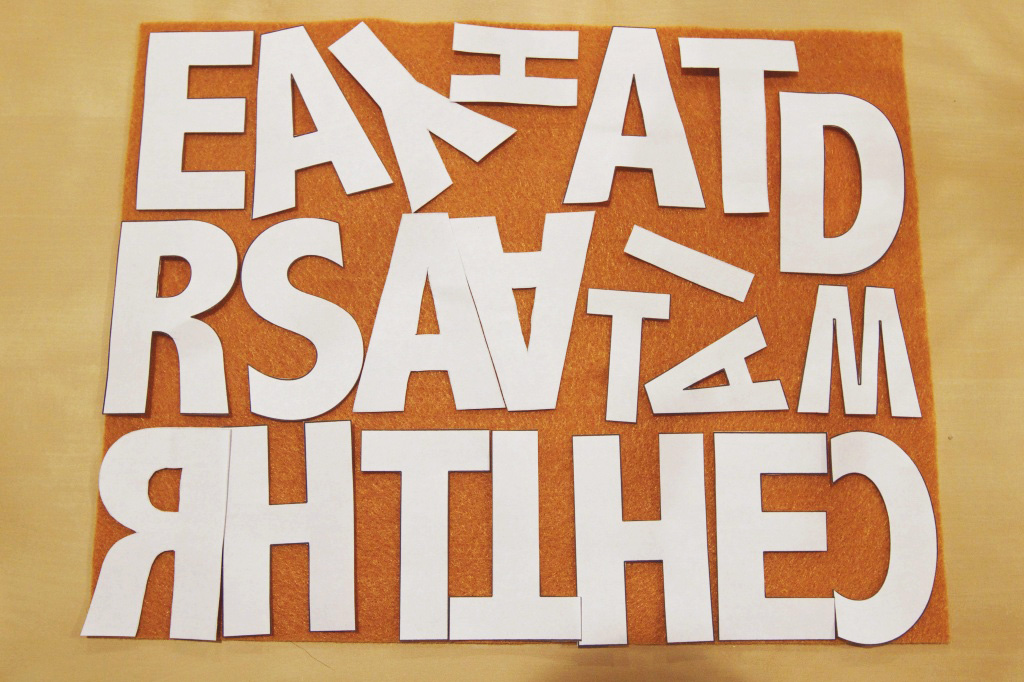
On your computer, increase the size of your font until it is large enough for your taste (mine was 300 pt). Print the quote, and cut out the letters. Place the letters onto your smaller pieces of felt, trace, and cut them.
Arrange them on your banner, checking your placement so that it is centered and level. Pin them in place.
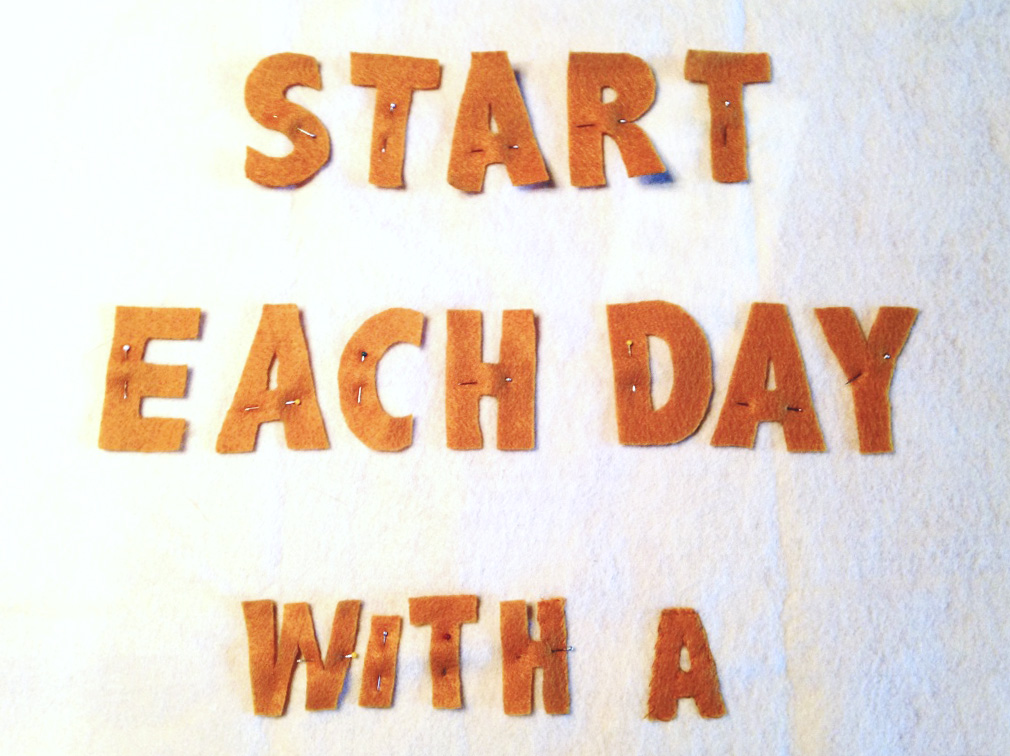
Spread the Liquid Stitch onto the backs of the letters, unpin, and press. Let dry for at least 30 minutes.
Thread the banner back onto your dowel. Wrap one end of the leather lace around the dowel and tie it, leaving a short tail. Slide the lace so that the knot is behind the dowel, and continue wrapping the lace until it covers the tail. Slide the lace again so that the tail and knot are hidden.
Leaving a long piece for the banner to hang on, wrap the other end of the lace around the opposite end of the dowel and tie. Wrap the lace an equal number of times around the dowel, tie again, cut, and slide the extra back under the felt.
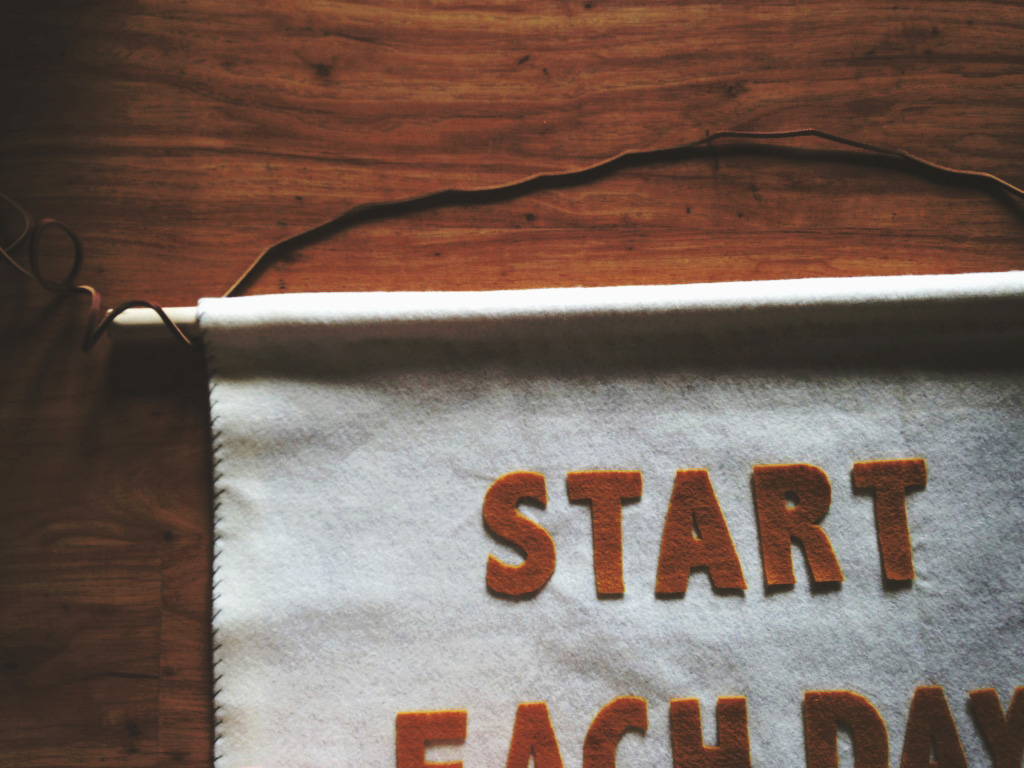
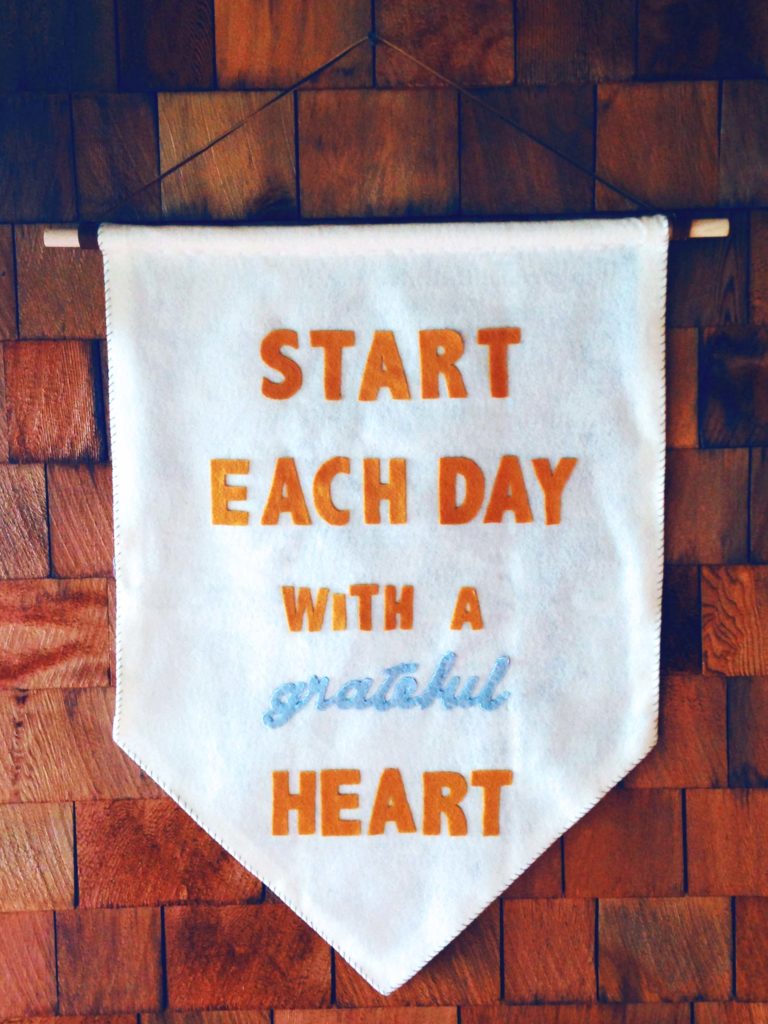
Hurray! Finished! Now hang that baby up and admire it 🙂






Brynne@TheGatheredHome
| 25 November 2014I love this! The instant I saw it I thought “camp” – in that awesome retro Wes Anderson kind of way – basically, I love everything about this project 🙂