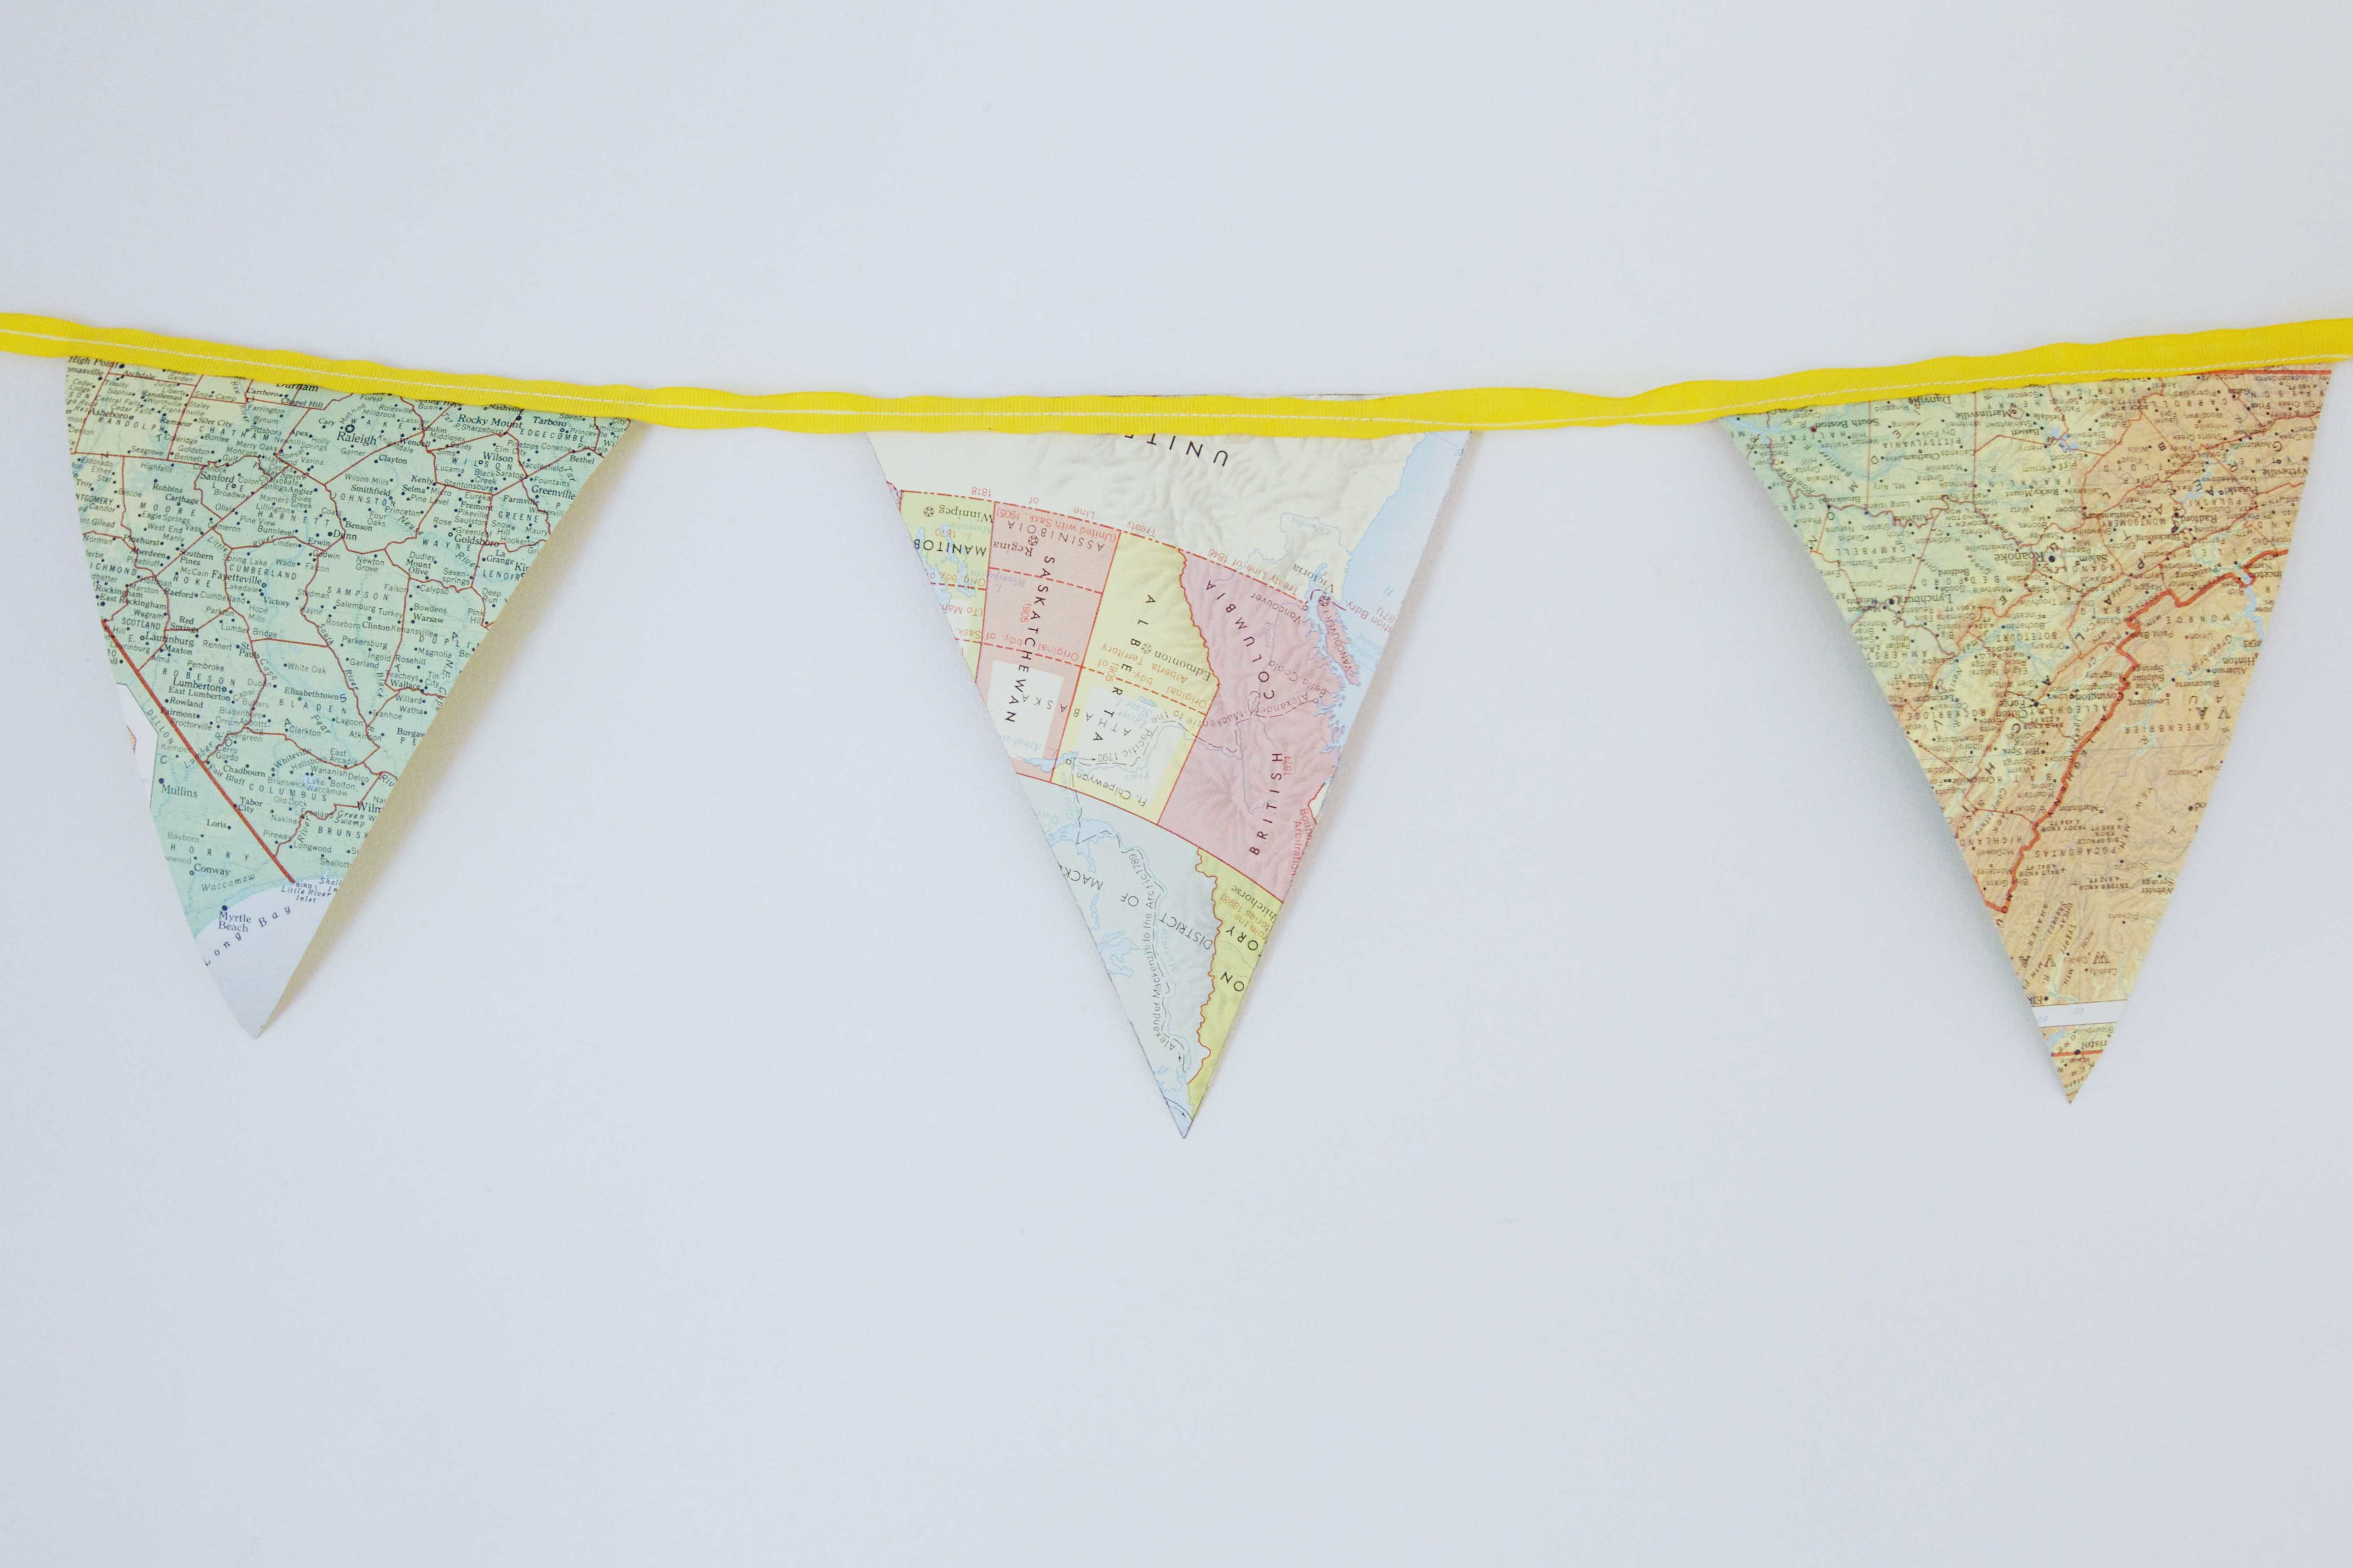
DIY: How to Make Your Own Map Bunting
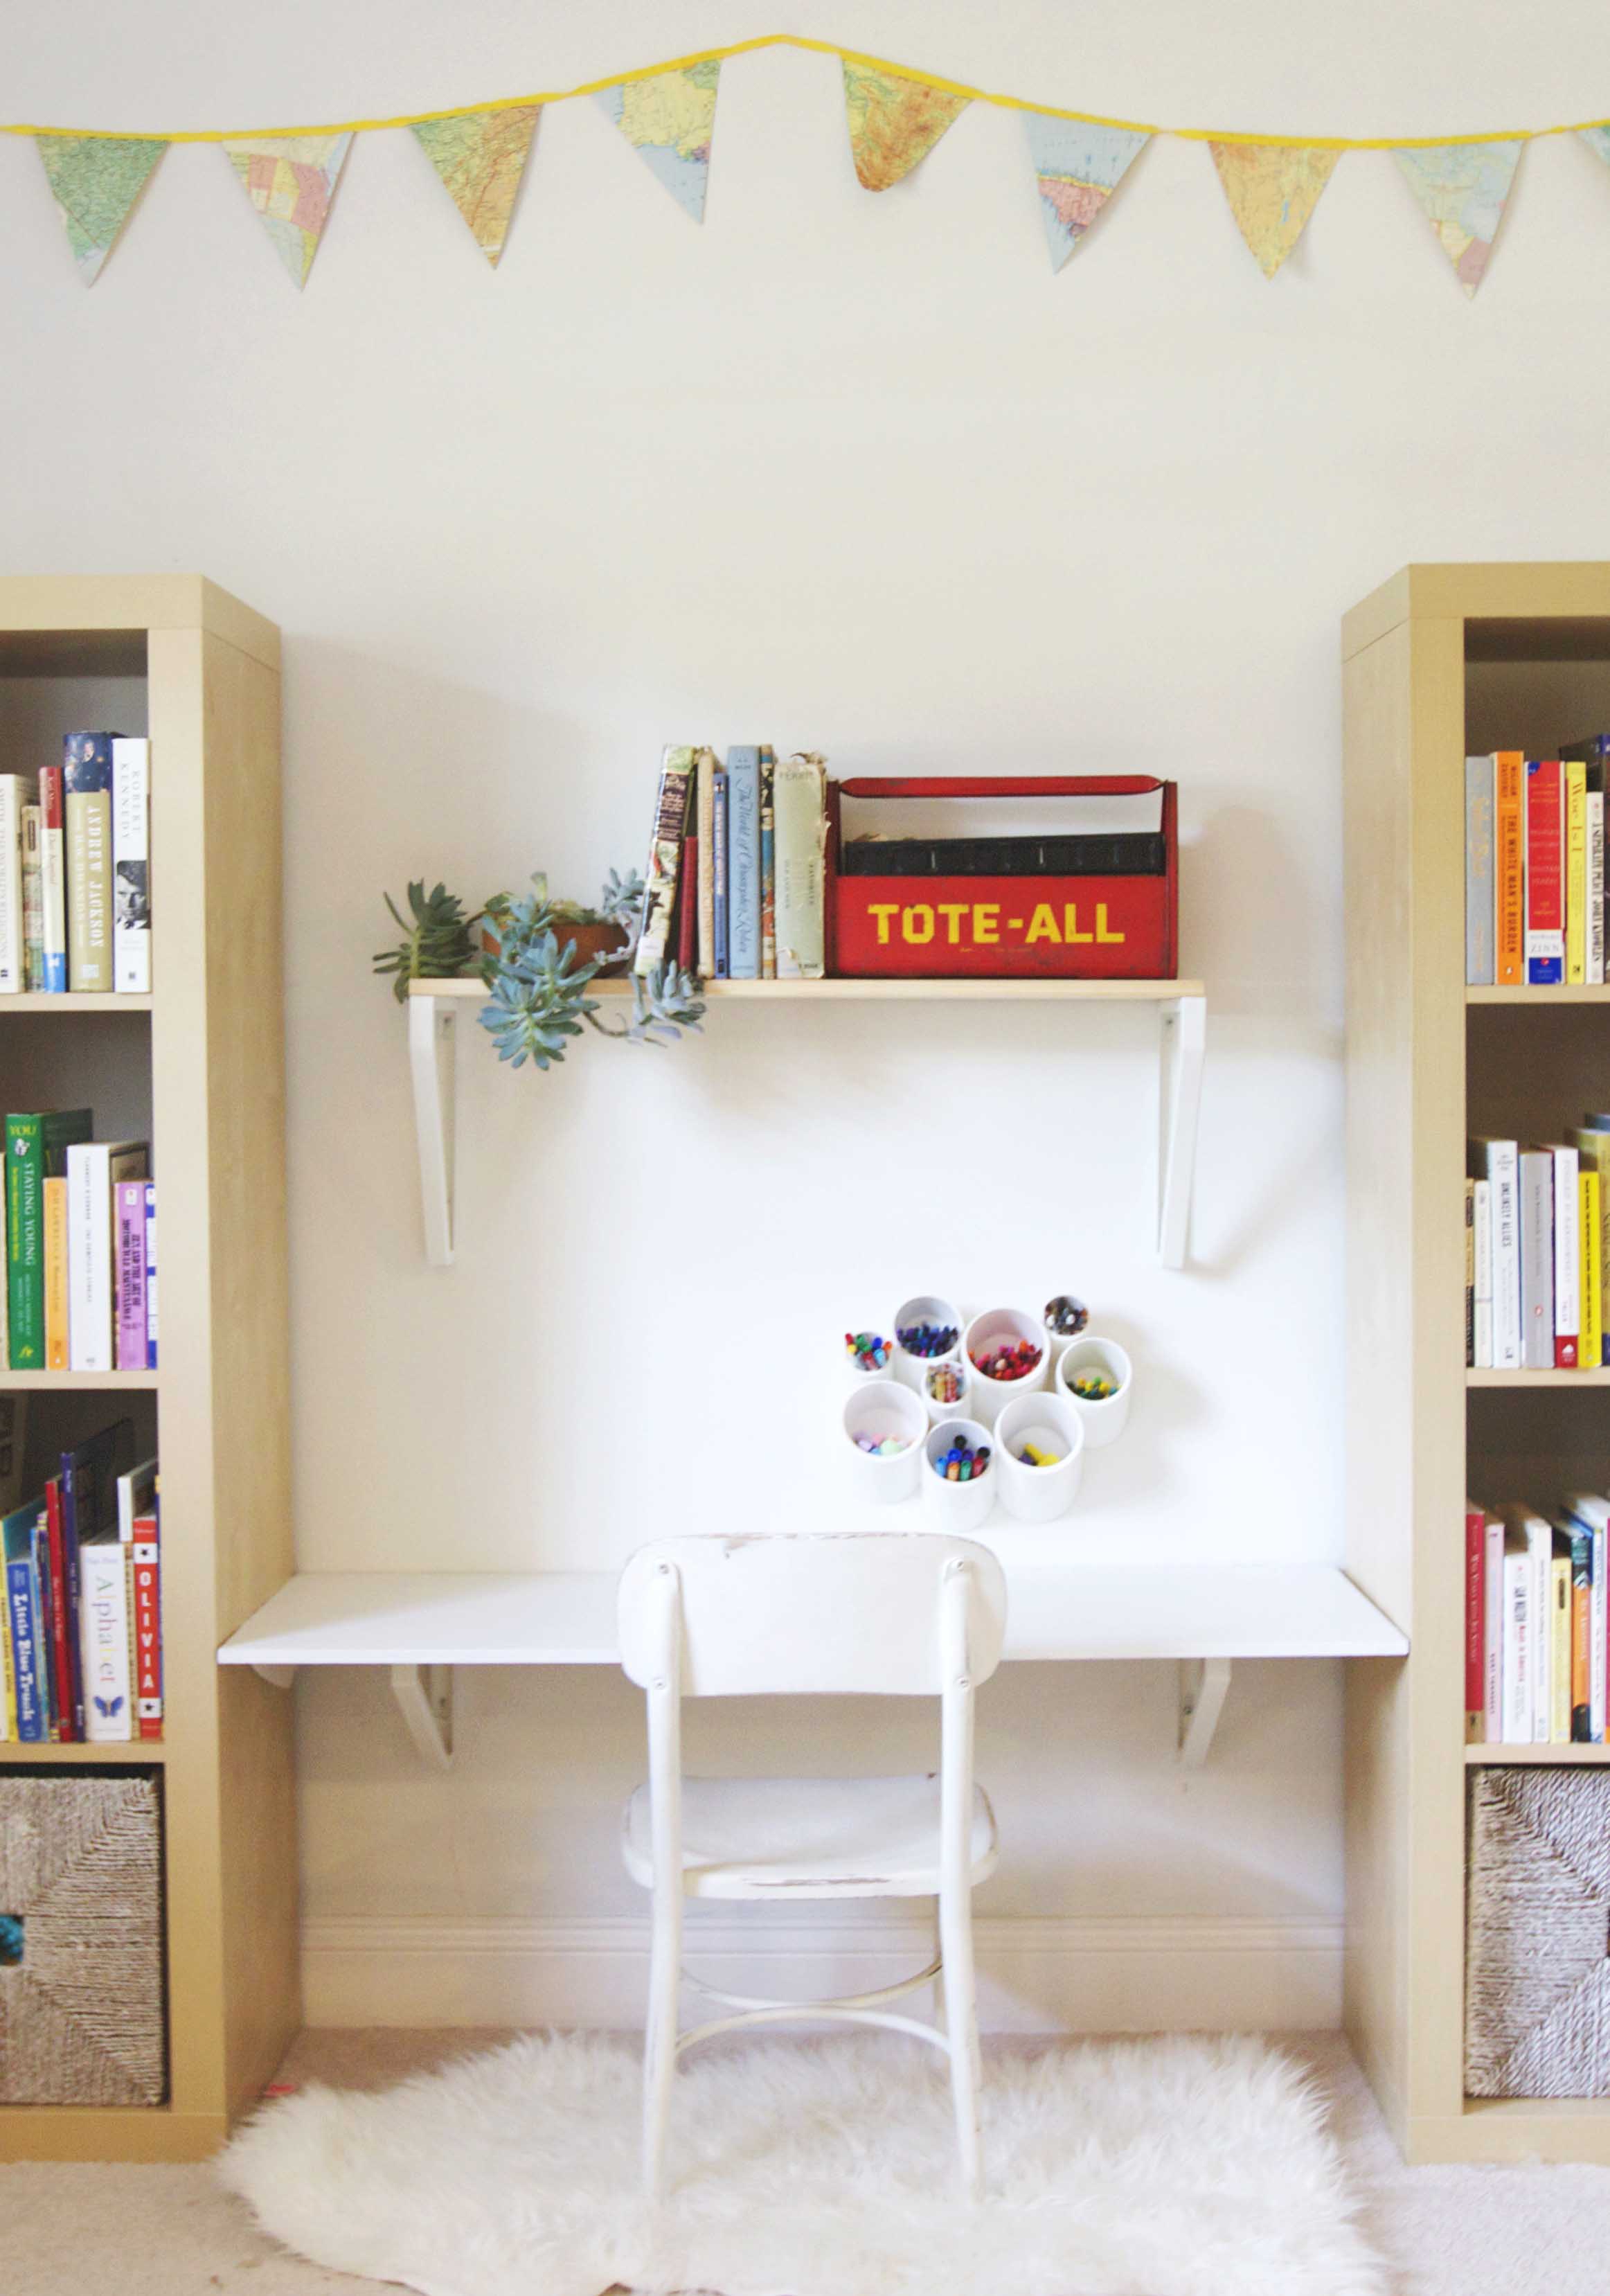
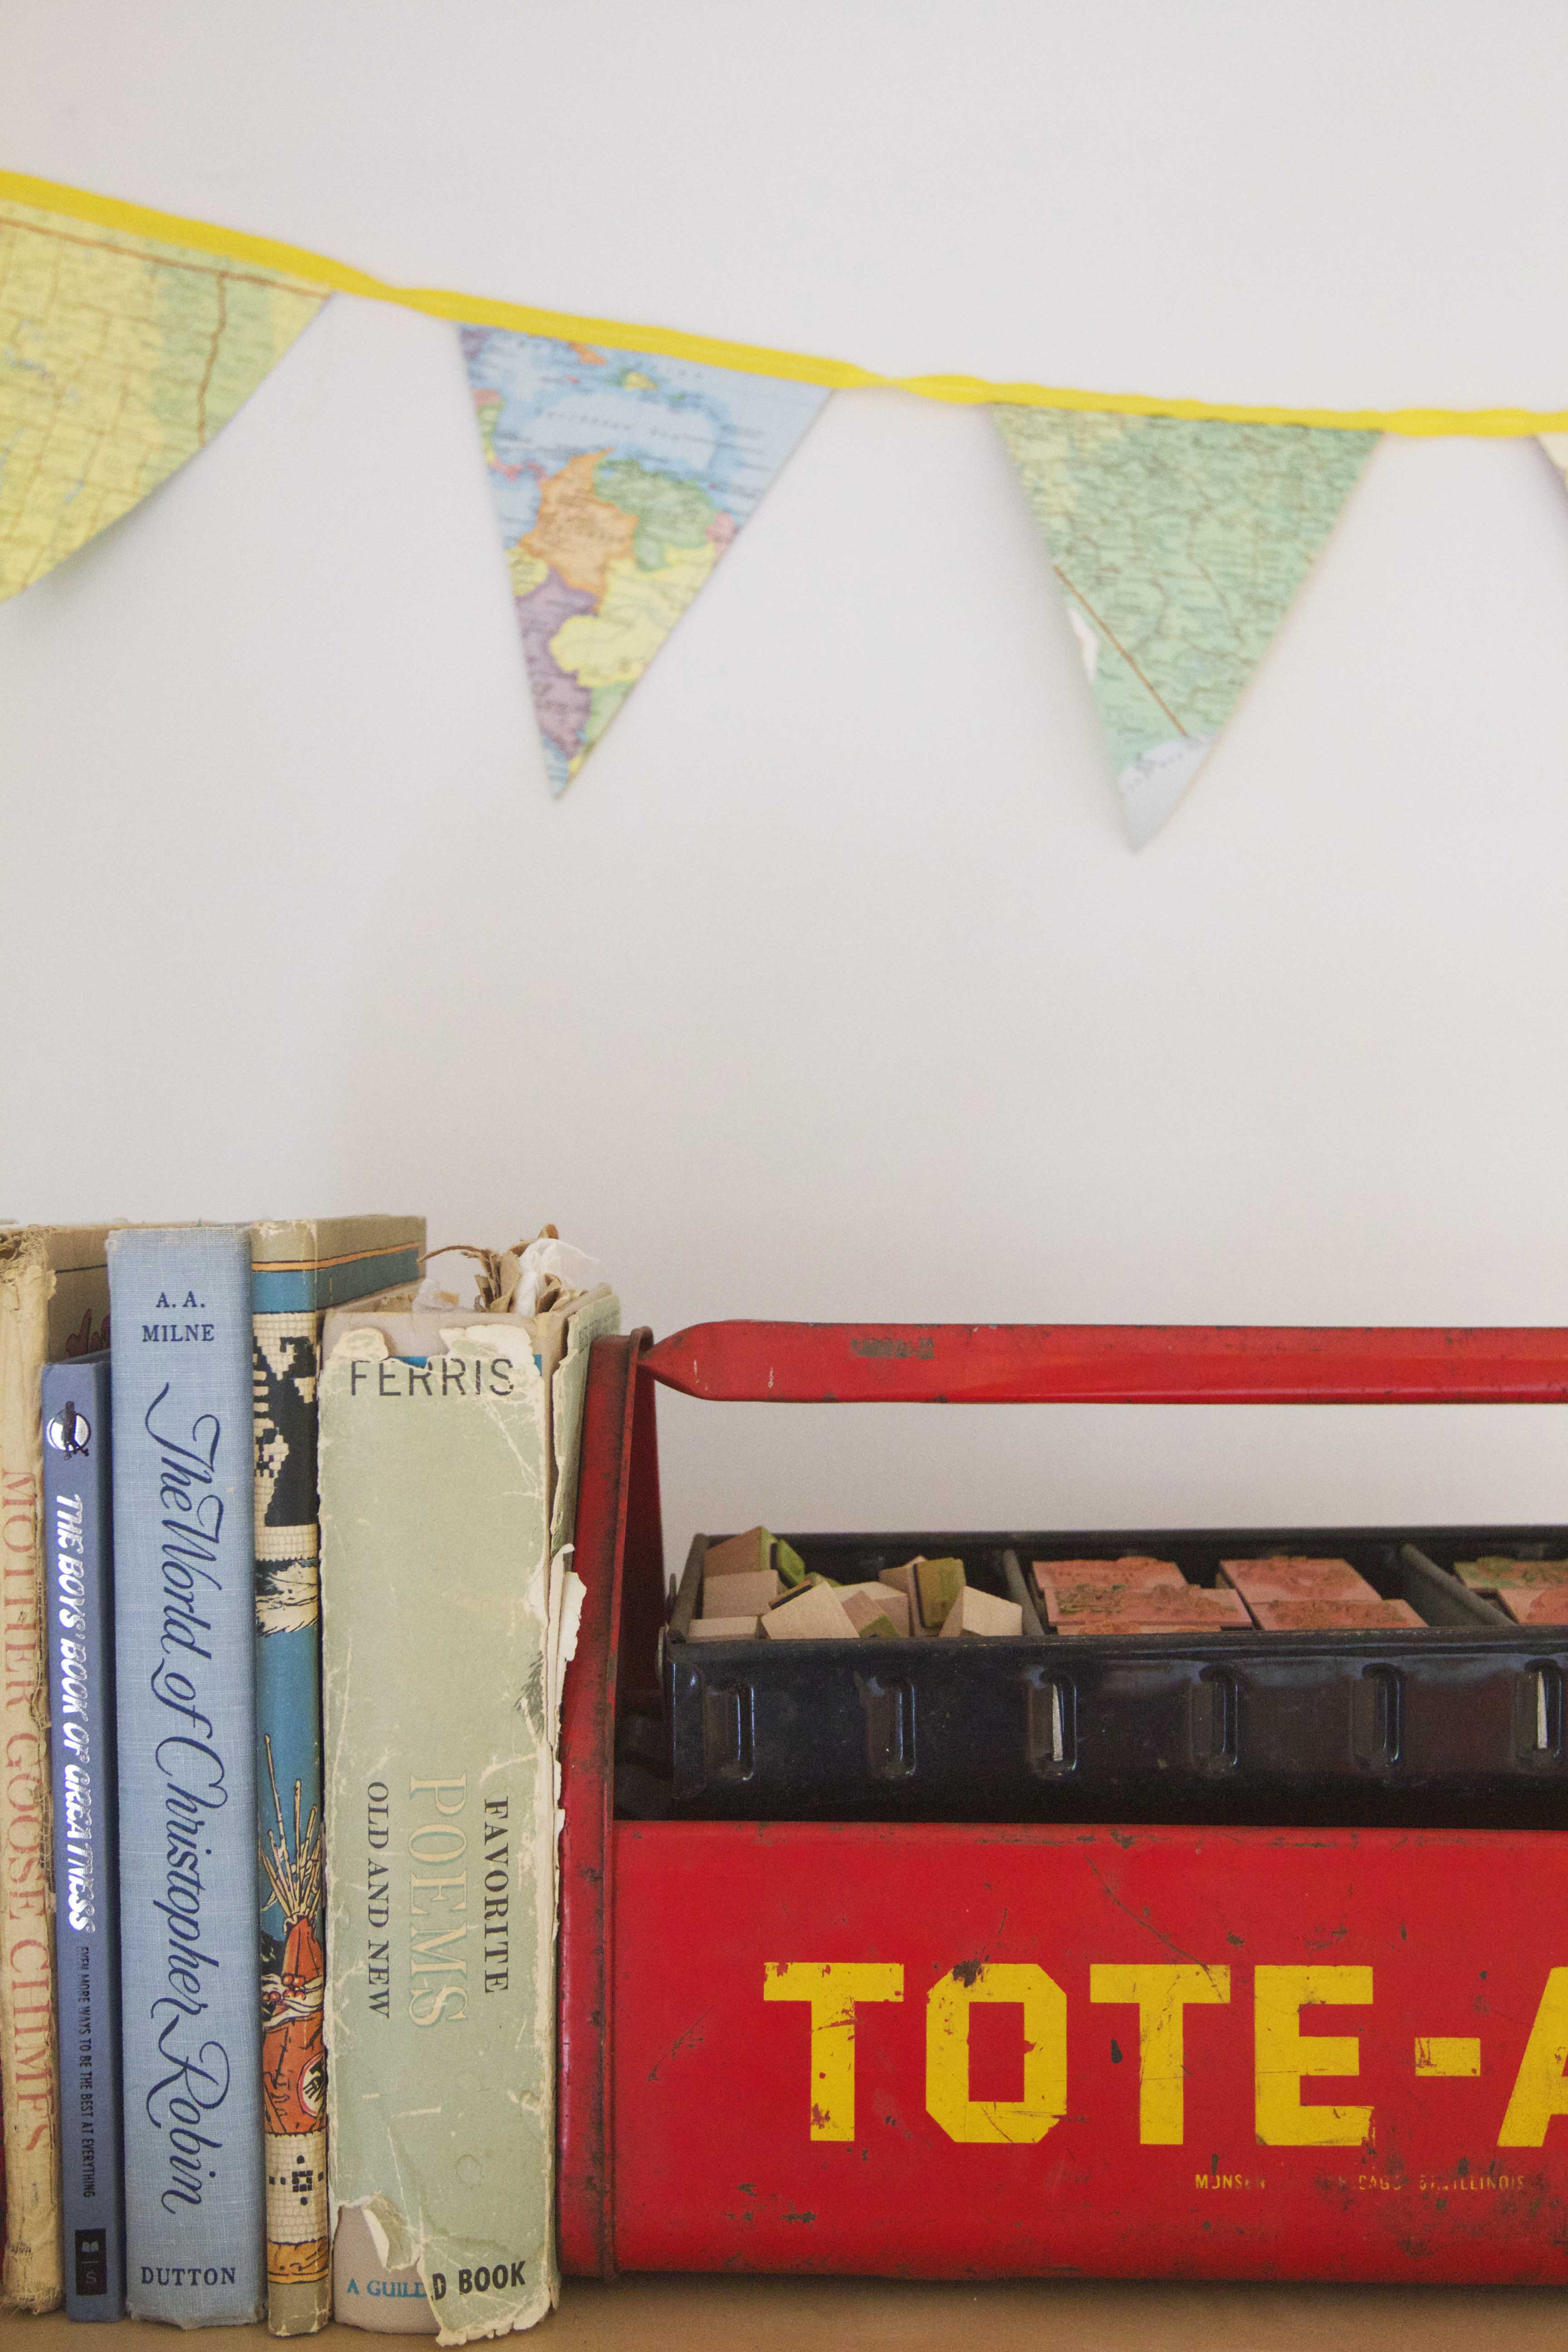
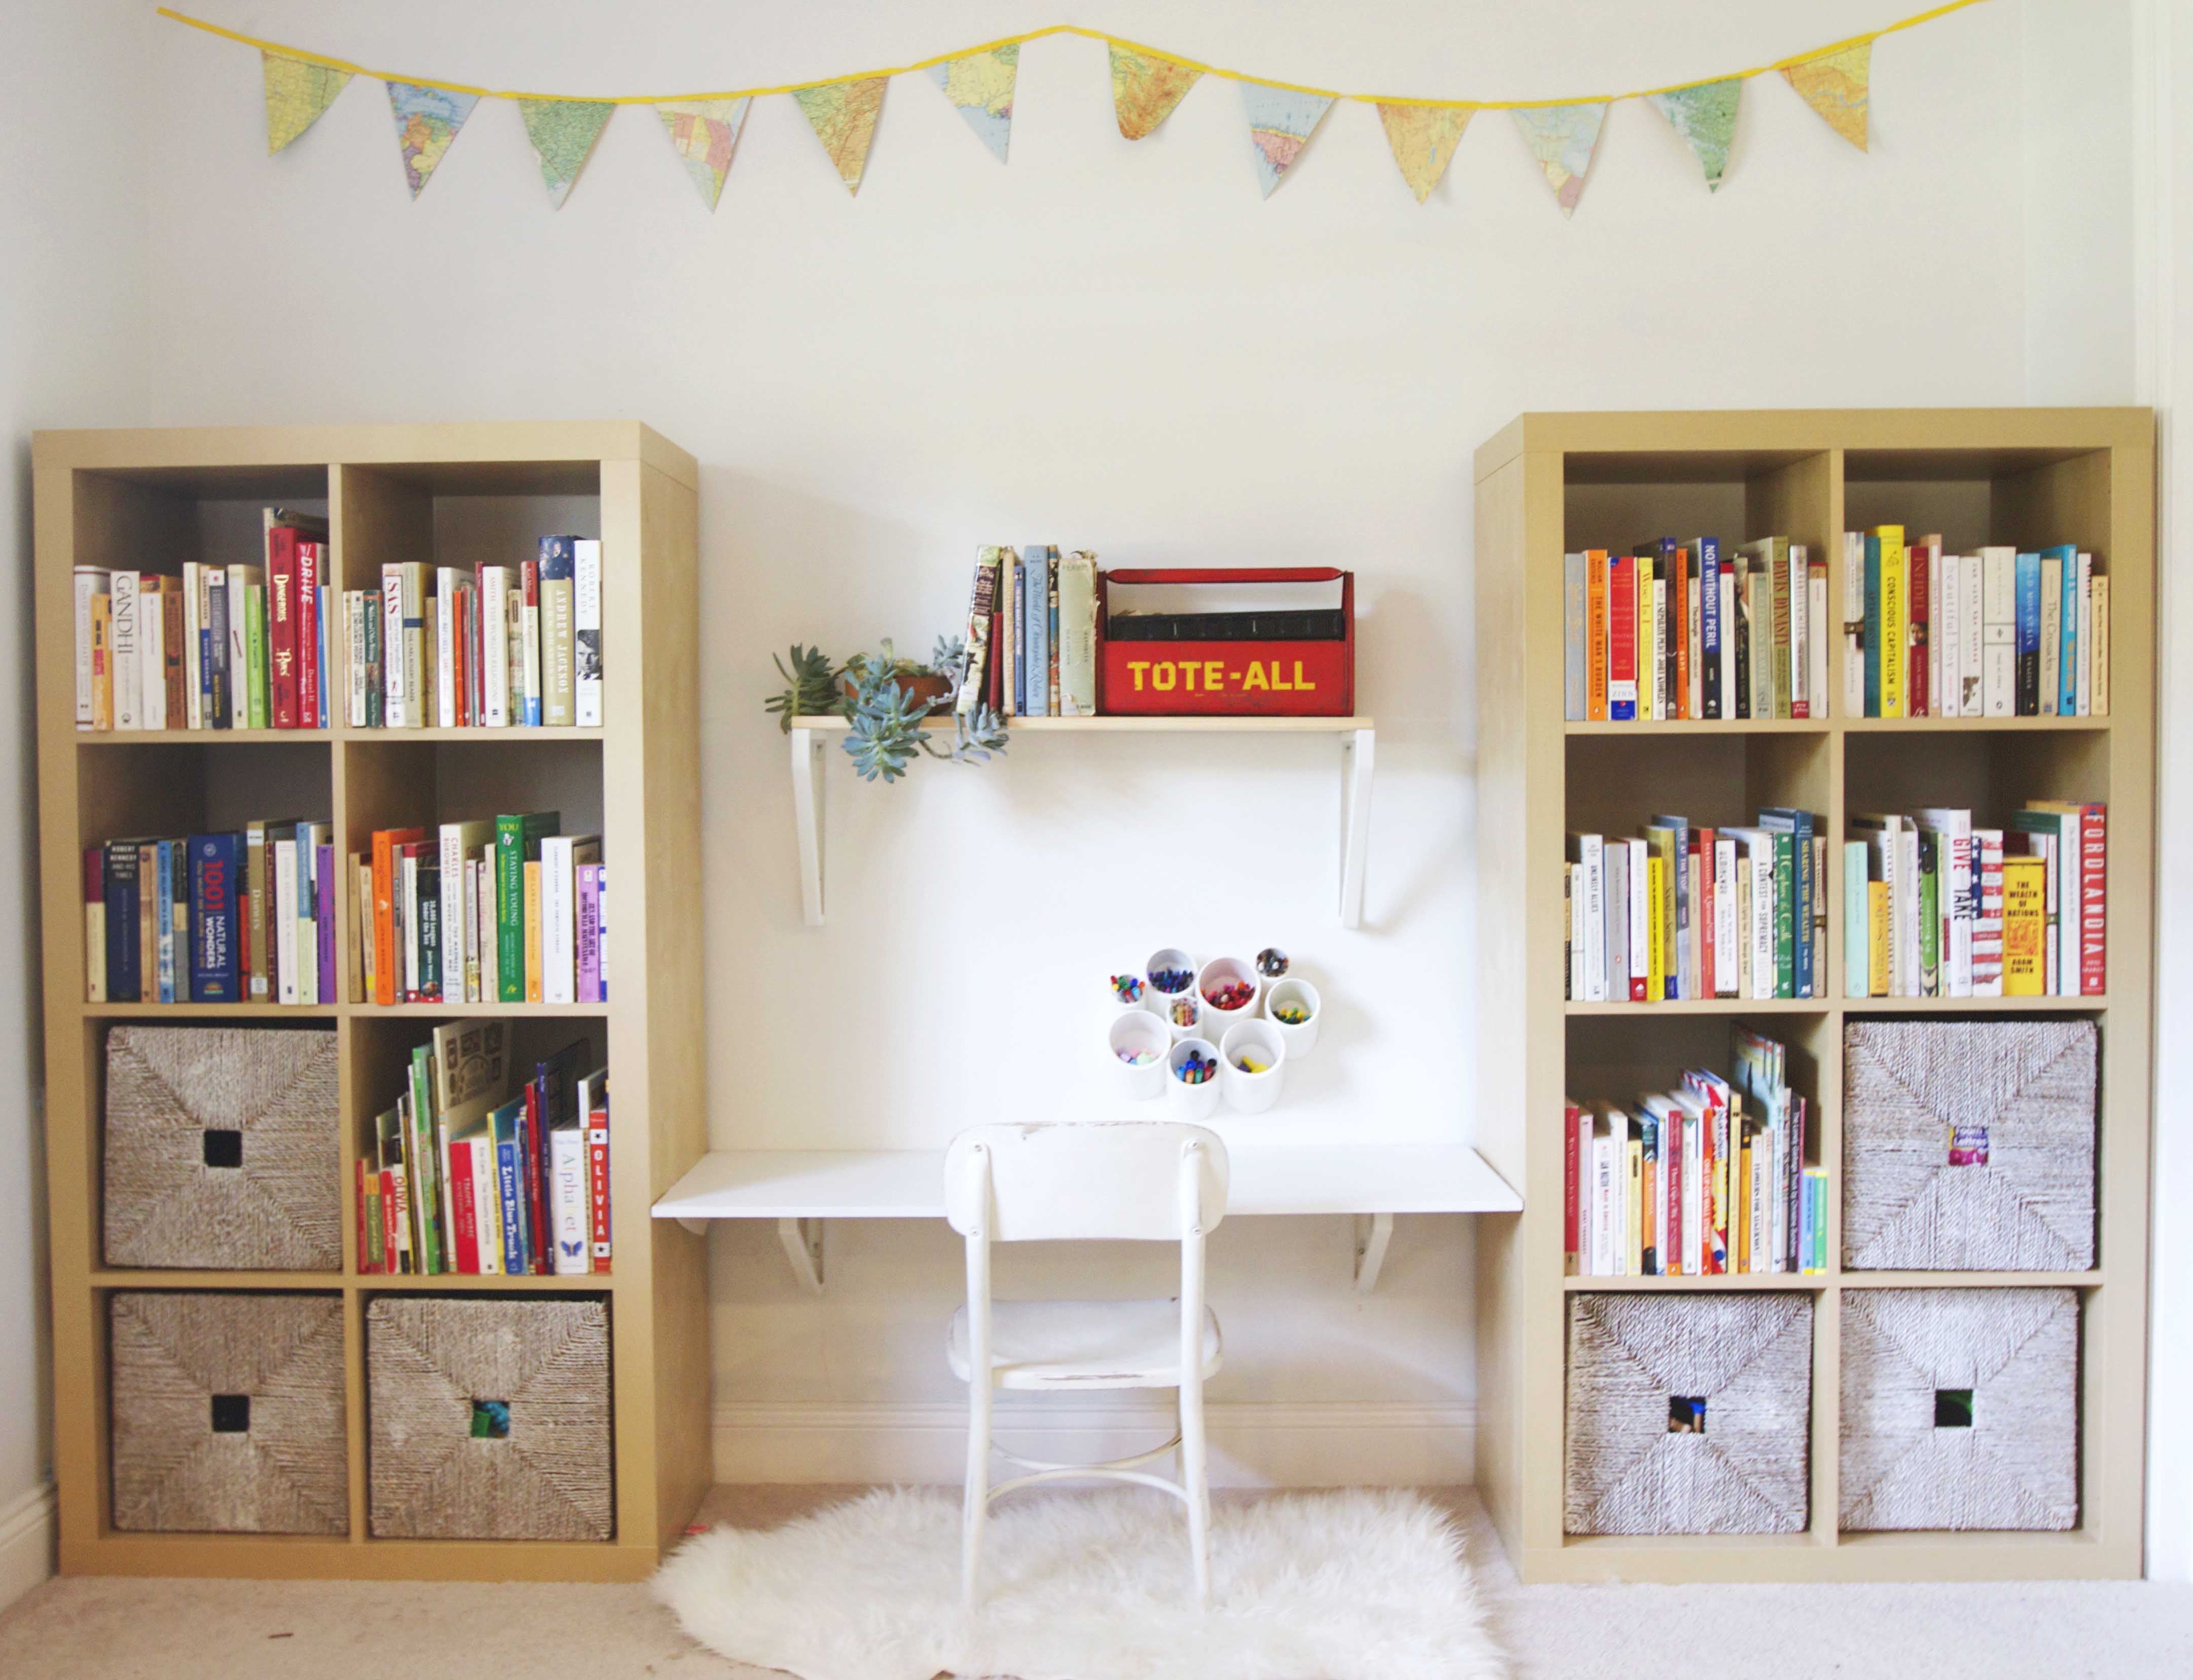
I love using garlands and bunting in kids’ spaces–they add a fun and festive vibe and are incredibly easy to make. As some of you know, these past few weeks I’ve been making over C’s playroom as part of the One Room Challenge (see the project from the beginning here and here). I wanted to include a subtle vintage schoolhouse theme, and what is more “schoolhouse” than maps? After finding the perfect map garland on Etsy, Cassie from Primitive and Proper pointed out that this could be a great DIY project. And she was right!

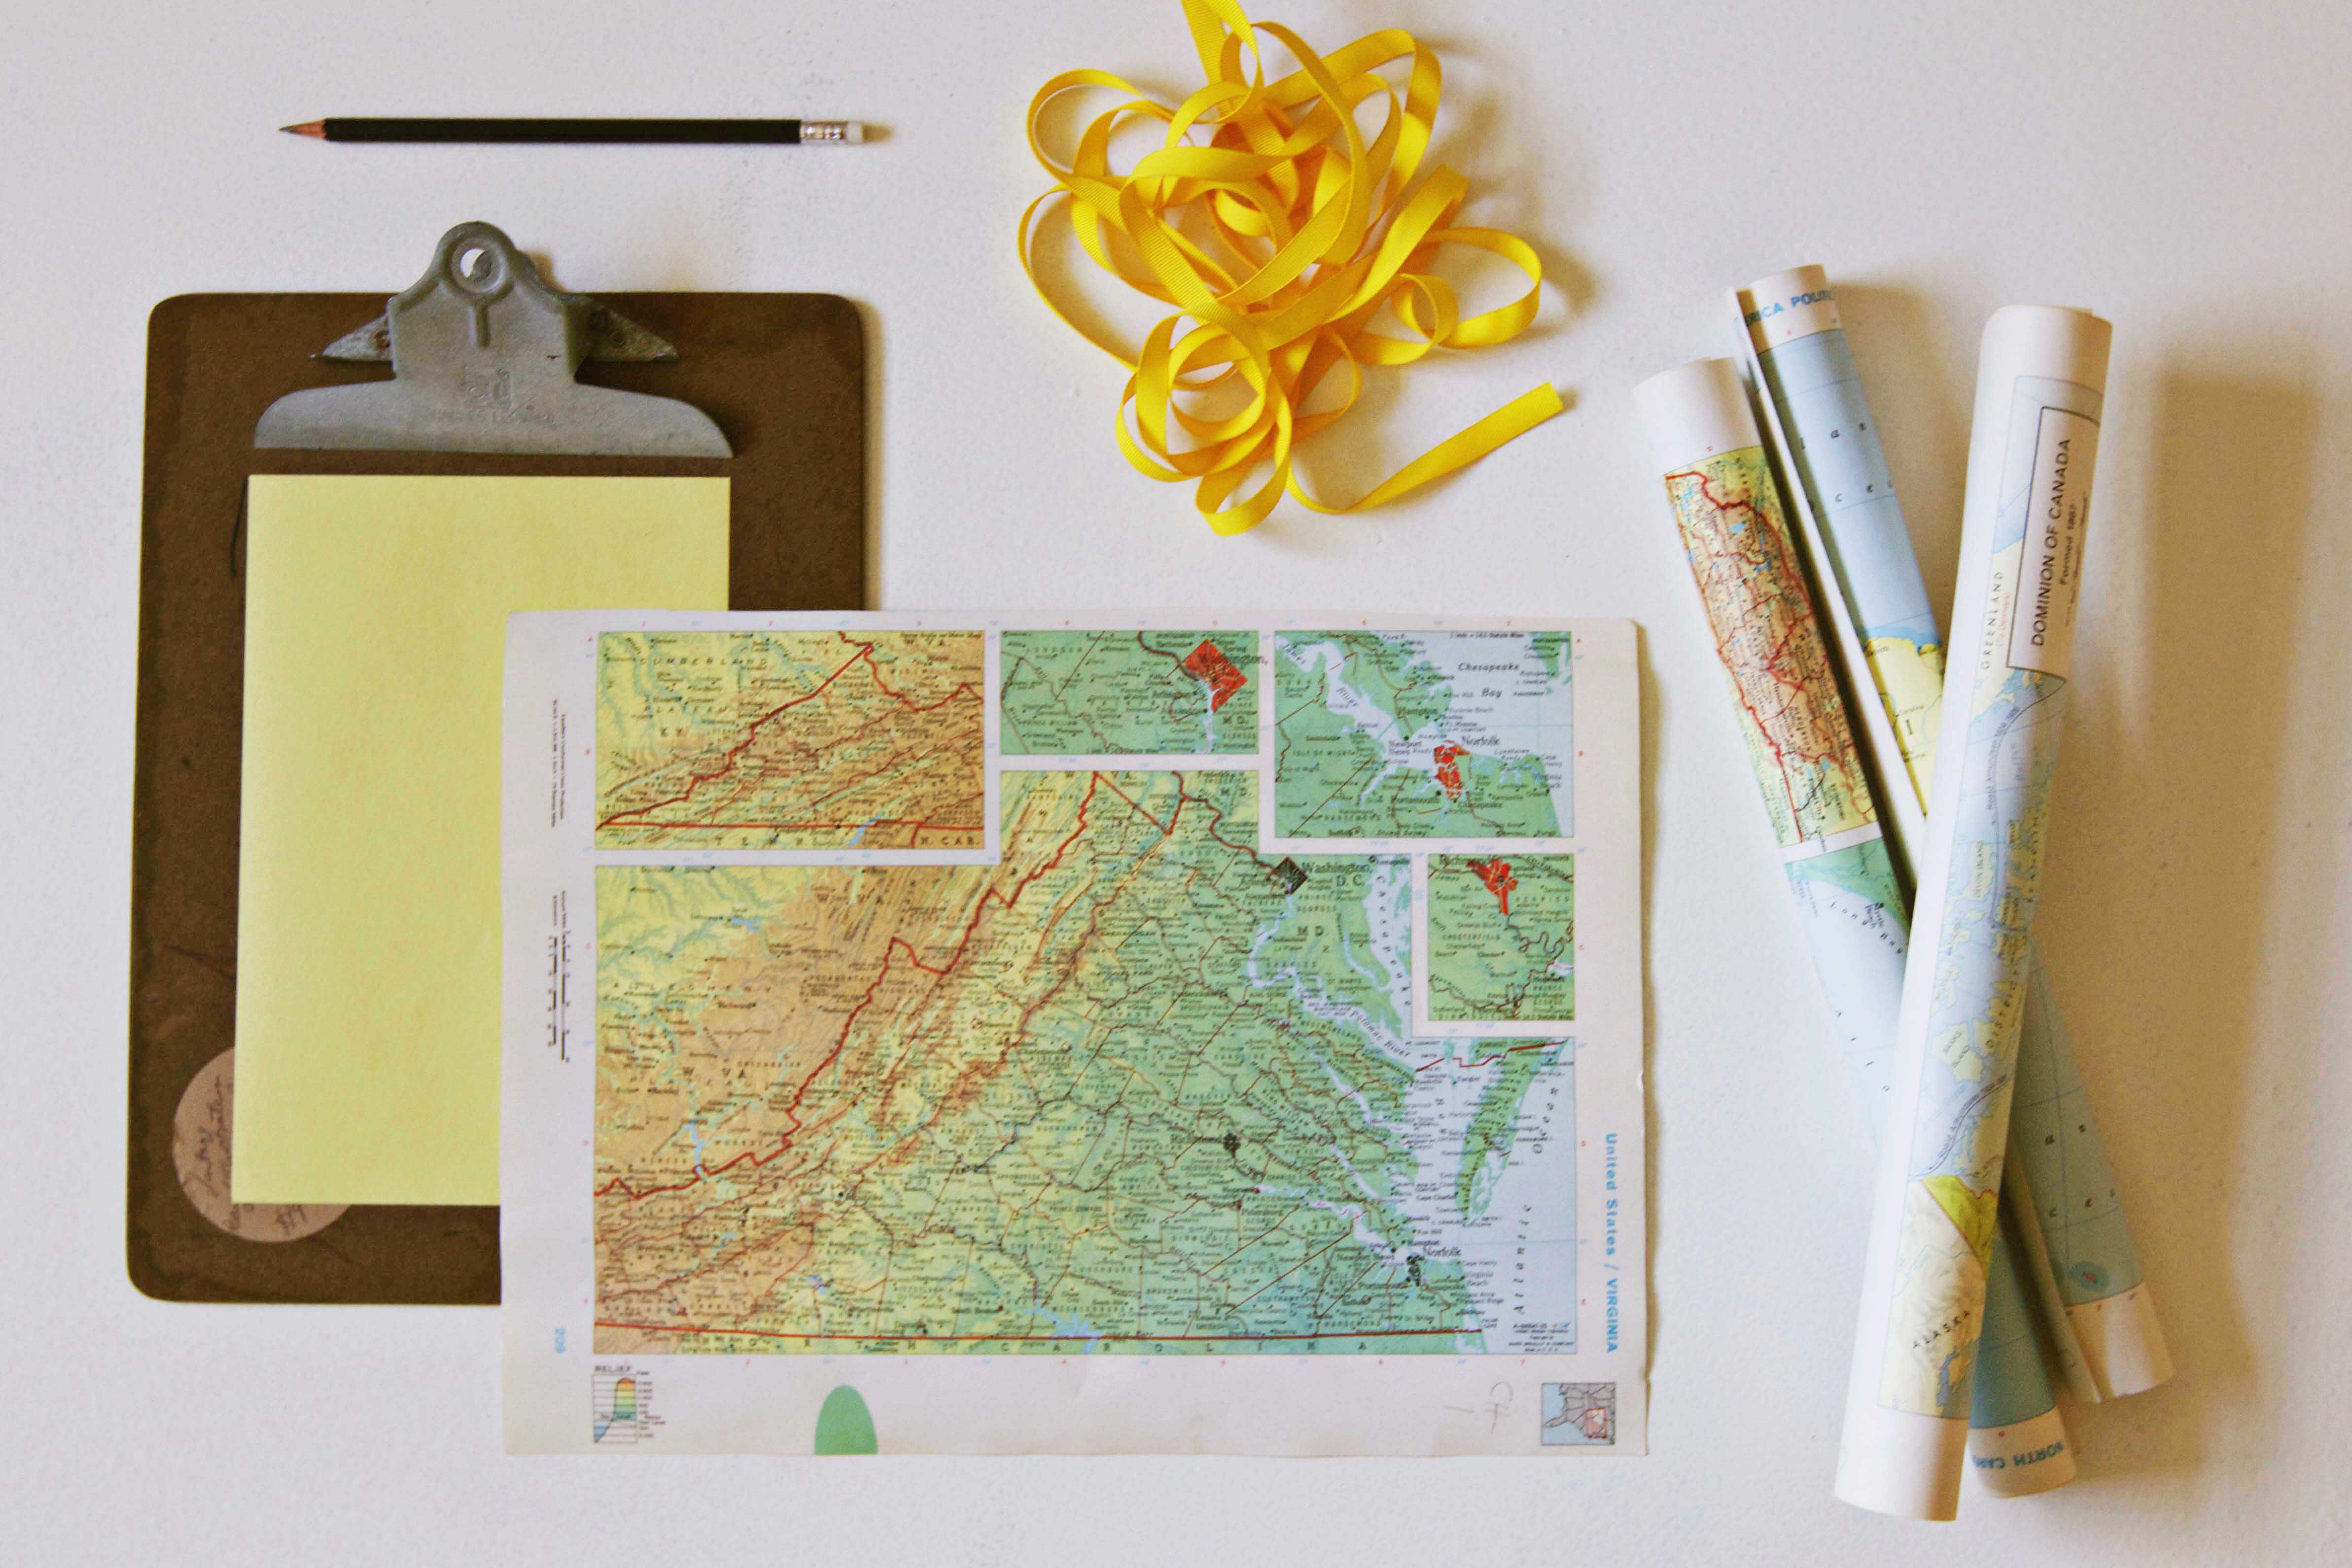
Supplies:
- Vintage maps. I found several for $1 at Cassie’s Sweet Clover Barn sale this weekend. That place seriously rocks!
- Pencil
- Sheet of paper
- Ruler
- Grosgrain ribbon, measured and cut to 106″
- Scissors
- Sewing machine & thread
First, make a template using your ruler, pencil, and sheet of paper. The top of the pennant should be 6″ wide, and the whole thing should be 7″ long. I began by marking 3″ and 6″ across the top of my paper, as you can see from the photo:

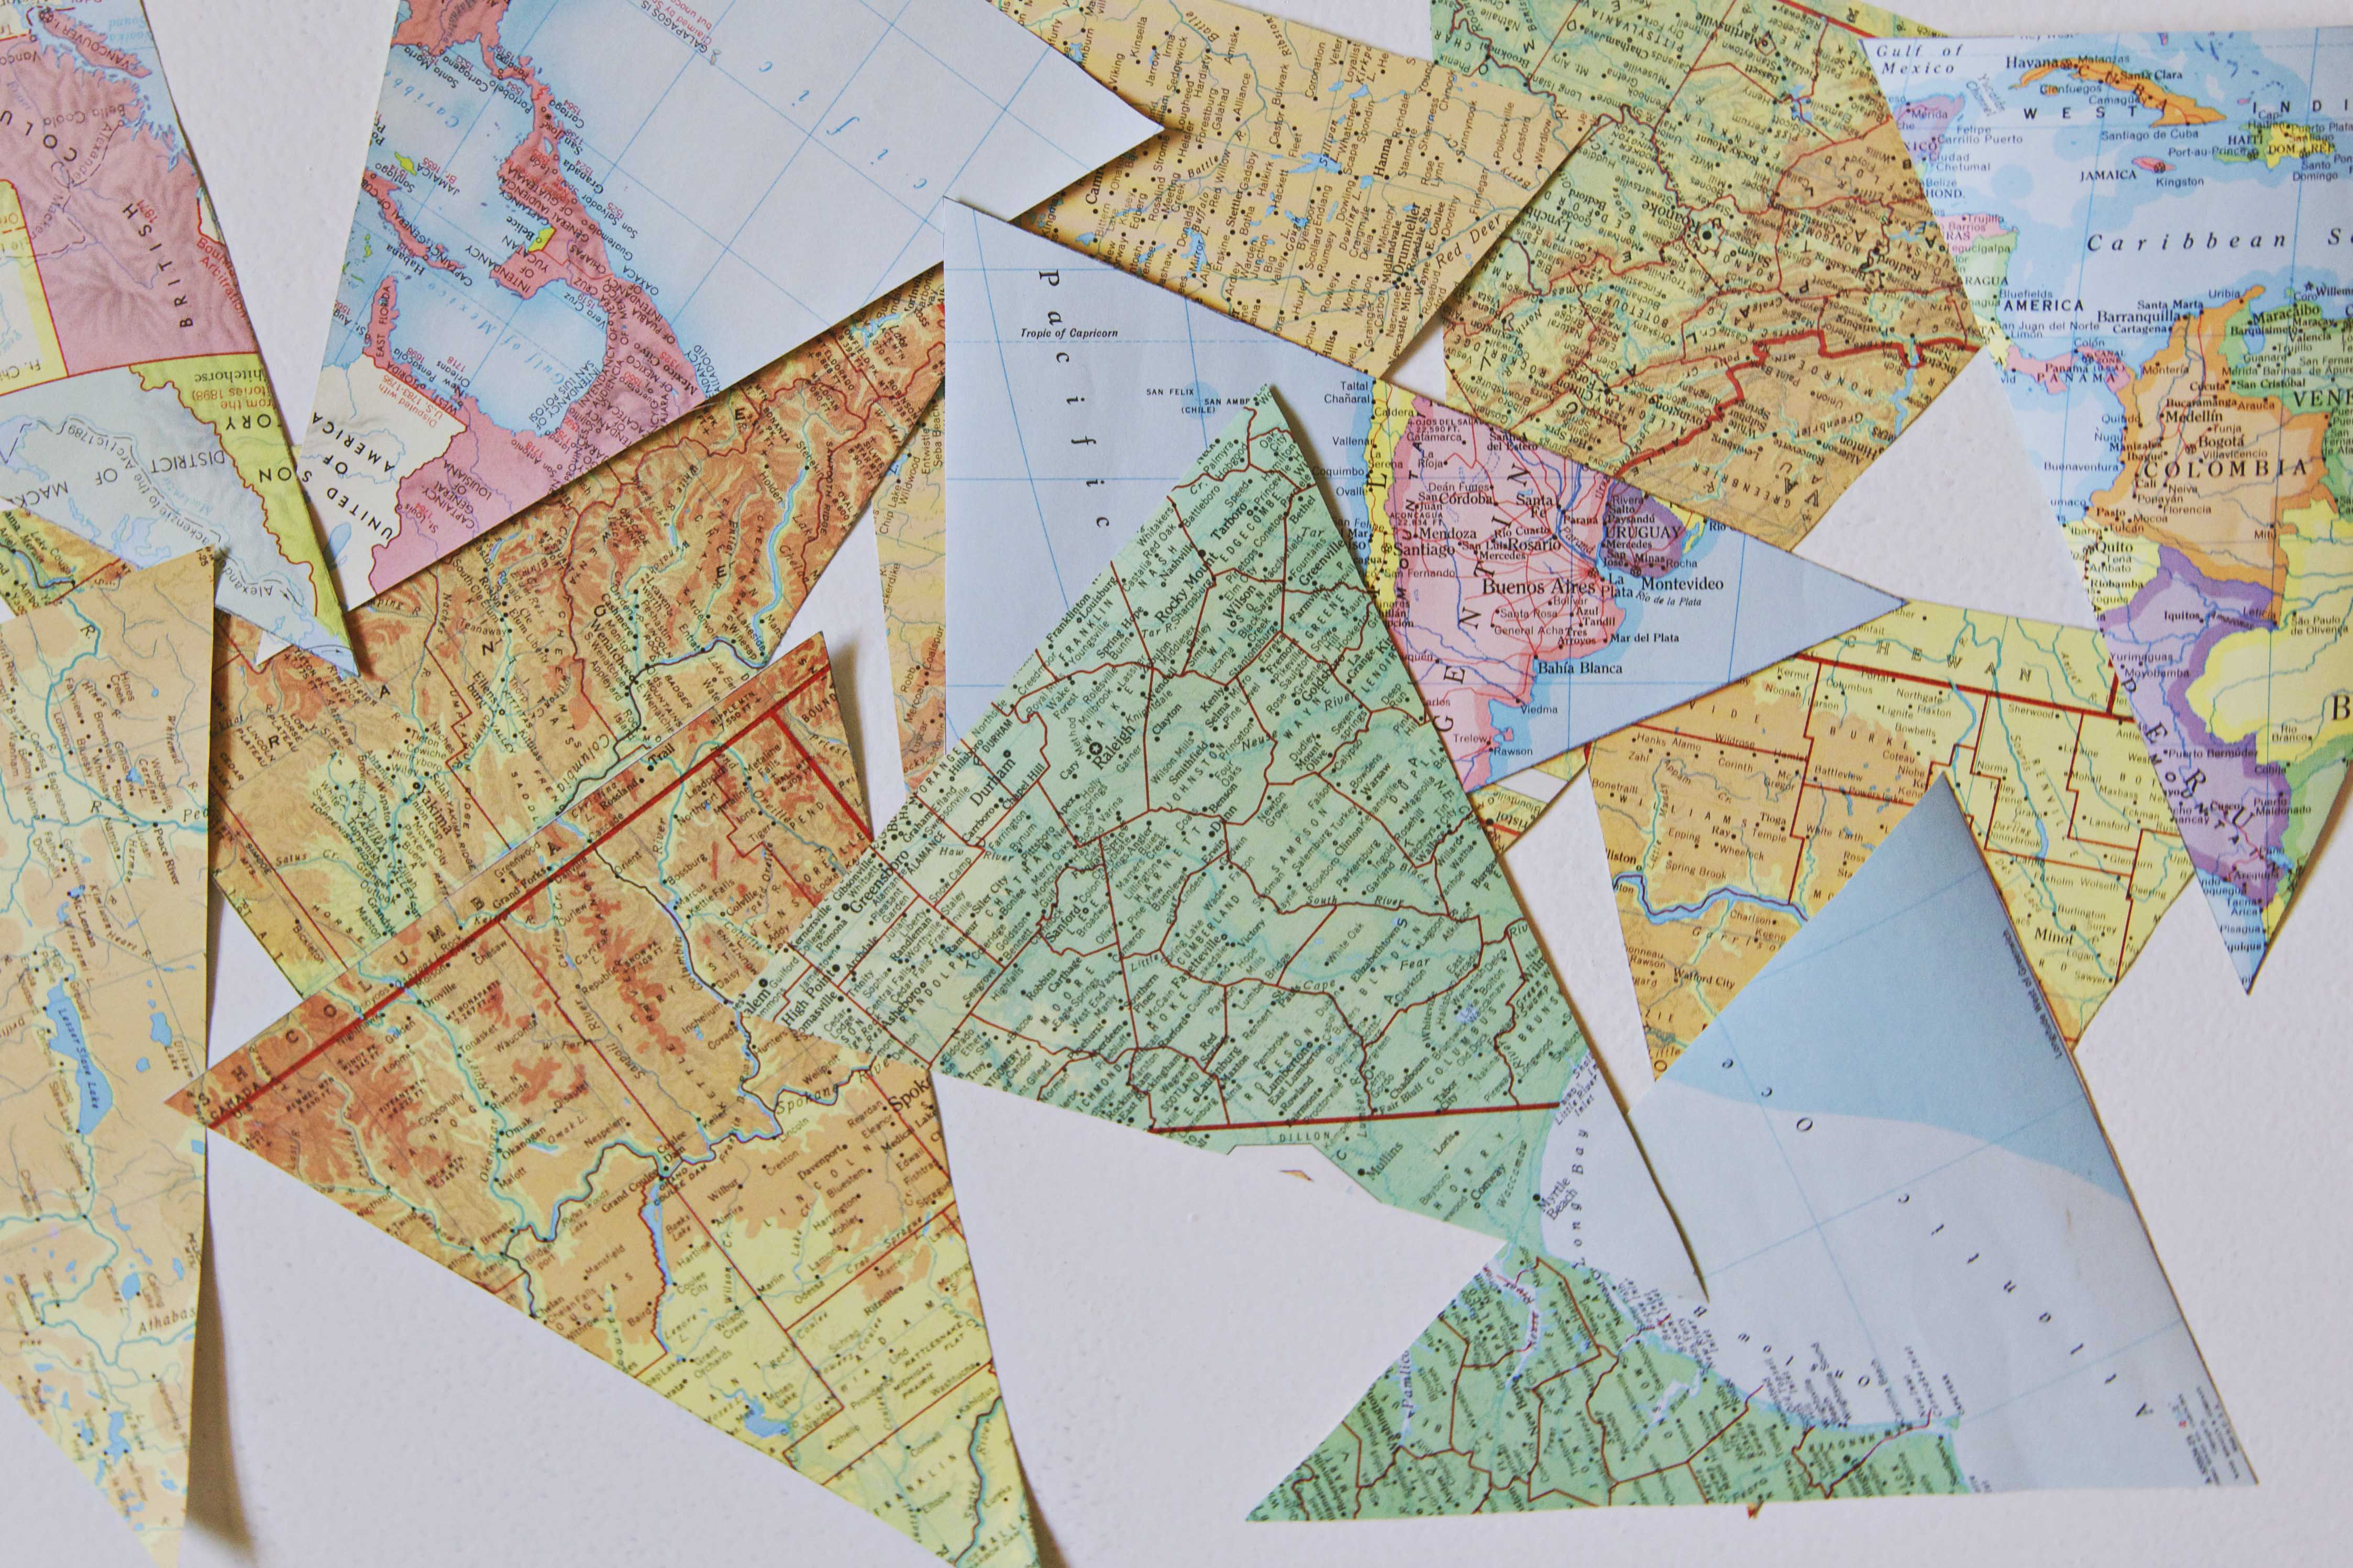
Cut out the template, and use it to trace your pennants. Then, cut them out. (If your maps were rolled like mine, a couple of swipes with your iron on its lowest setting will make them nice and flat.) I cut out 12 pennants for my garland.

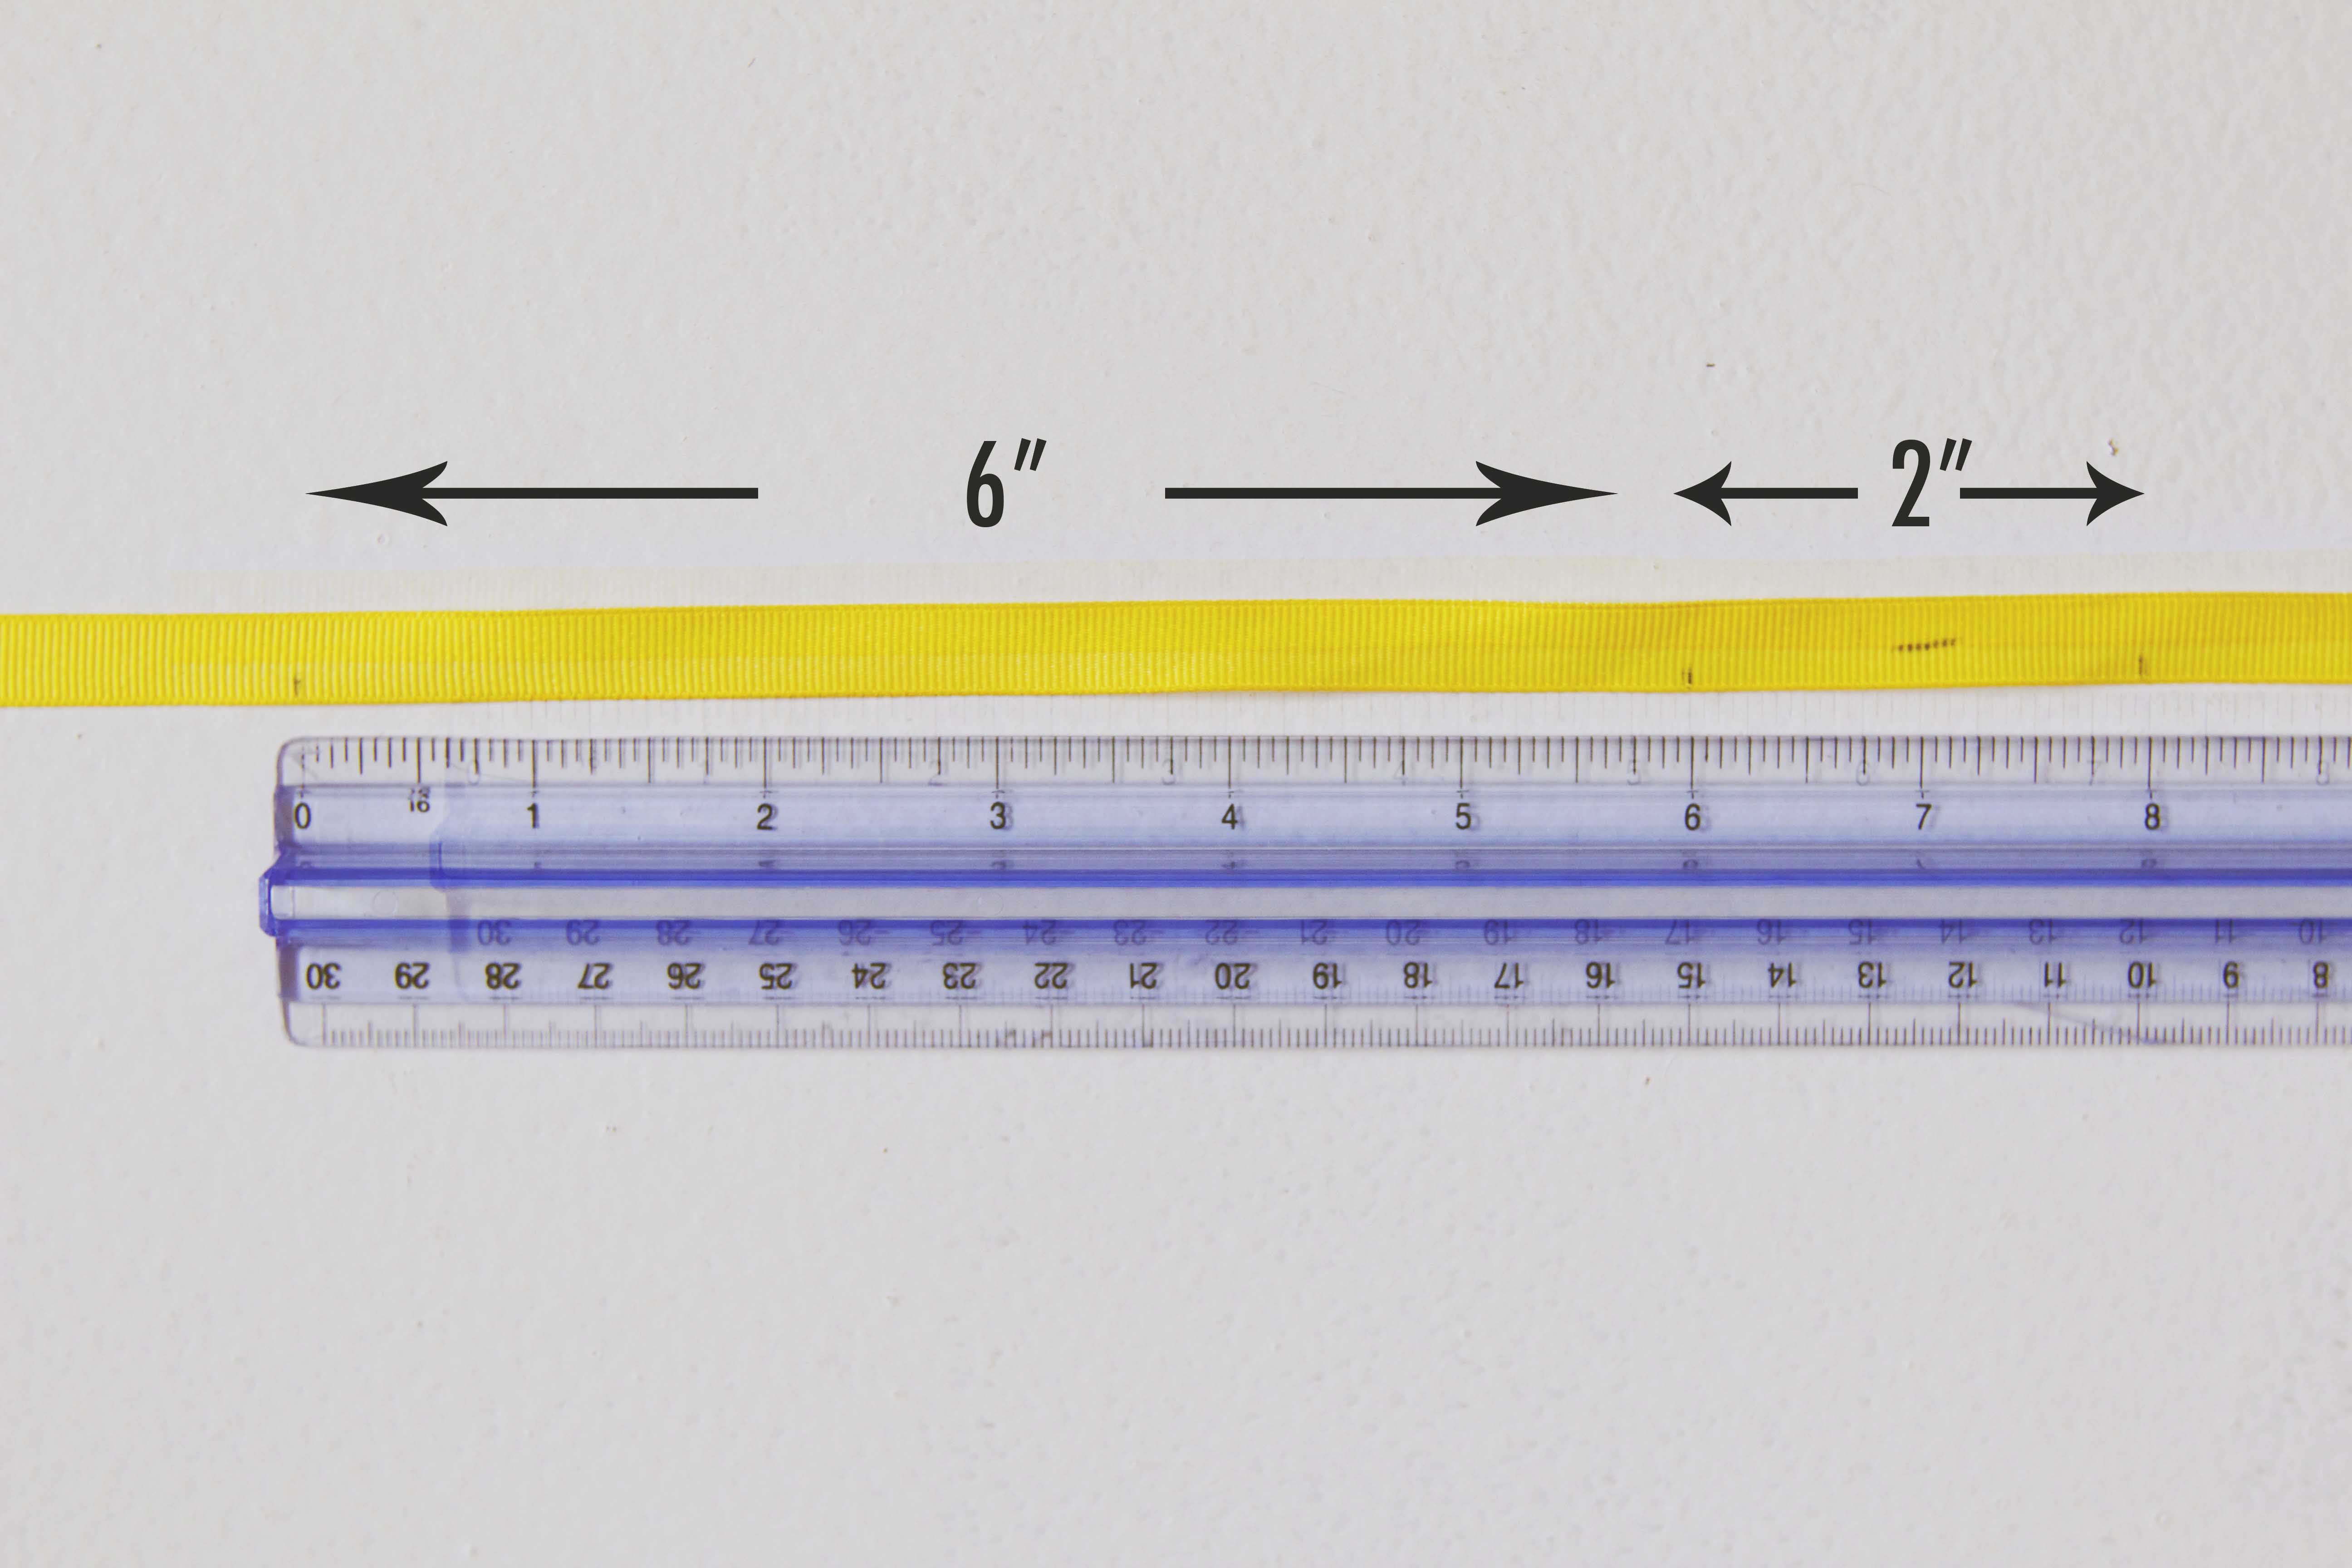
Now take your ribbon, and mark about 6″ in with your pencil (this will be your tail). Then measure another 6″ for your first pennant and mark. Then measure 2″ and mark (for the two-inch space between each pennant). Continue the 6″-2″-6″-2″ pattern down the length of your ribbon.
Then, get out your sewing machine. Place the ribbon underneath the needle, so that the marked side is facing up. Then, take your first pennant and place it face-down on top of the ribbon at your first mark. Make sure the needle is in the center of the ribbon, but the pennant is completely overlapping it, like so:

Sew the pennant to the ribbon, taking care to keep the needle in a straight line. Continue sewing past the pennant into your 2″ marked zone. At the start of the next 6″ section, stop the machine and place your next pennant on the ribbon, face-down. Sew the pennant on just as you did the first. Continue this pattern until you’ve sewed the entire length of the ribbon, and have used all your pennants.
That’s it! Now hang it up and enjoy your handiwork.
Related Posts
 MIXING OLD + NEW DESIGN IN HISTORIC HOMESCohesiveness is the end goal of a well-designed home. If you live in an older house that’s been subjected to multiple remodels by previous ...
 What Does Slow Living Mean?An Interview with the Annabode Team Sometimes I wish I could return to my childhood—before the internet, cell phones, and endless channels and ...
 A Complete Guide to Sustainable Design in 2025Sustainable design aims to reduce waste, conserve resources, and encourage human and ecological health. In other words – it’s the way we ...
Popular Articles


TO DO LIST
- Read this book.
- And this one.
- Keep what you need.
- Donate what you don't.
- Design mindfully.

cassie
| 20 October 2014oh my gosh i am DYING over he stylish cuteness of that area! the map bunting looks amazing and so glad sweet clover was able to hook you up! 🙂 the whole area is fab! can’t wait for the reveal! and thank you again for coming in- it was great to see you!
annabode
| 21 October 2014It was so good to see you! I’m so happy with everything I found at Sweet Clover, I’ll definitely be back again!
Jen
| 20 October 2014So fun! Love schoolhouse, love vintage… this room’s going to be good!
annabode
| 21 October 2014Thanks Jen!
Edwina
| 21 October 2014I-M-Goshness! I am going to have to try this with a wanderlust nursery I’m working on. What a perfect tutorial! Annnnd, the space looks amazing!
annabode
| 21 October 2014Thank you Edwina! BTW you have a beautiful name. Let me know how yours turns out–checking out your blog now, I’ll be sure to follow along!
Robin
| 22 October 2014Perfect! I love the color of your map and it looks so sweet hanging up! Thanks for linking to Twirl and Take a Bow! ox
annabode
| 2 November 2014Thanks Robin!