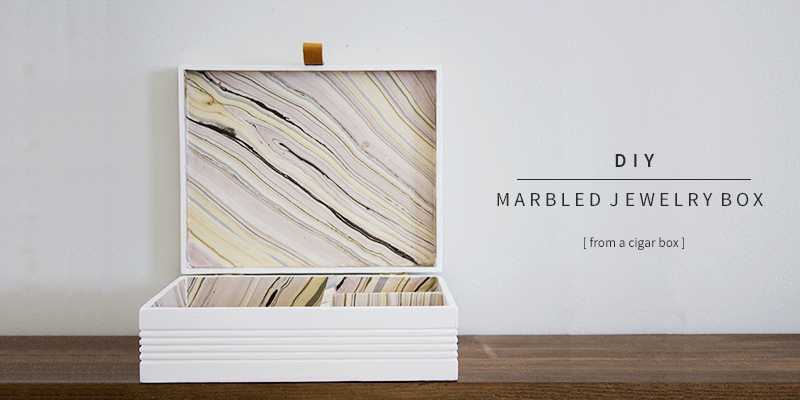
DIY Marbled Jewelry Box – Using A Cigar Box
I have always been a very messy person, and my jewelry situation is no exception. Typically it’s scattered across the top of our dresser and on my nightstand, not to mention the bathroom, my car, in the crevices of my purse….etc. As I was staring at the jungle of our dresser the other day, I decided I needed to check my egregious clutter habit and tame my jewelry once and for all!
As it so happened, an old cigar box my dad gave me was conveniently positioned amongst the various odds and ends. Problem + solution all in the space of five minutes!
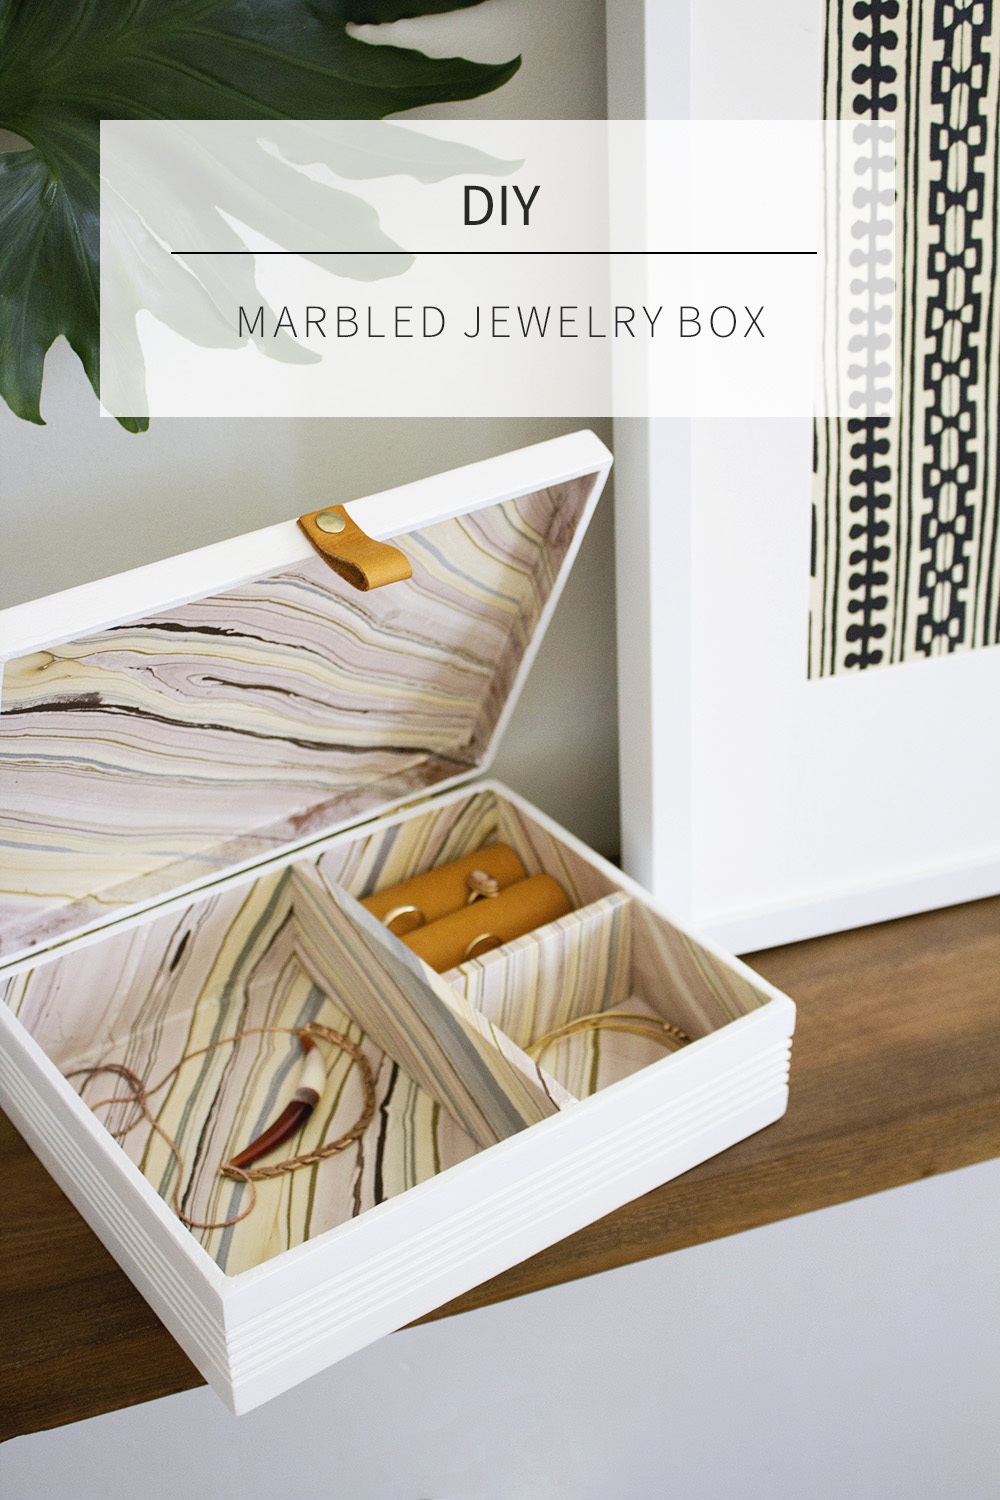
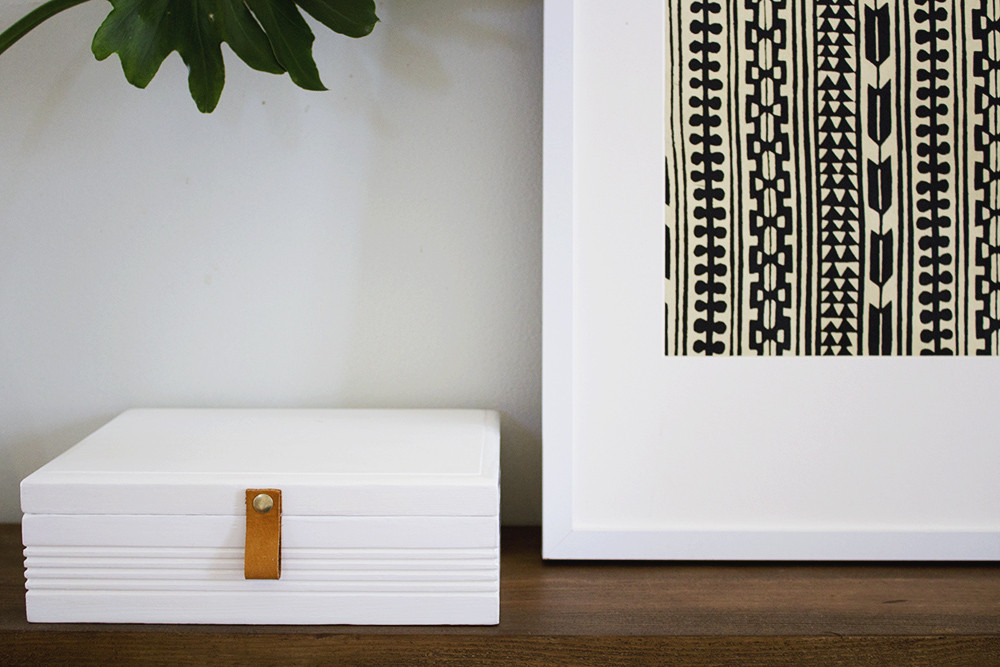
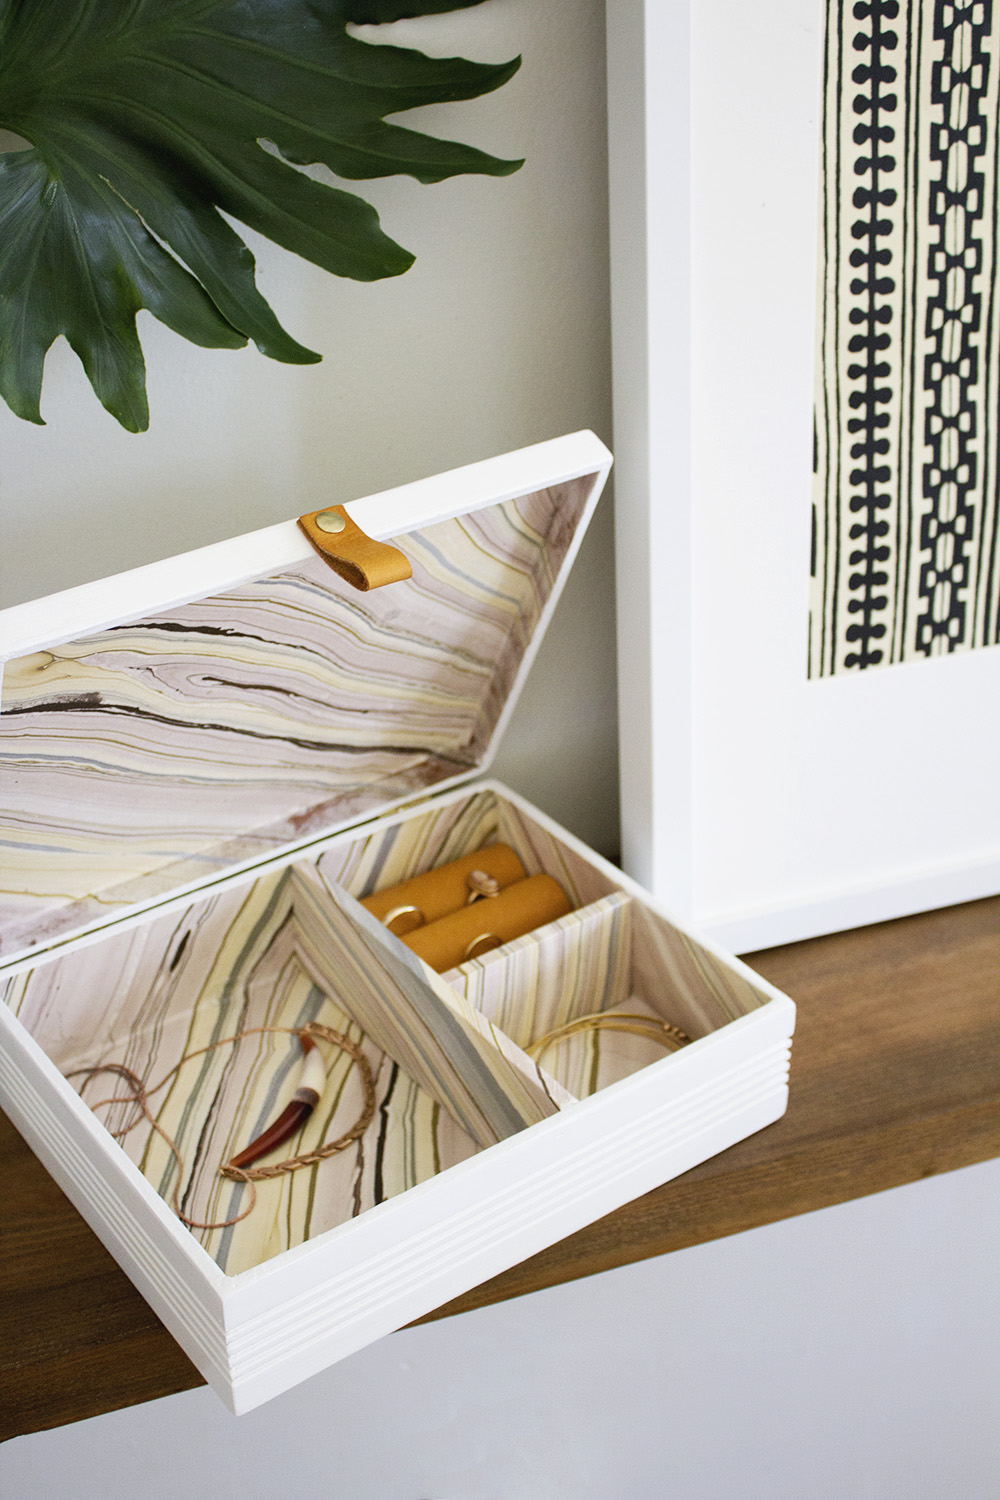
And so, I give you: the DIY jewelry box — from a cigar box! I’m really loving the marbled paper, leather, and brass details. You can make this in an afternoon and use any kind of smallish wooden box you have kickin’ around.
 Now this is one of those instances where you must do as I say, not as I do. The
 worst part beauty of creating a DIY project is that it’s really just about experimentation. I try it one way, and it doesn’t work. I make a mistake and have to go back. Sometimes I get fed up and toss everything in the trash.
Luckily this time I took some cues from my three-year-old (hands on your tummy and deep breaths, mommy) and managed to MacGyver my way to the finish line. So…some of the following photos won’t be accurate depictions of what your project will look like. But never fear! Just read the directions and you’ll be fine, I swearrrr.
SUPPLIES:
- Cigar box
- Spackle or wood putty
- Fine sandpaper (say…220 grit)
- 2 paint brushes, one medium & one small
- White high-gloss paint (any kind)
- 9 foam cylinders – I found mine at Michaels
- Hot glue gun
- 9 x 3″ piece of leather
- Ruler
- X-acto Knife
- Mod Podge
- Marbled paper
- Craft wood — I used two pieces, .25 x 9.5 x 3″
- Brass thumb tack
HOW TO MAKE A DIY JEWELRY BOX FROM A CIGAR BOX:
First, wipe down the cigar box with a damp rag and remove any hardware. Lightly sand to remove any grime, and wipe again. Fill any holes with spackle or wood putty and let dry completely. Then, paint the craft wood as well as the entire box inside and out with the white paint. If you don’t do this, the paper will look dark and icky after you Mod Podge it! So paint it, and let dry.
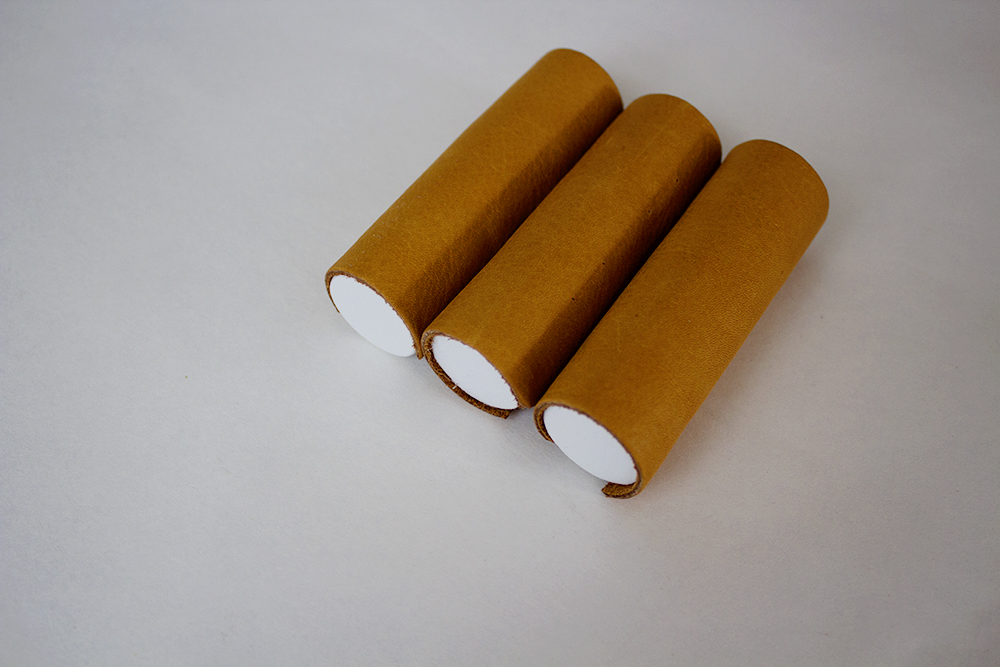
Meanwhile, take out the foam cylinders and the hot glue gun. Glue three end-to-end, and repeat until you have three little marshmallow snowmen. Try not to sing Frozen songs. Maybe go give in to your hot chocolate craving.
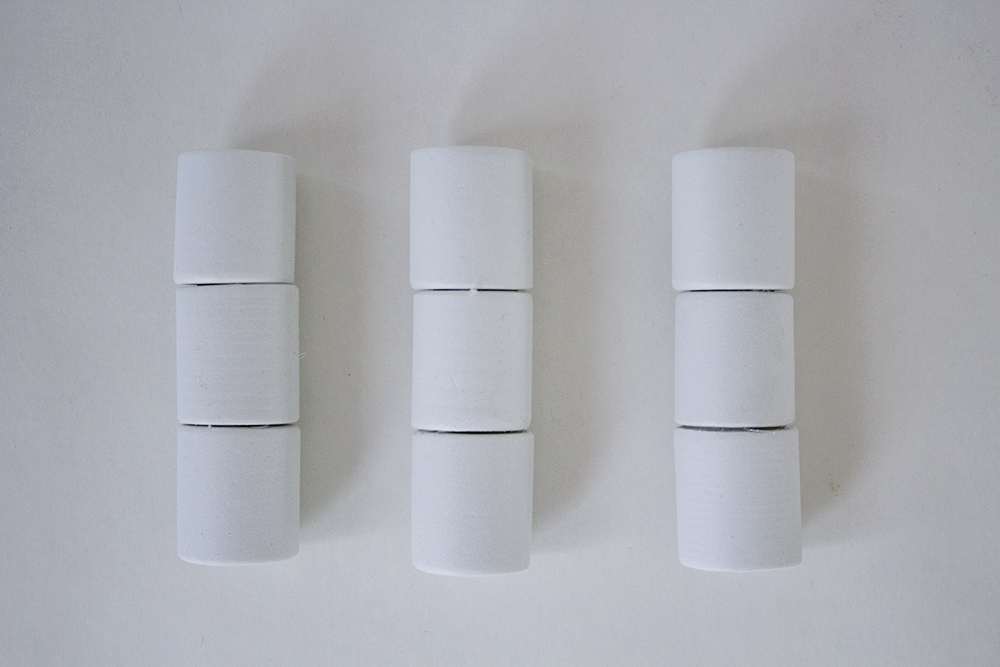
With the ruler and X-acto knife, cut a strip of leather that is about 3/4″ wide and set aside. Take the remaining leather and cut into three equal strips, then use the hot glue gun to wrap each of the strips around the snowmen.
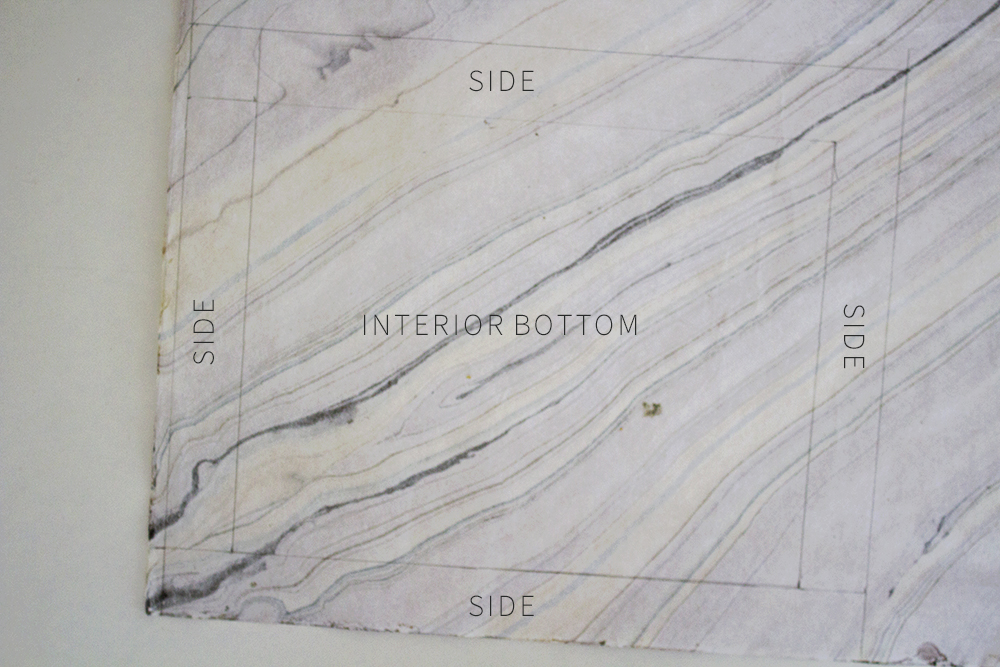
When the cigar box is dry, take the interior measurements with your ruler. On the reverse of the marbled paper, create two corresponding rectangles–one for the lid, one for the base–according to the measurements of the bottom of each plus the sides. This will ensure that the pattern continues onto the sides of the box.
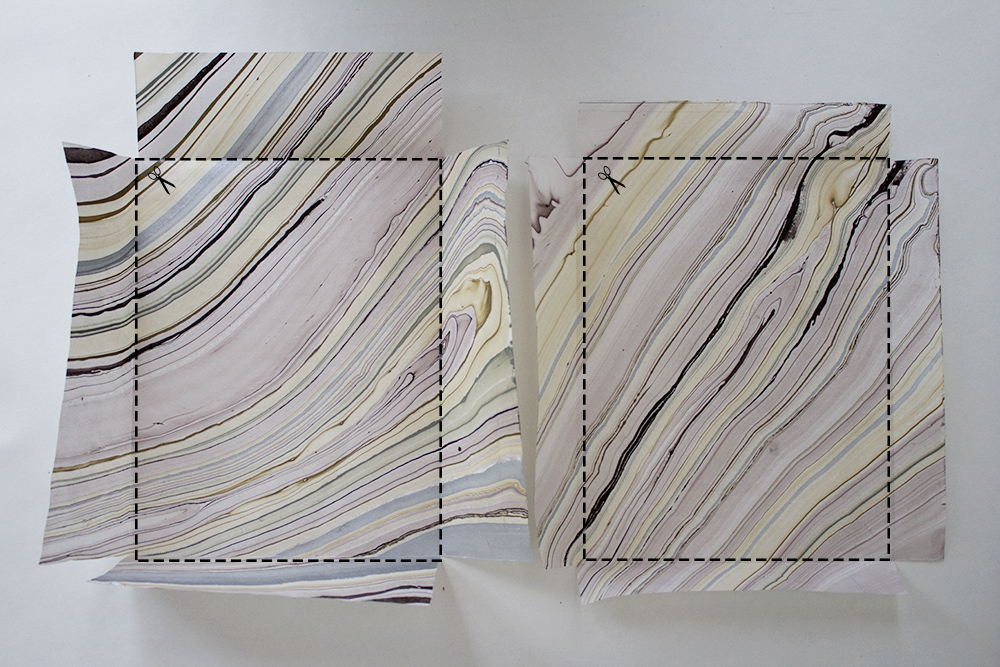
Cut out each of the pieces (you should have 10 in all).
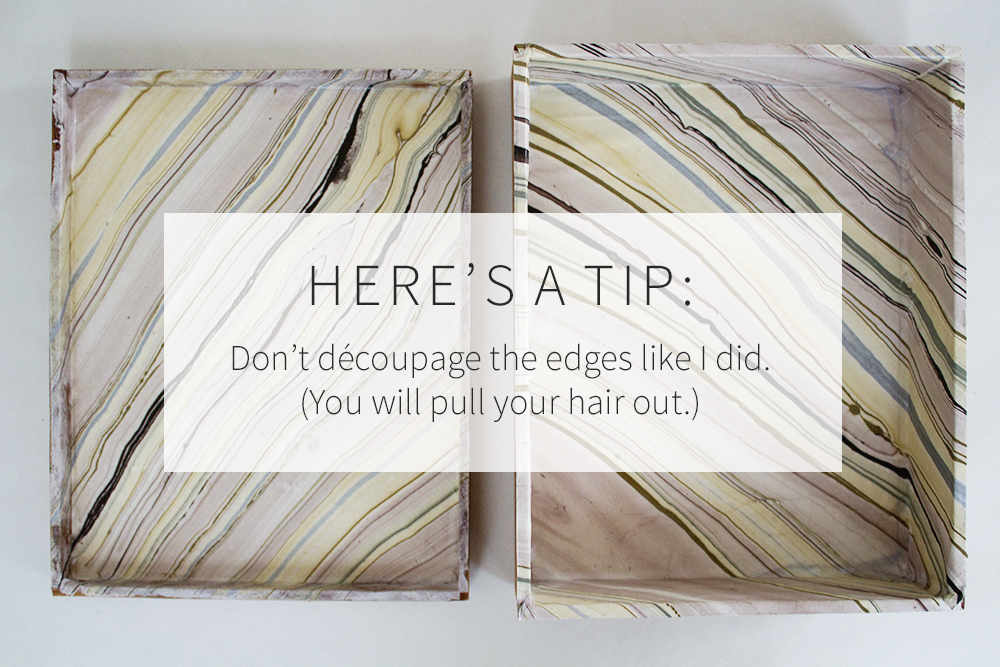
Then, follow the directions on the Mod Podge bottle and découpage each piece of paper to its corresponding surface. Let dry completely.
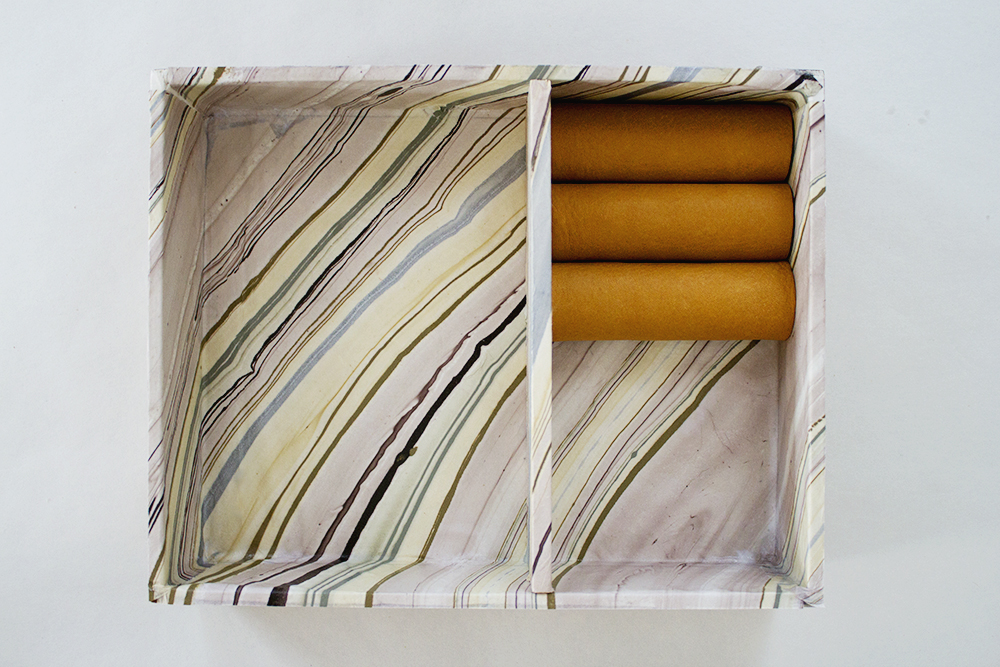
Hot glue the leather pieces into one corner of the box. Measure and cut one piece of painted craft wood to create a divider. Mod Podge some marbled paper onto that piece, and hot glue it into place like so:
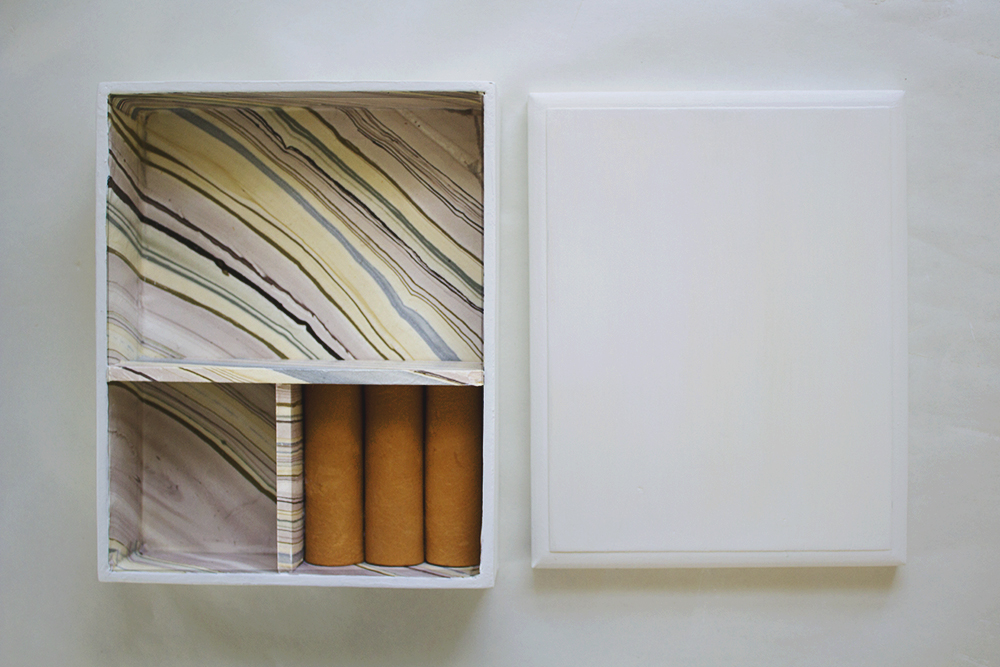
Repeat to create a second, smaller divider like this:
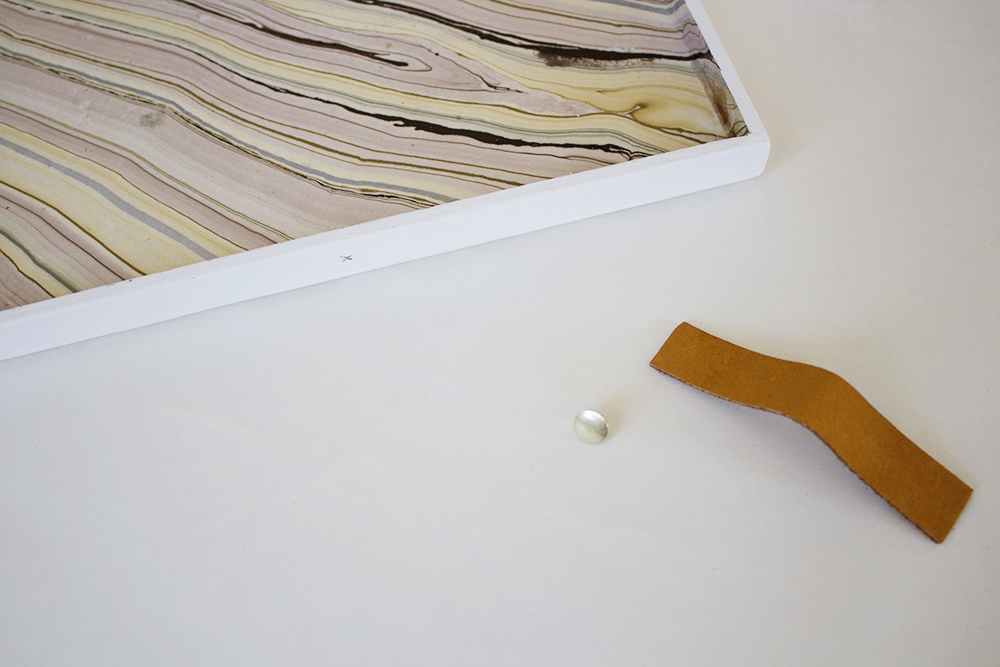
Now mark the top of the box lid in the center where your handle will go, and take out the extra strip of leather and thumb tack.
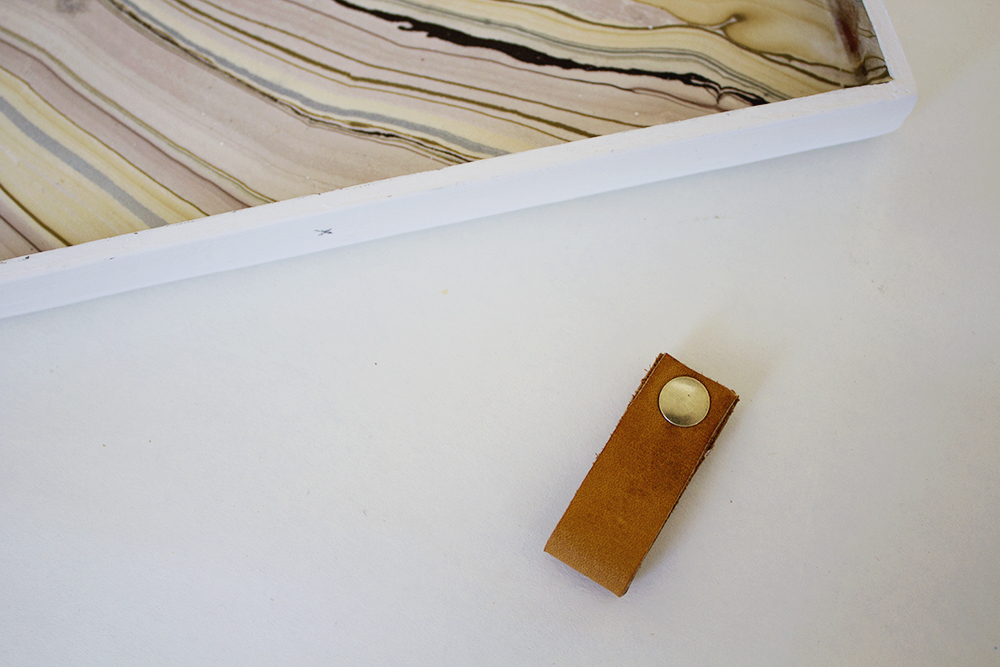
Fold the leather in half to create a handle, securing the two ends with hot glue. Then, take the thumb tack and push it through the center at the top.
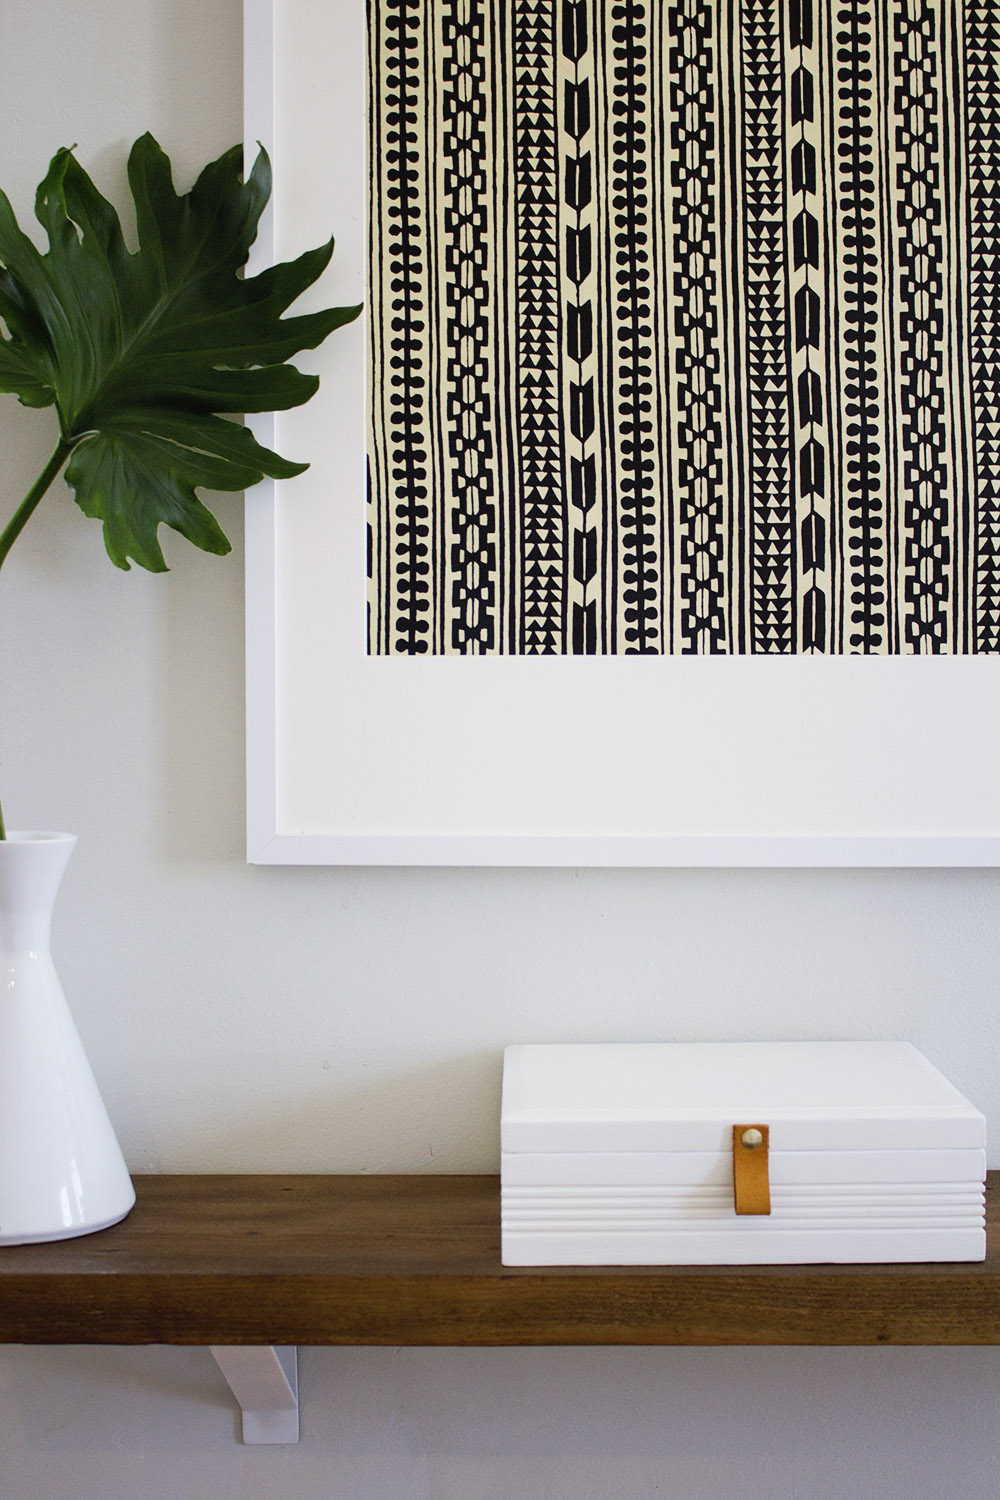
Add a tiny amount of hot glue to the spoke and back of the leather, and push the entire thing into the box top. The final result should look like this:
 Now reattach any hinges and fill that baby with some pretty jewelry!
Did you like this project?
I’d love to hear your thoughts! Leave a comment using the box below and don’t forget to check out my other projects. You can also follow me on Instagram, Facebook, and Pinterest for more fun DIYs!





Kristen
| 1 February 2015That turned out really cute! Love the marbled paper.
Cigar boxes are awesome to repurpose — I keep one in my cabinet to hold my tea packets, and my kids each have one to keep “treasures”. They come in so many shapes and sizes!
annabode
| 2 February 2015Thank you Kristen! Ooh I love the idea of using them for tea bags 🙂
Julie
| 1 August 2018Yes! i LOOK FORWARD to doing it. I hope to give boxes as a xmas gift to family and friends.
Thanks for sharing!
Stephanie
| 1 February 2015This is wonderful! Now if I only had a cigar box!
annabode
| 2 February 2015Haha thanks Stephanie!
Ben
| 14 May 2016Found a ton of nice wooden cigar boxes at my local antique mall. One of the vendors had a huge shelf of them. Might be an option -or- go to you local tobacco seller and ask them for and boxes they might have. They may sell you them for cheap or actually give them to you!
Felicia
| 29 June 2018Call your local cigar store. They will give their empty cigar boxes to you for free! I have collected a large assortment of boxes from our cigar store this summer. I plan to use them in a variety of crafts.
Amy W
| 2 February 2015LOVE this!! I’ve actually got a marble box going up this week… not as cool as yours though. =)
annabode
| 2 February 2015Thanks Amy! Ha that’s too funny, can’t wait for yours! 🙂
Gilly @ Colour Saturated Life
| 2 February 2015This is such a cute simple idea Anna! I have decoupaged inside drawers and things like this before and it is such a pain to do….generally I get upset and throw them out…! You did a great job!
annabode
| 2 February 2015Thanks Gilly! Oh, I definitely had that moment believe me. If I hadn’t decoupaged the edges it would have been a cinch, but that’s what threw me. I had to sand it all off and paint them again!
Hannah @ Eating with Alice
| 2 February 2015This looks amazing! Gorgeous photos, and a fantastic idea – which you have clearly executed brilliantly. I’m so impressed!!!!
I desperately need to sort out my jewellery storage – my necklaces are currently in one ginormous tangled lump! Disaster!
xx Hannah
http://www.eatingwithalice.com
annabode
| 2 February 2015Thanks Hannah–you are too sweet! I know how that goes–I have necklaces with permanent knots in them that I just pretend don’t exist, ha. Finding something practical and pretty is always tough for jewelry too. Emily Henderson made some really awesome jewelry storage a while back, you should look it up!
Julia@Cuckoo4Design
| 2 February 2015SO pretty! Love how this turned out
annabode
| 2 February 2015Thank you, Julia!
Ursula @ Home Made by Carmona
| 3 February 2015GORGEOUS!! This is brilliant Anna, love the little leather pull too! 🙂
annabode
| 3 February 2015Thank you Ursula!!
Sarah J
| 3 February 2015Popping over from Totally Terrific Tuesday =) Beautiful project! My favorite part is the leather loop to open it. Be sure to share your crafts & DIYs at Two Uses Tuesday (Mon 11pm EST to Fri 11pm EST) over at Sarah Celebrates if you don’t already!
annabode
| 3 February 2015Thanks Sarah, will do! 🙂
Shannon Churchill
| 3 February 2015This jewelry box is so gorgeous and beautiful photos as always Anna! I need to give this a try.:)
annabode
| 3 February 2015Thank you Shannon, I hope you do! 🙂
Carissa Rasmussen
| 3 February 2015Umm, could not have turned out better. So smart!!
You should join my link party http://www.carissamiss.com/2015/02/outside-box-no-21.html
Love your stuff!
annabode
| 4 February 2015Thanks so much Carissa! I just joined, thanks for sharing!
Meredith @ The Palette Muse
| 3 February 2015This is gorgeous! And I’m glad to know I’m not the only one who fumbles my way through a project, only to end up with a cautionary tale. But you really pulled this one off, and I love all the little details, like the leather and thumb tack. Nice to meet you on 2 Uses Tuesday!
annabode
| 4 February 2015Thanks Meredith! Haha yes, there was some serious fumbling in this project 😉 This was only the second time I had ever used Mod Podge, so I’m hoping I’ll get the hang of it in the future. Thanks for stopping by!
Zografia
| 4 February 2015It turned out beautiful! I love marbled design! I am visiting from Talented Tuesday Link Party!
annabode
| 19 February 2015Thanks so much! I do too. Hope you come back again 🙂
Sydney @ Tastefully Frugal
| 4 February 2015This is gorgeous! My dad is a huge cigar smoker so I’m sure he’s got a box or two he’s let me borrow, er I mean have. Thanks so much for sharing with us at Talented Tuesdays. I hope you join us again next week!
annabode
| 19 February 2015Thanks Sydney! You’re very welcome, thanks for hosting! Ooh yes go find a box 🙂
Christie
| 9 February 2015This project is totally awesome! I love the marbled look. Thanks for sharing at Totally Terrific Tuesday! I hope you stop by again this week. The party starts tonight at 10pm!
annabode
| 19 February 2015Thanks Christie! You’re very welcome. I’ll definitely be back!
Megan
| 11 February 2015Very cute! The leather pull finishes it off nicely. I just found your blog and it’s great—I’m in DC too!
annabode
| 19 February 2015Thanks Megan! I’m checking out your blog now, it you’re in DC we should get together and grab a coffee 🙂
TidyMom
| 14 February 2015I love this!! love the marbled look –pinned it!
annabode
| 19 February 2015Thanks so much Cheryl! I love marble too, can’t get enough of it!
Jesica
| 17 February 2015This is simply stunning… now I’m looking around my house for what I might substitute for a cigar box! Jewelry boxes are so pricey and I think this is even prettier than anything off the shelf.
annabode
| 19 February 2015Thanks so much Jesica! I’m so glad you liked it. You could probably do the same thing with a plain wooden box from a craft store like Michael’s or Joann, those are pretty cheap!
Gosia
| 11 October 2015I love your jewelry box! It’s elegant and modern. Such an inspiration! Congrats.
annabode
| 16 October 2015Thank you so much Gosia! It was fun putting an old item to good use again!
Charne
| 1 September 2017Thanks for the inspiration! Just finished mine with a crushed VELVET instead of marbled paper.