Fall Decor That’s Free + Easy
Now that November is in full swing and we’ve put away our Halloween decorations, I’ve been scratching my head as to what to do next. Despite what every store on the planet wants us to believe, it’s a little too early to be thinking about Christmas. There is a ton of inspiration on the internet for Thanksgiving decor, but as usual not much that would appeal to a modern or minimalist aesthetic.
Inspired by Hometalk‘s #GiveThanks push this month, I set out to create something modern and fall-ish that was both free and easy–the two greatest words any DIYer wants to hear. (At least, this lazy and impatient DIYer.)
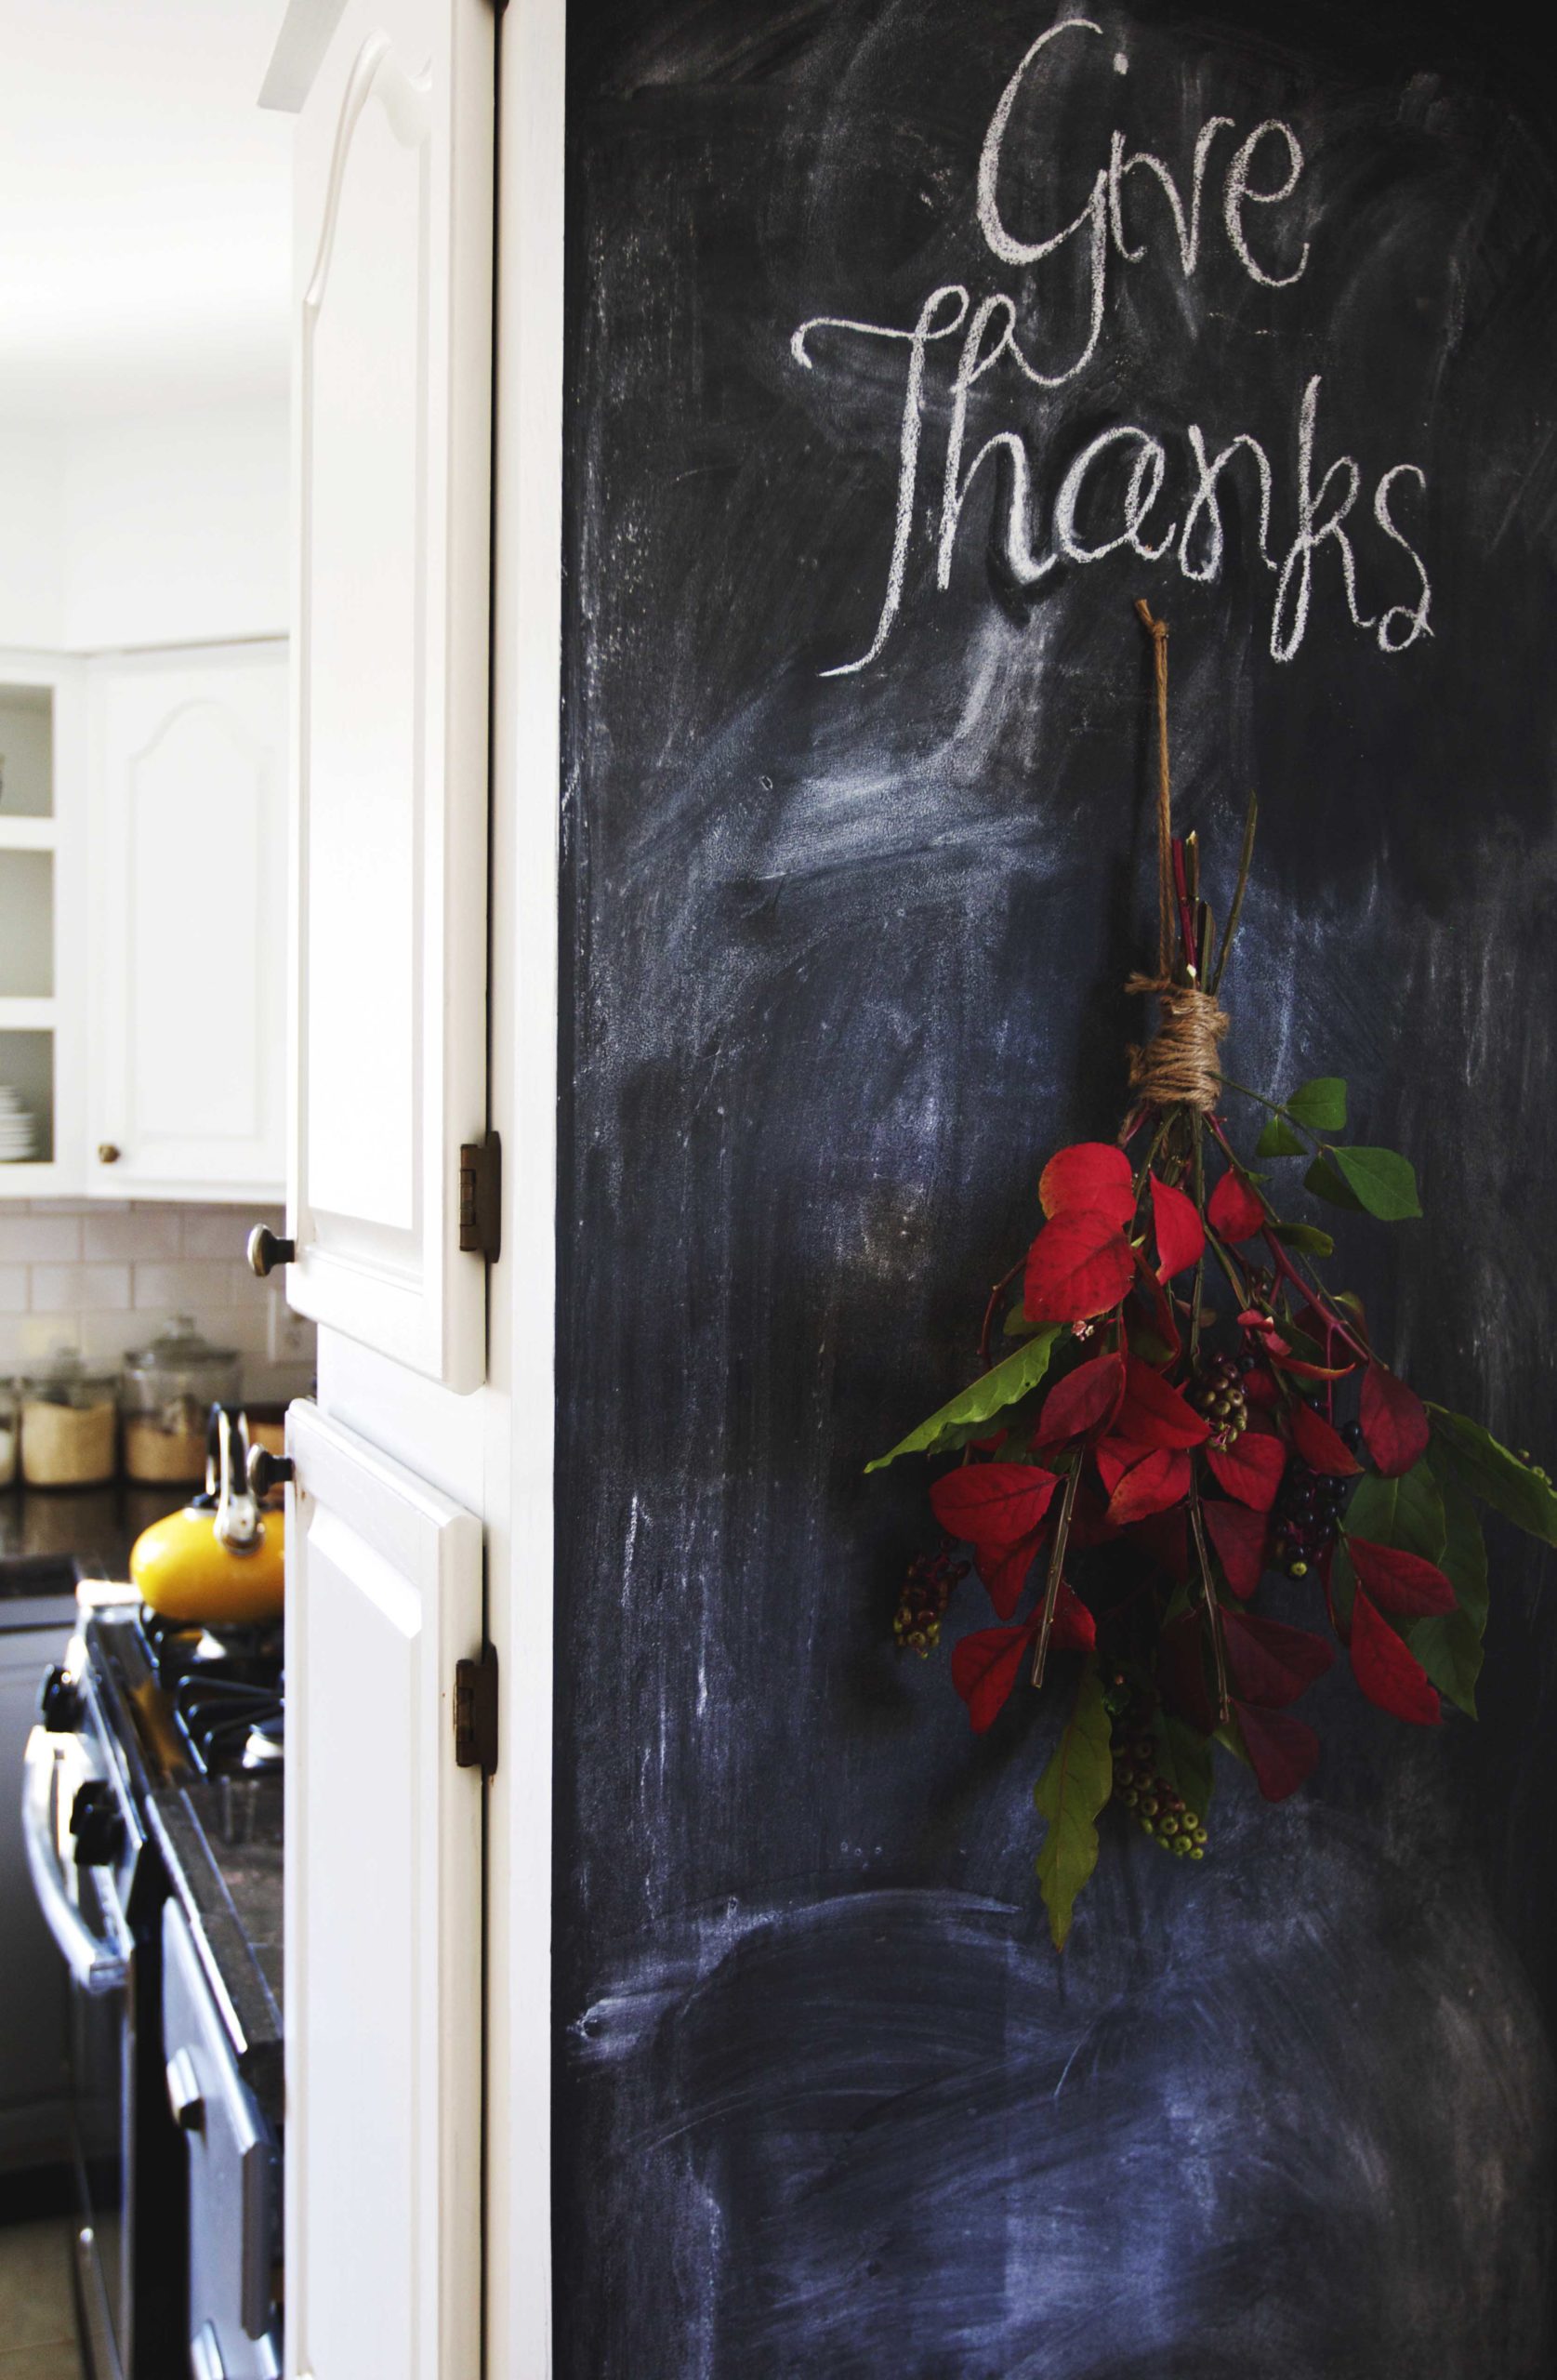
We have a chalkboard wall on the end of our kitchen cabinets, where we keep Ruby’s food bowls and where C likes to practice his letters. The empty space above was the perfect spot to add a little autumn magic:
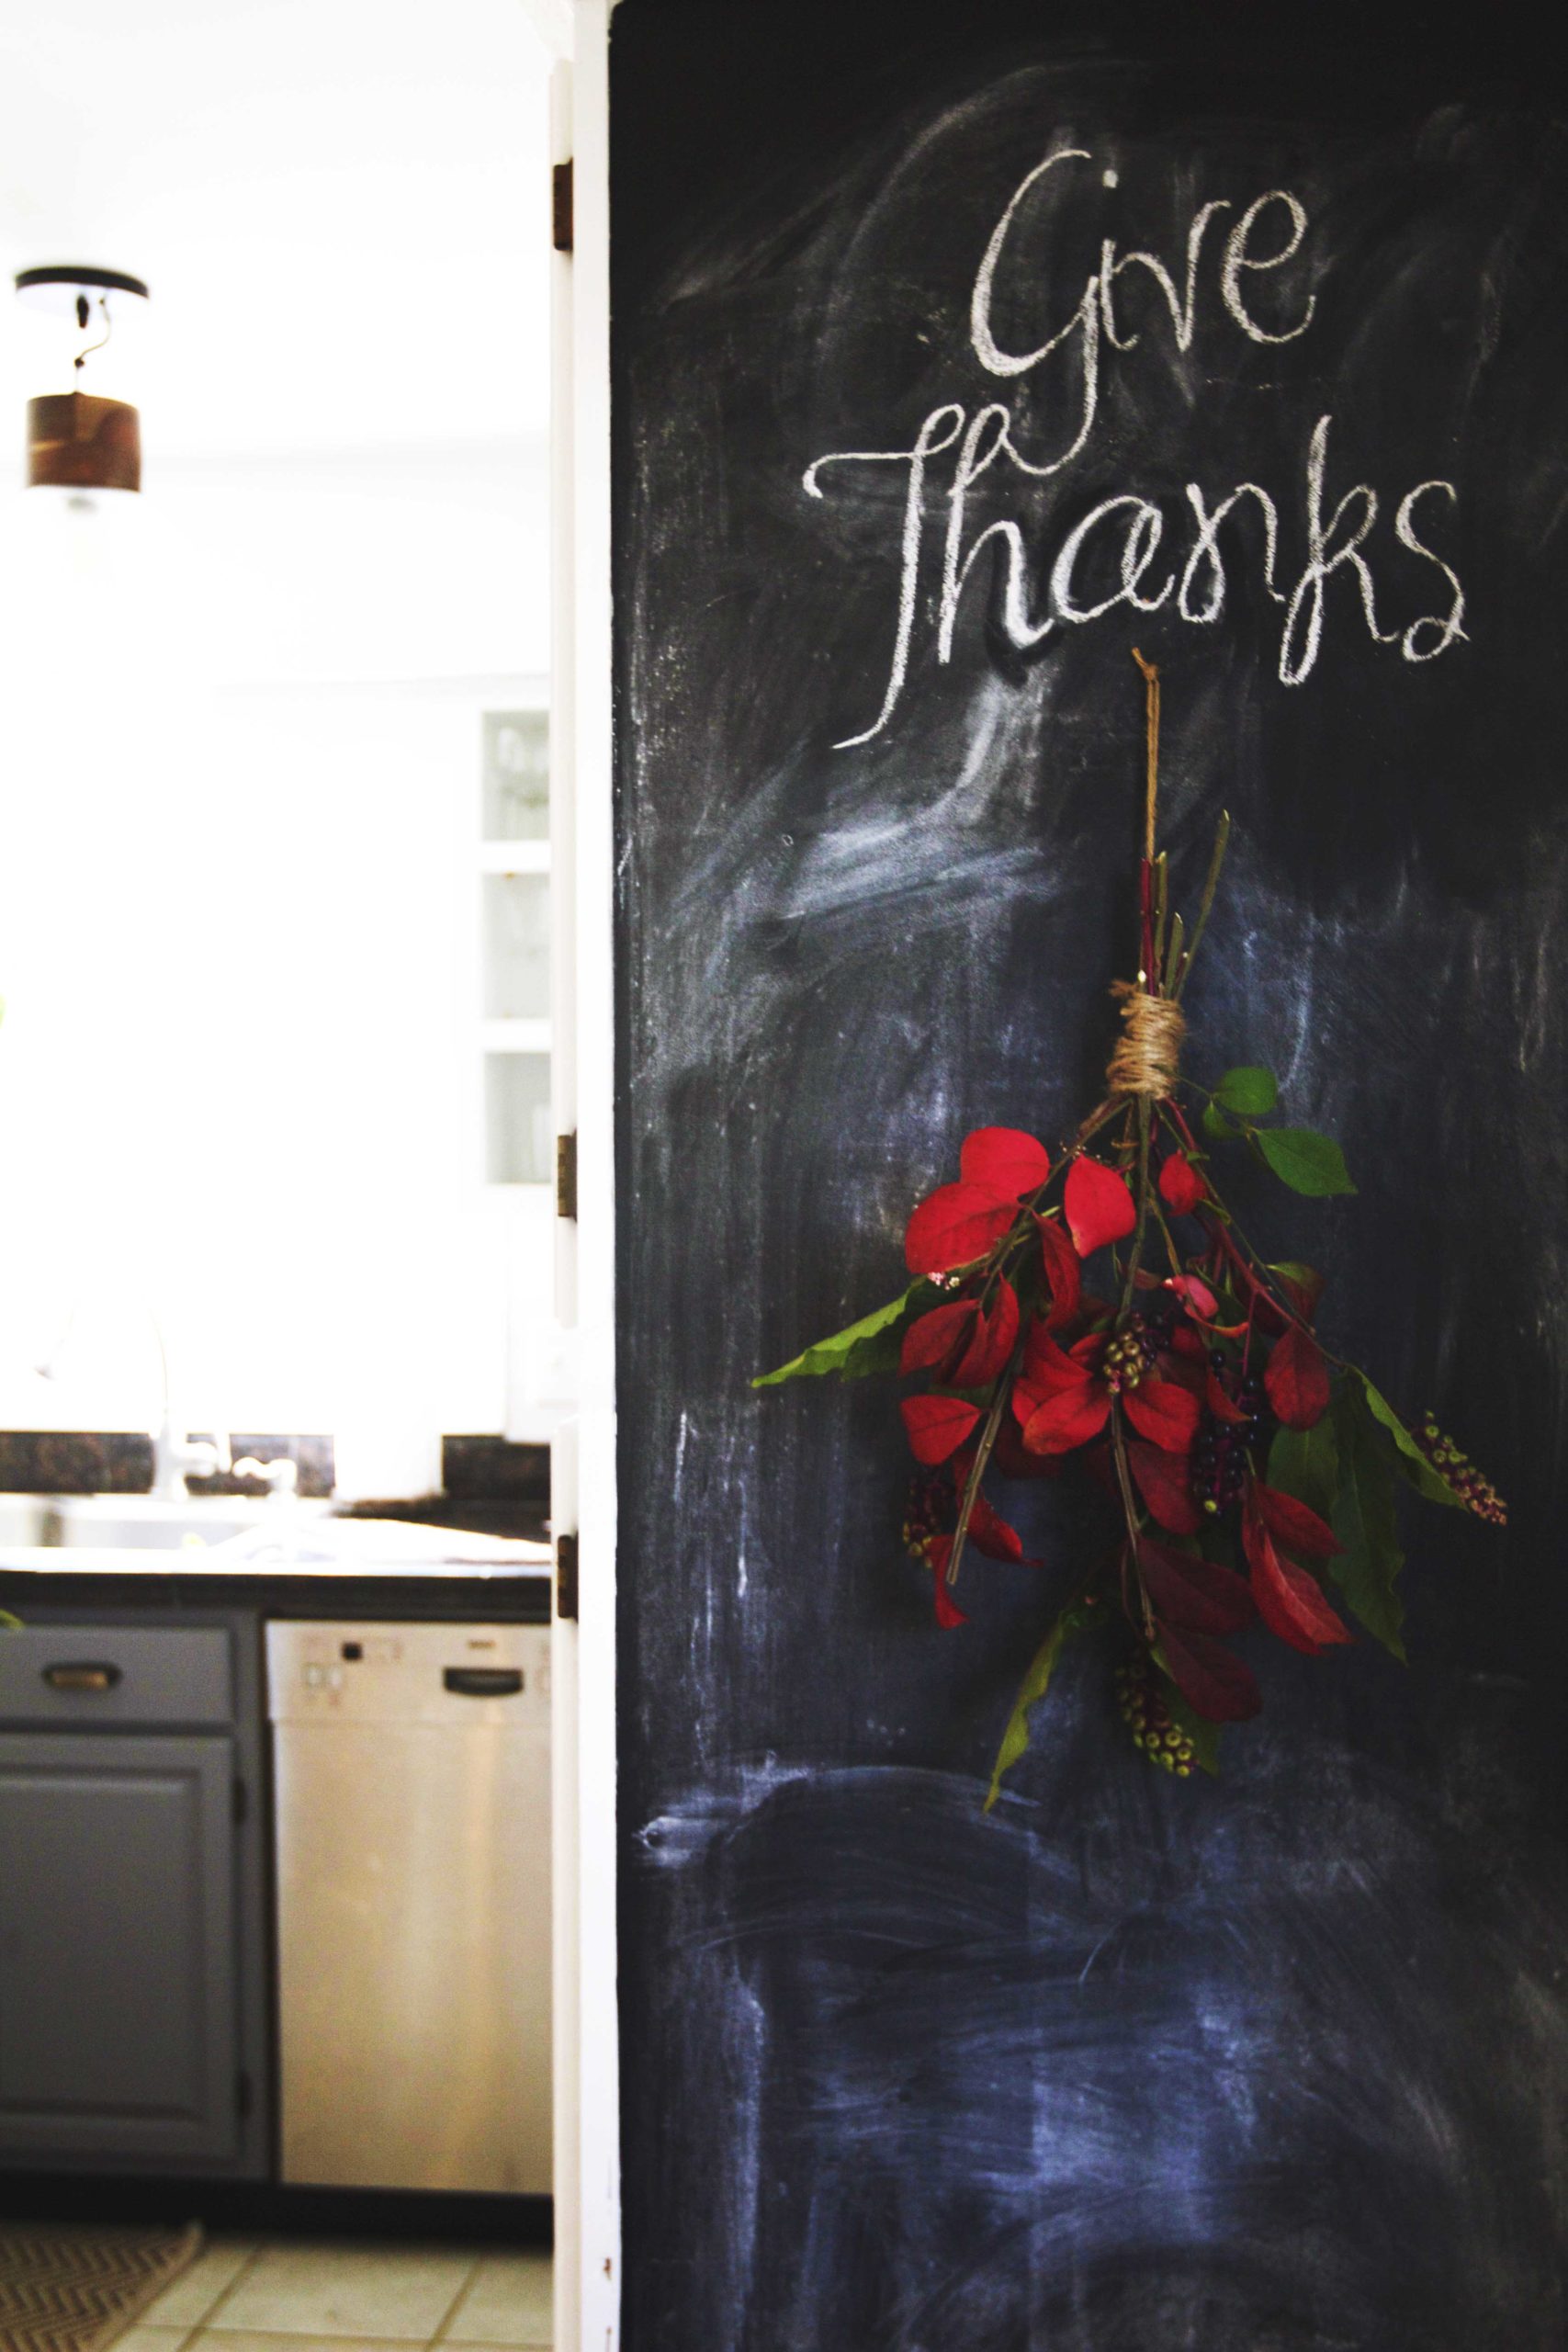
Modern Fall Decor: Inverted Arrangement + Chalkboard Stencil DIY
Supplies
- Computer + printer
- Scotch tape
- X-ACTO knife
- Cutting board (preferably plastic)
- Chalk
- Twine
- Hammer + a nail
- Leaves, branches, plants etc. from your backyard, the woods, a local park, etc.

1. First, you need to make a template. Choose any font you’d like to use (I used MA Sexy, ha!) and in Word or another program, enlarge the letters until you are happy with their size–mine were 350 pt. Print the words out (mine were on 3 pages). I wanted the words “Give Thanks” on the wall, but you can use any phrase. Then, cover the letters with scotch tape.
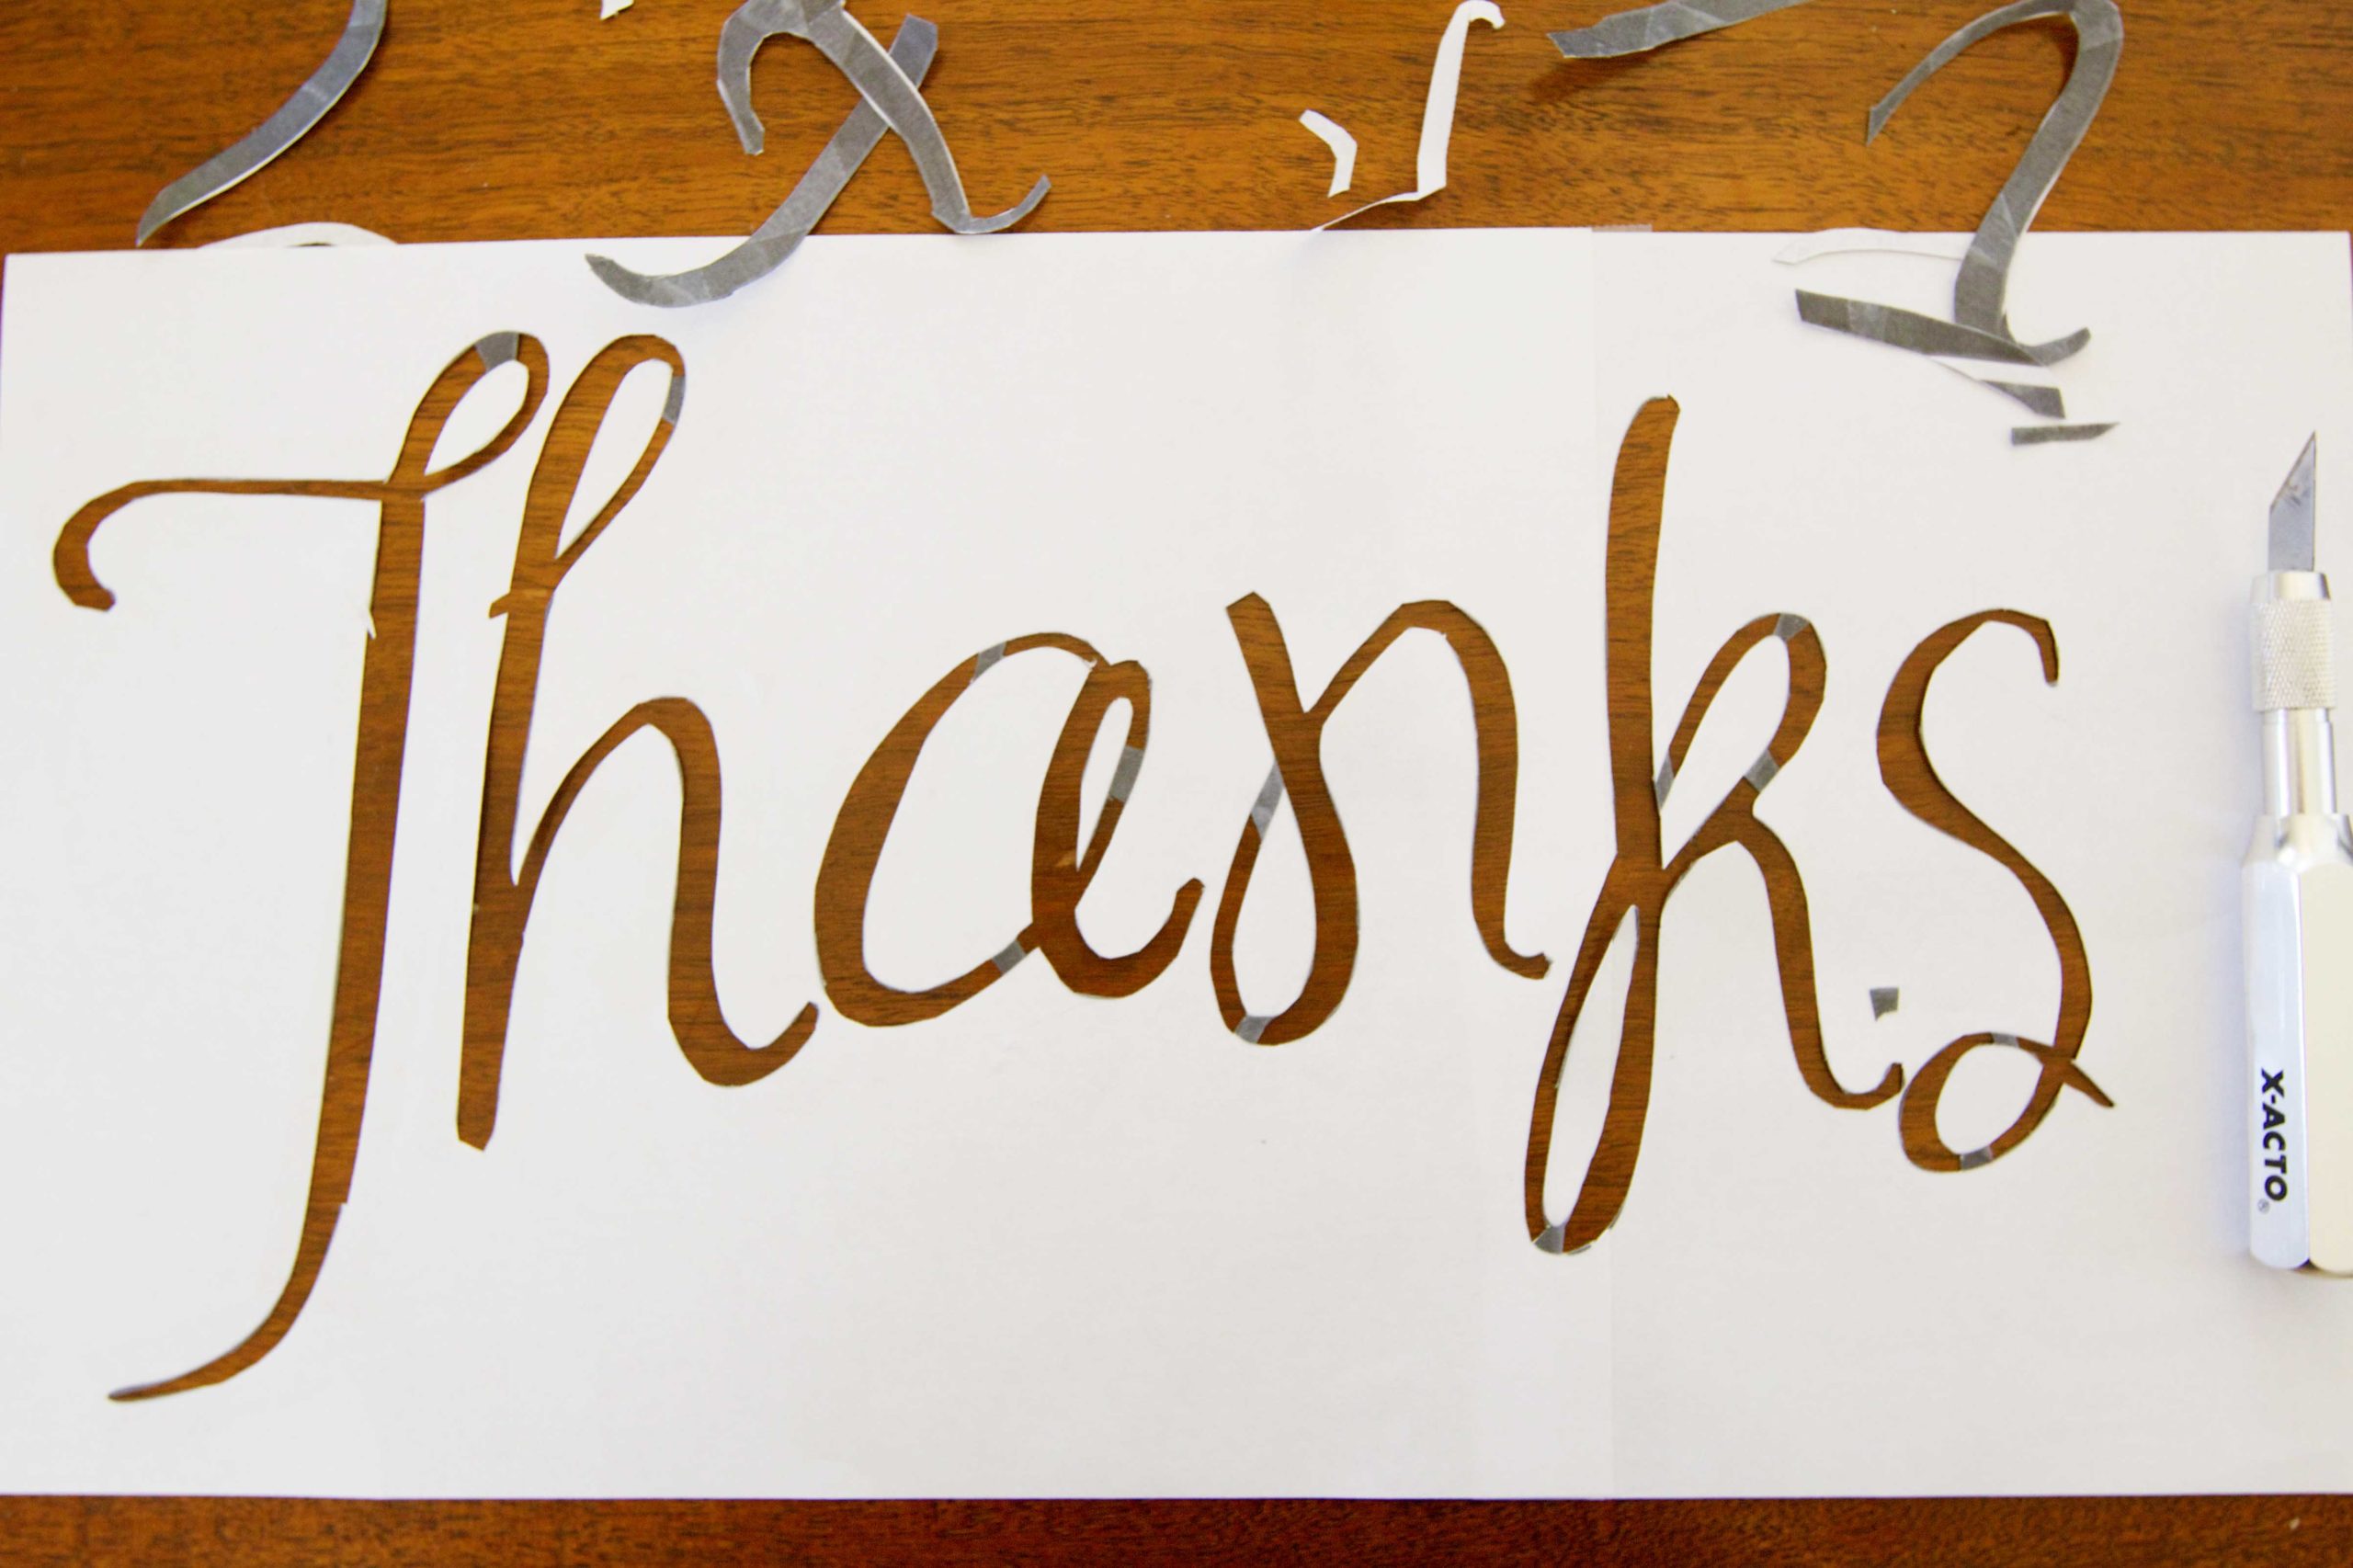
2. Using your X-ACTO knife, cut out the letters. Be careful to leave little “sticks” to hold the open sections of letters together, like a real stencil.
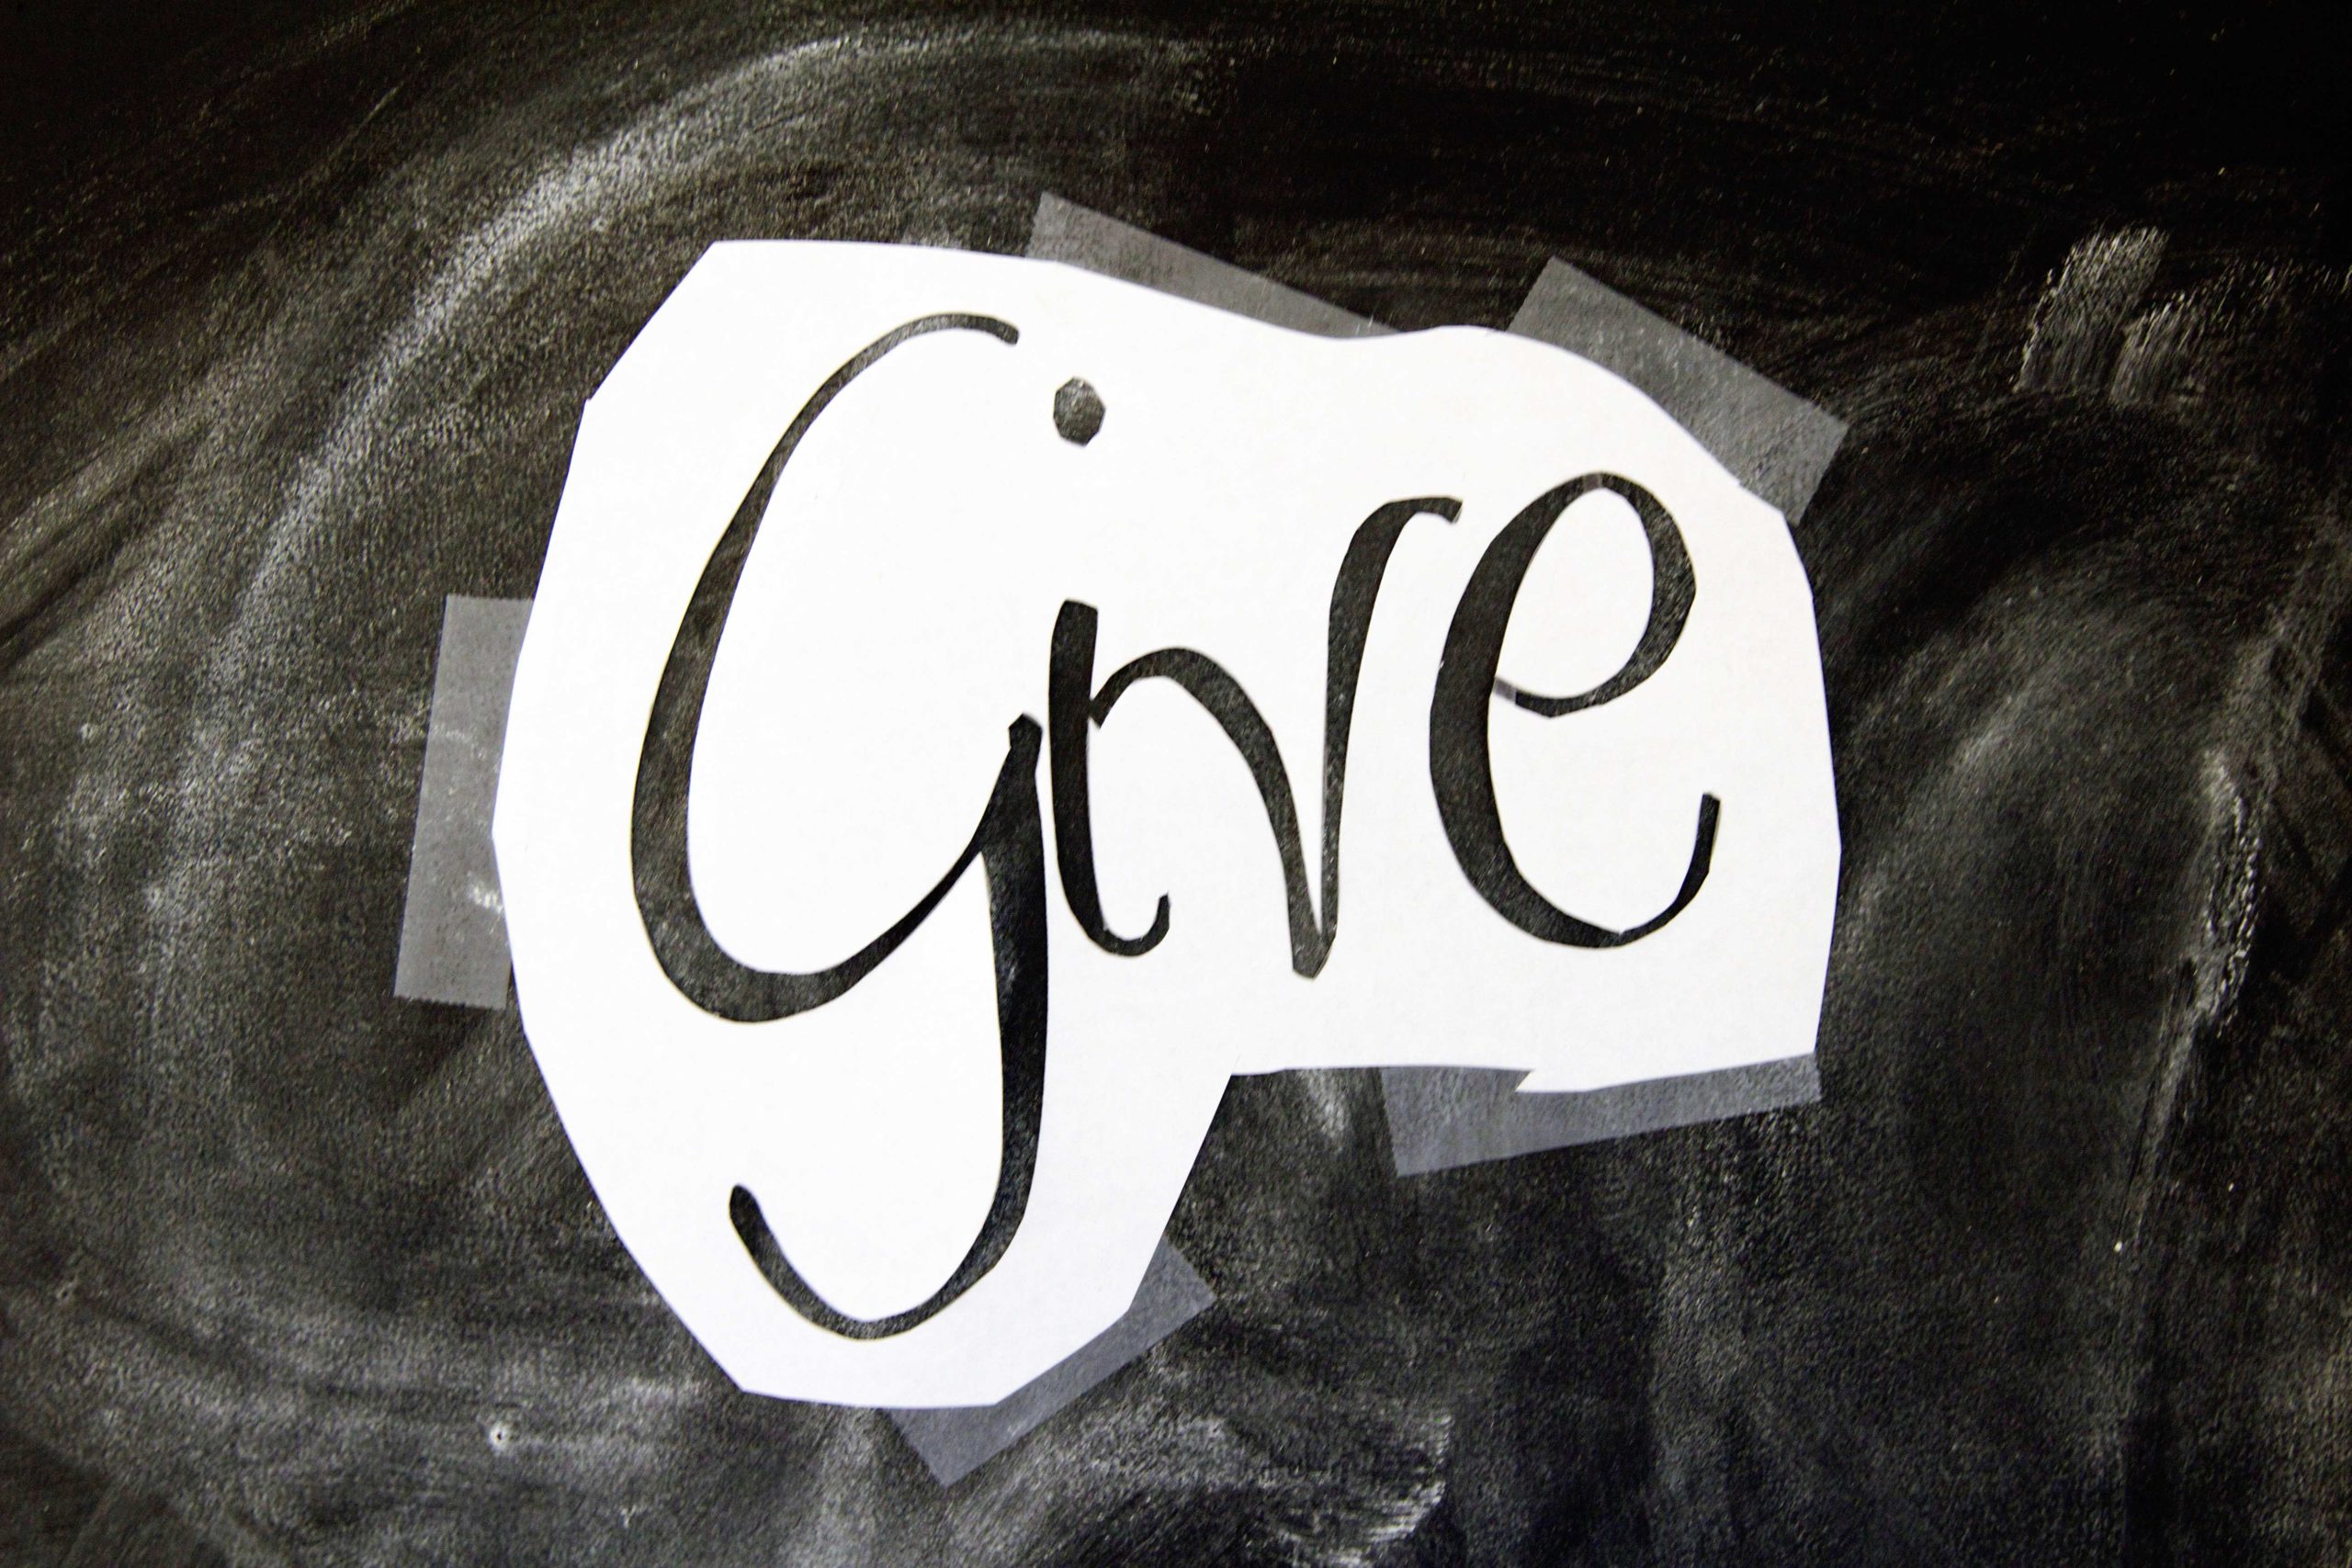
3. Tape your first stencil to your chalkboard. Color the word in with your chalk, and remove the stencil. Then repeat with your other stencil(s).

4. Place a hook or hammer a nail underneath your new chalkboard letters, to hang the arrangement on.
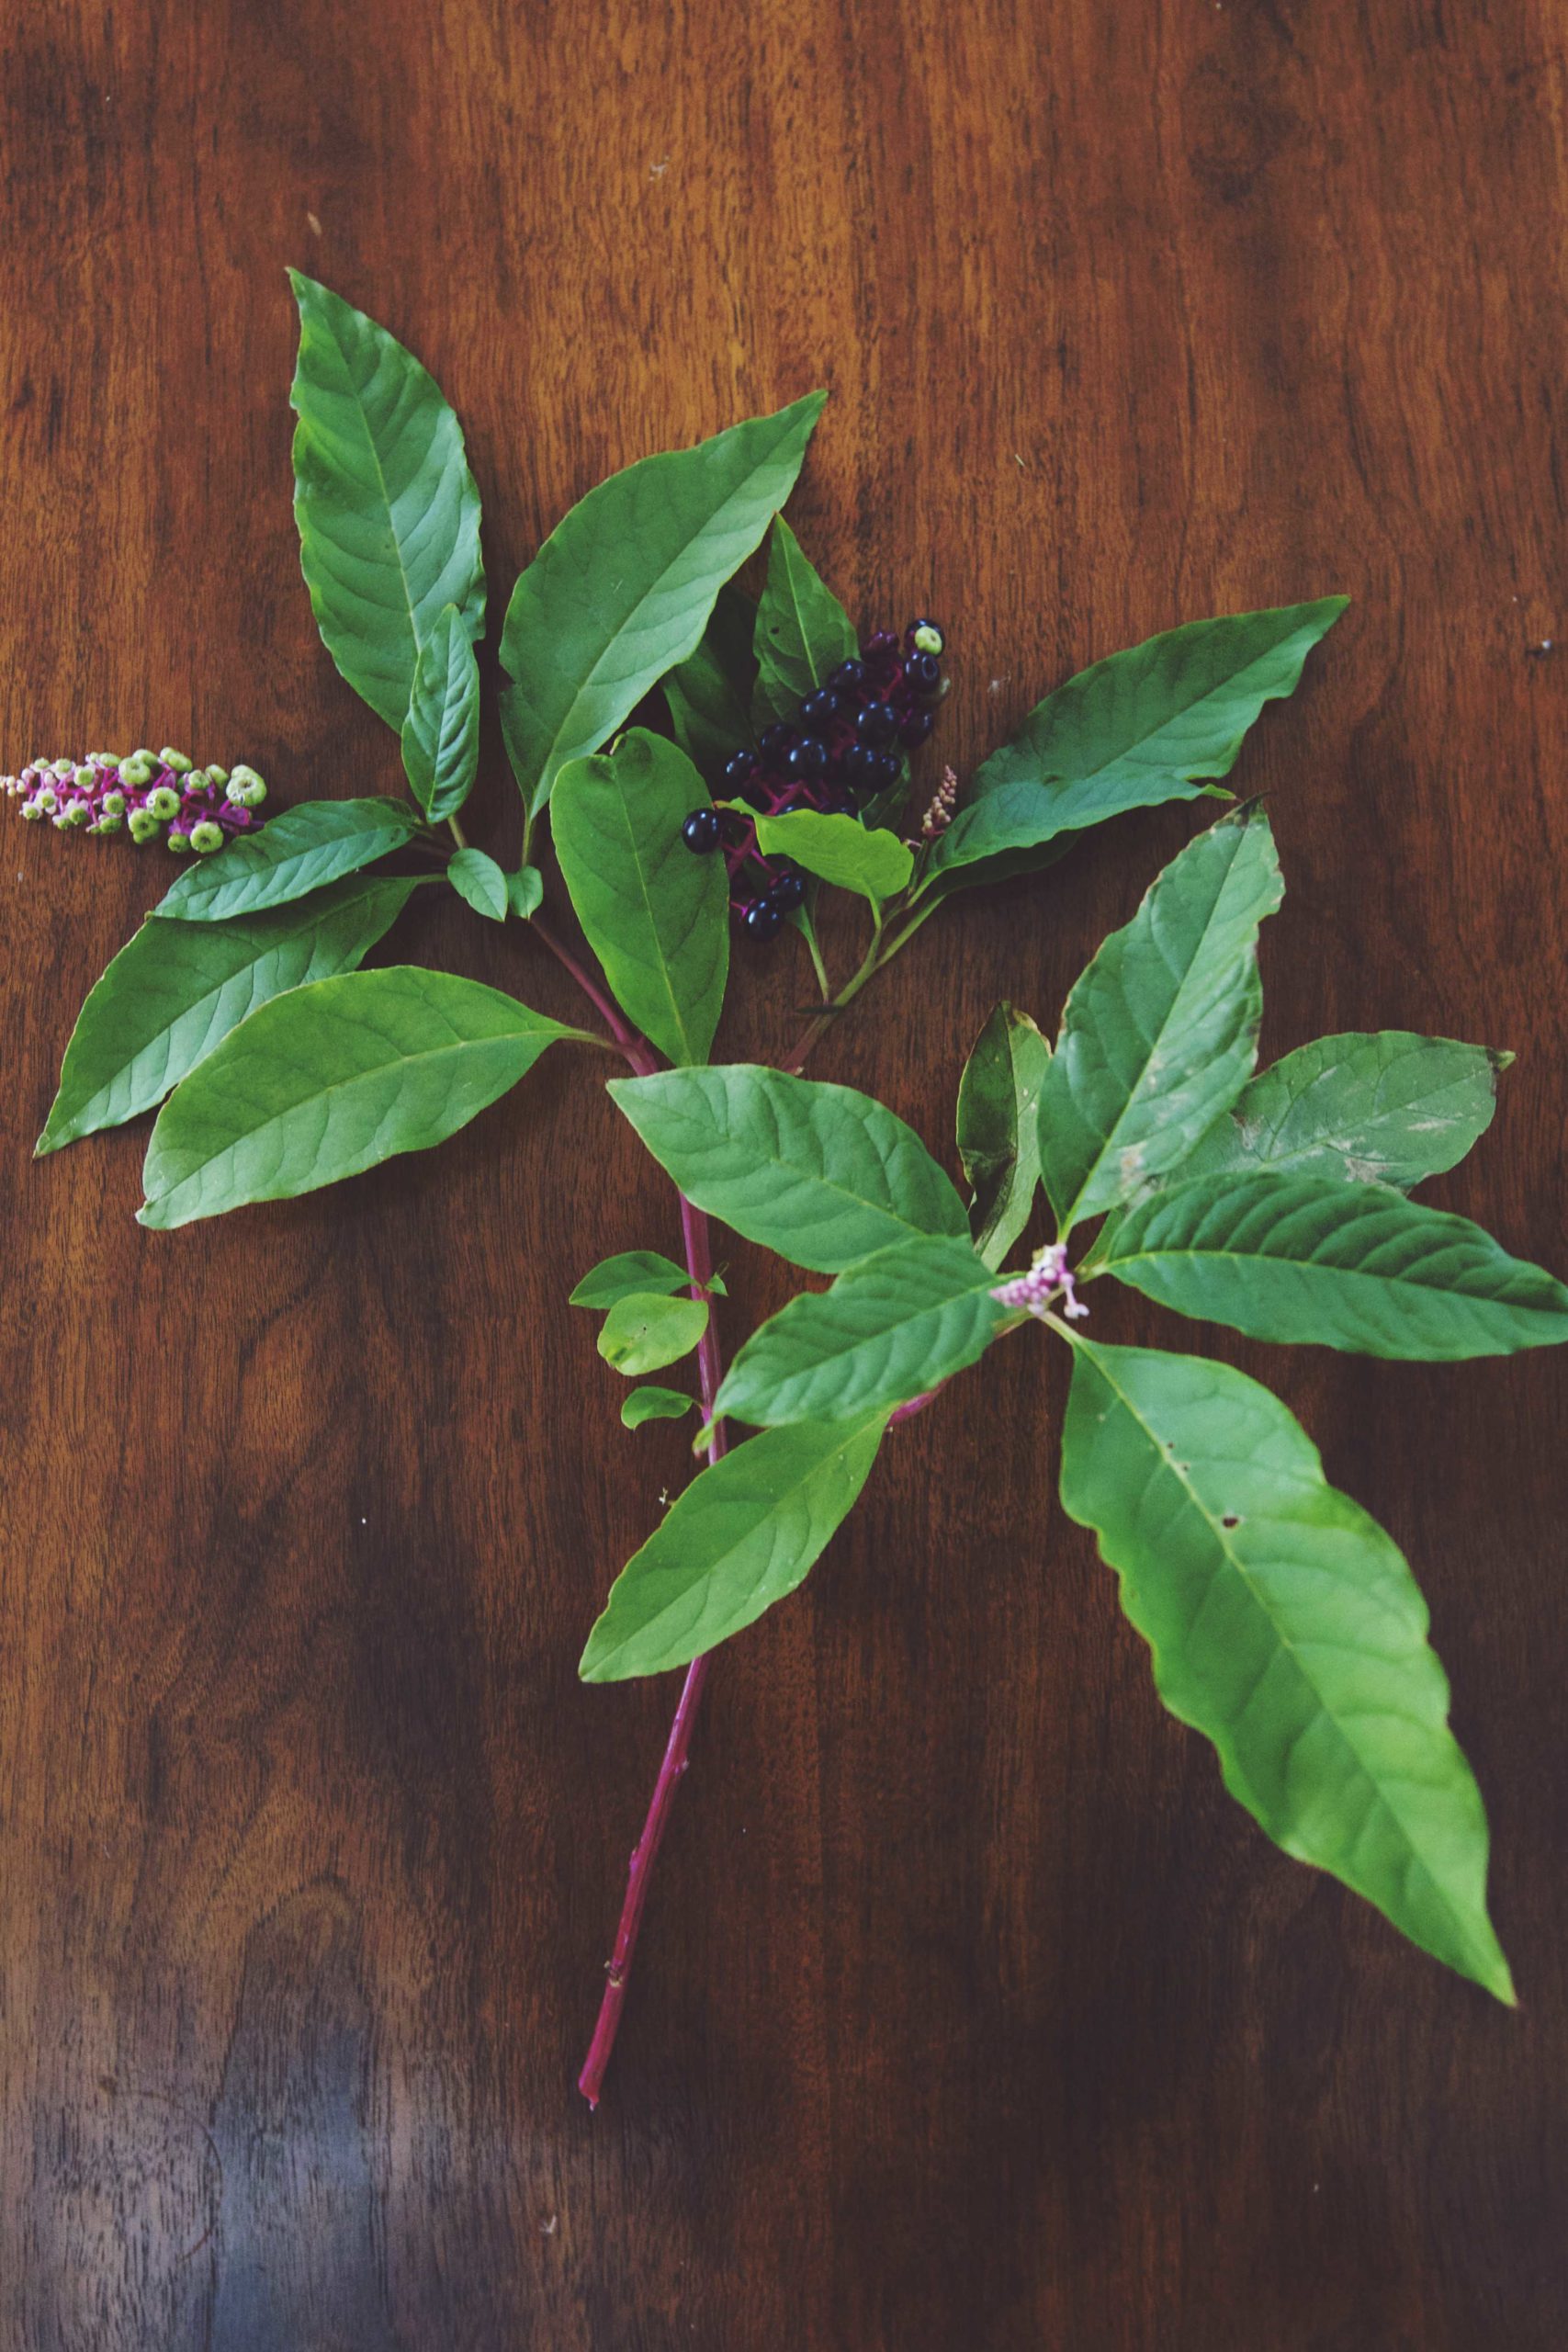
5. You can create the arrangement out of anything! I went out into our backyard (which is not large by any means) and poked around for while until I found plants with both color and texture. This plant is actually a weed that has run rampant in the DC area–it grows like a tree and in the fall, the stems turn a gorgeous color and all these big plump berries grow. (If anyone knows what it’s called, let me know!).
If you don’t have a backyard, try the woods or a local park–but in that case please only use what’s fallen on the ground. And gloves are probably a good idea, if you’re not sure what you’re handling. I used what I had on hand, which turned out to be a lot of red and green–yours will probably look more fall-ish with yellows, oranges, and browns.
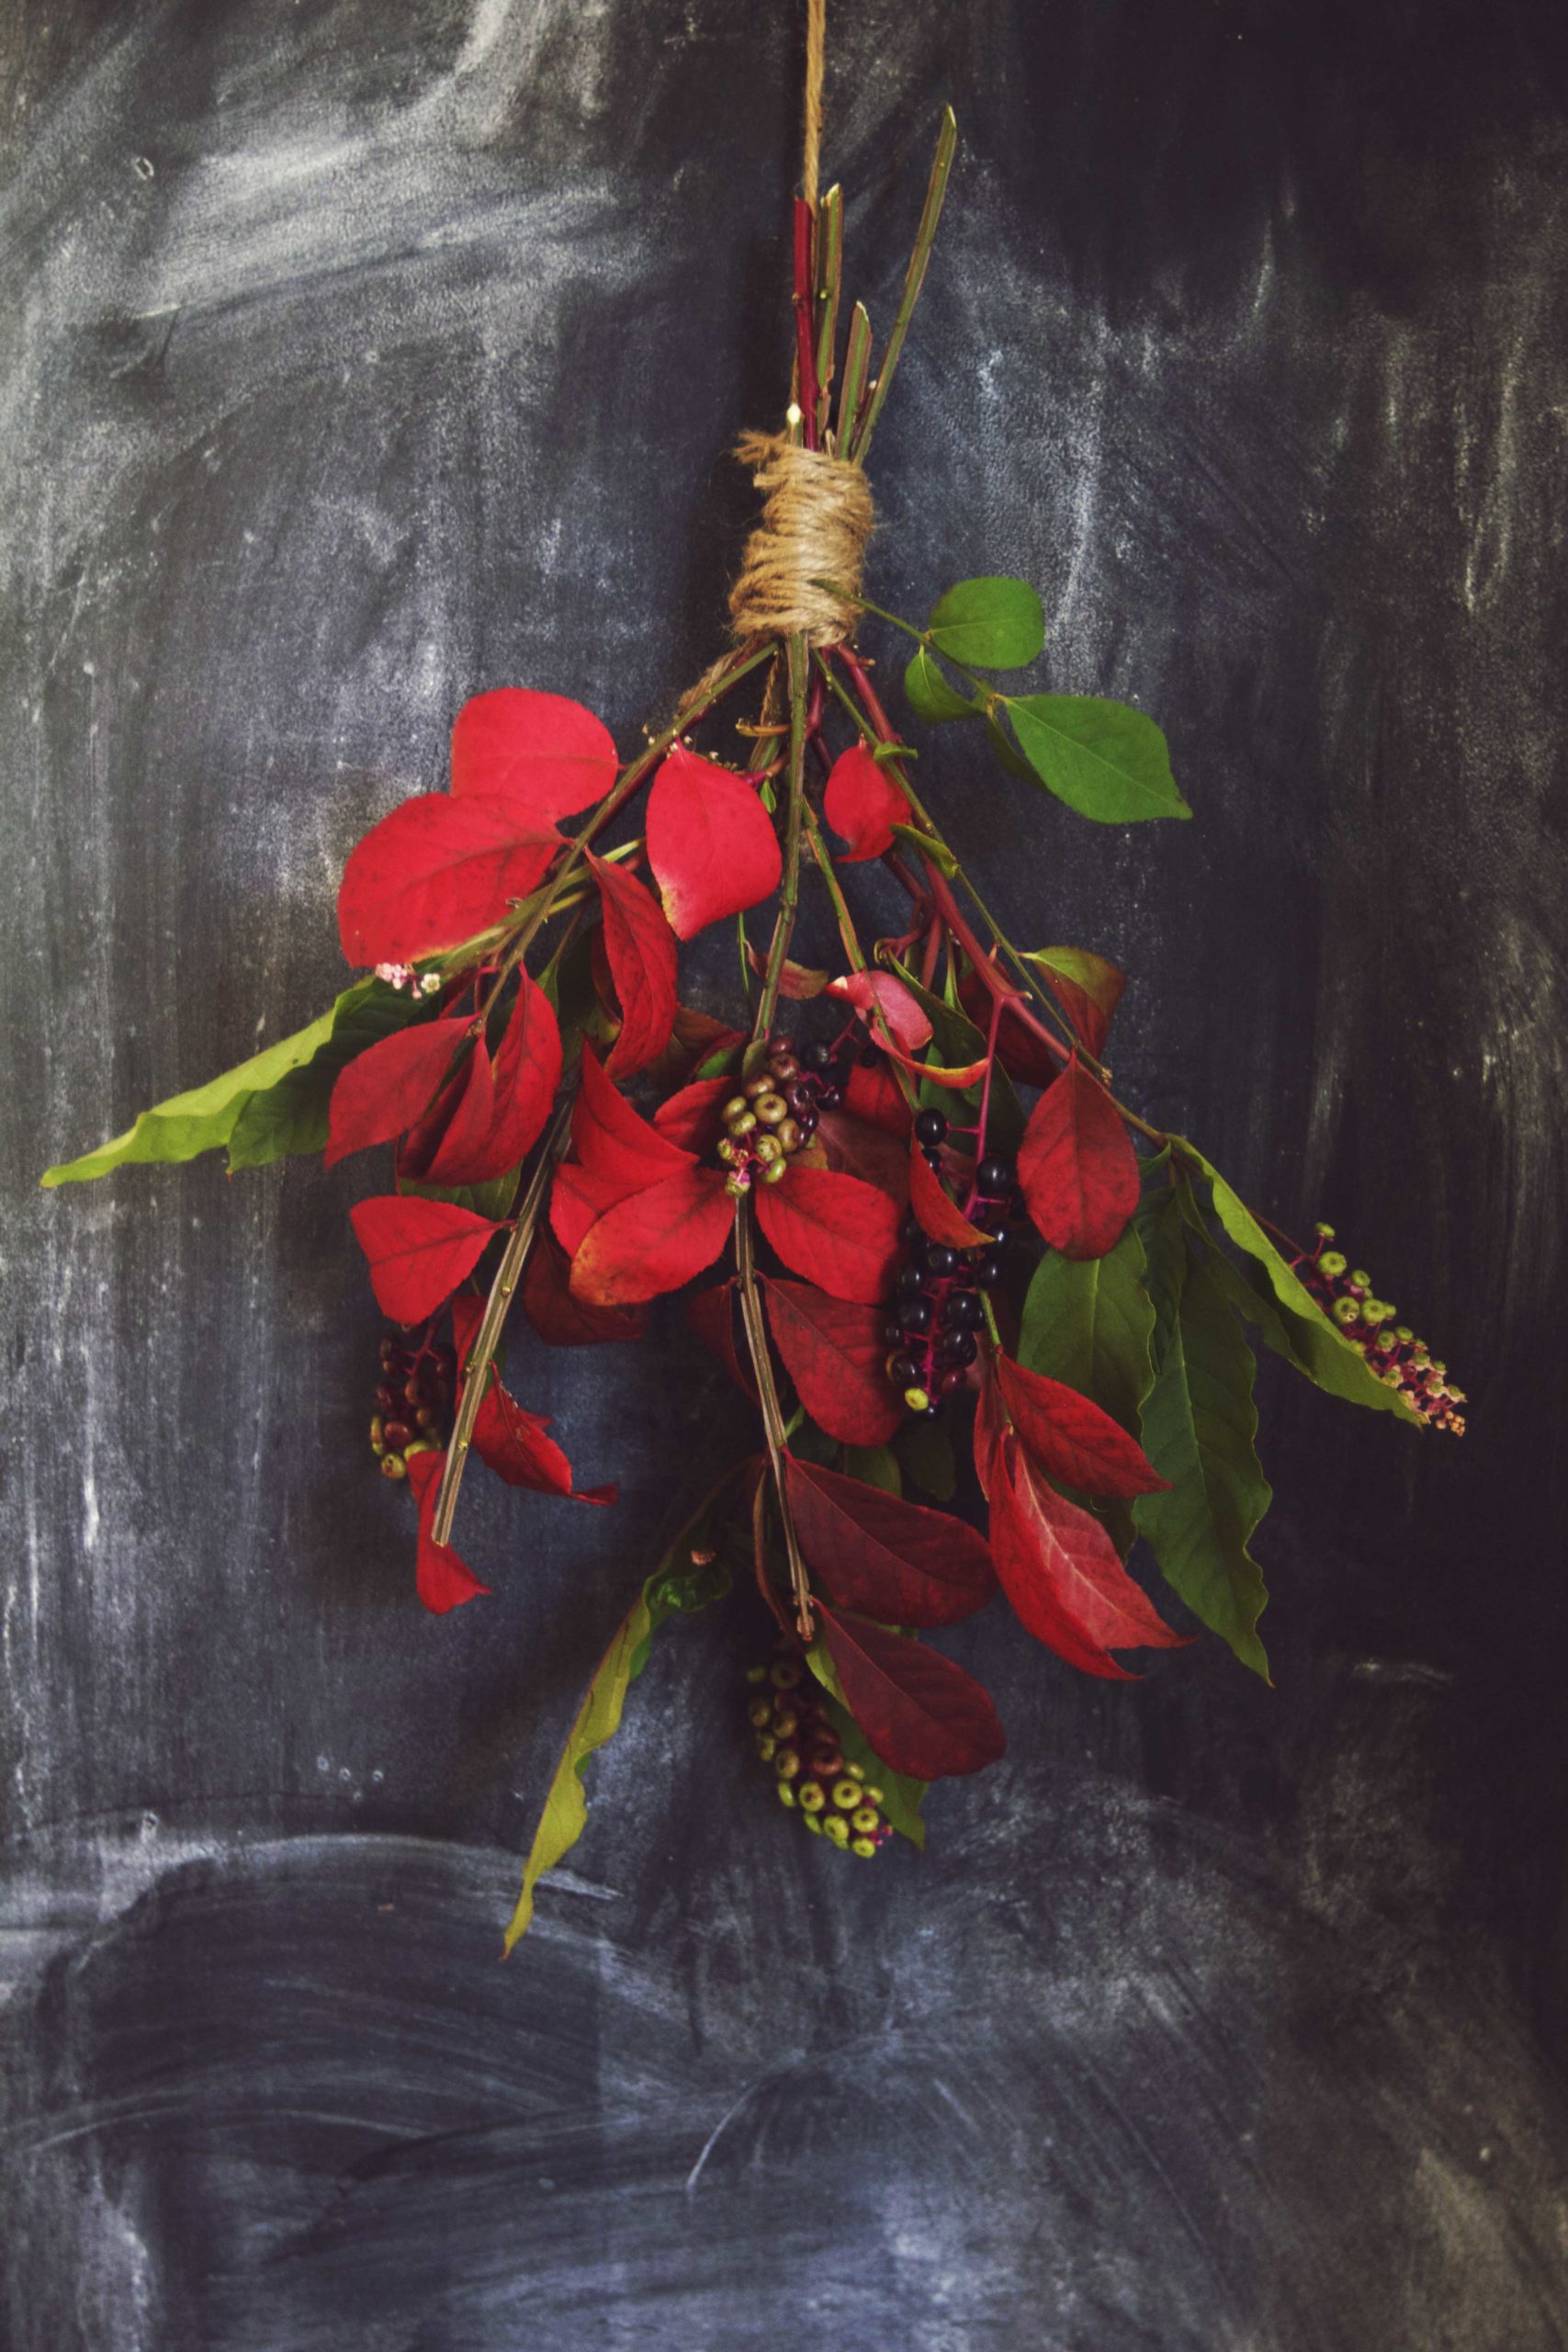
6. Bundle your branches together. Cut a LONG piece of twine, and use one end to tie a knot around the bundle. Wrap the other end up 1-2 inches around the stems, being careful to hide the first knot. When you reach the end of your twine, secure it to the wrapped portion with another knot and hide this in the back. Finally, cut a shorter piece of twine and use it to hang the arrangement upside-down from your nail or hook.
Be sure to check out all the other great ideas from my fellow DIYers over on Hometalk using the hashtag #GiveThanks!
We’re hosting our own Thanksgiving this year, and I’d love some more ideas on how to decorate our home for autumn. How do you like to decorate for fall? Any ideas for table settings? Leave a comment in the box below or by clicking the link at the top of the post. As always, I’d love to hear from you!


