How To Install Exterior Trim
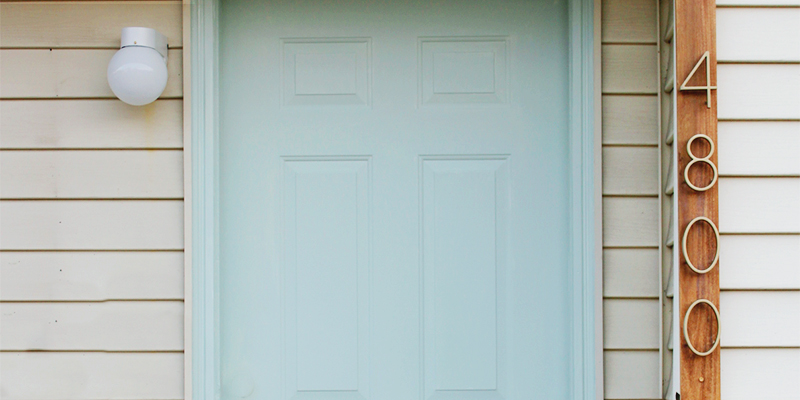
Sometimes during house projects, unexpected problems arise that have to be dealt with.
Okay, who am I kidding? That’s basically what’s happened to every house project since the beginning of time (any one who has remodeled knows this!). So…maybe cavemen didn’t stand there cursing their caveman contractor or the idiot who put the handprints on the wrong wall, but you get the idea.
As you may know, we’ve been working on increasing our curb appeal over the past few weeks. (Read about it here and here). We thought we’d take off the glass door, slap some paint on the one behind, swap out some fixtures and BAM! Dun-zo.
But of course, that was not to be the case. After removing the storm door, we found the wood trim had cracked and rotted. It was also ridiculously thick, so that without the storm door our front door looked like it was set back a good 8″. And that’s how we came to learn how to install exterior trim, and why I’m sharing this tutorial with you today.
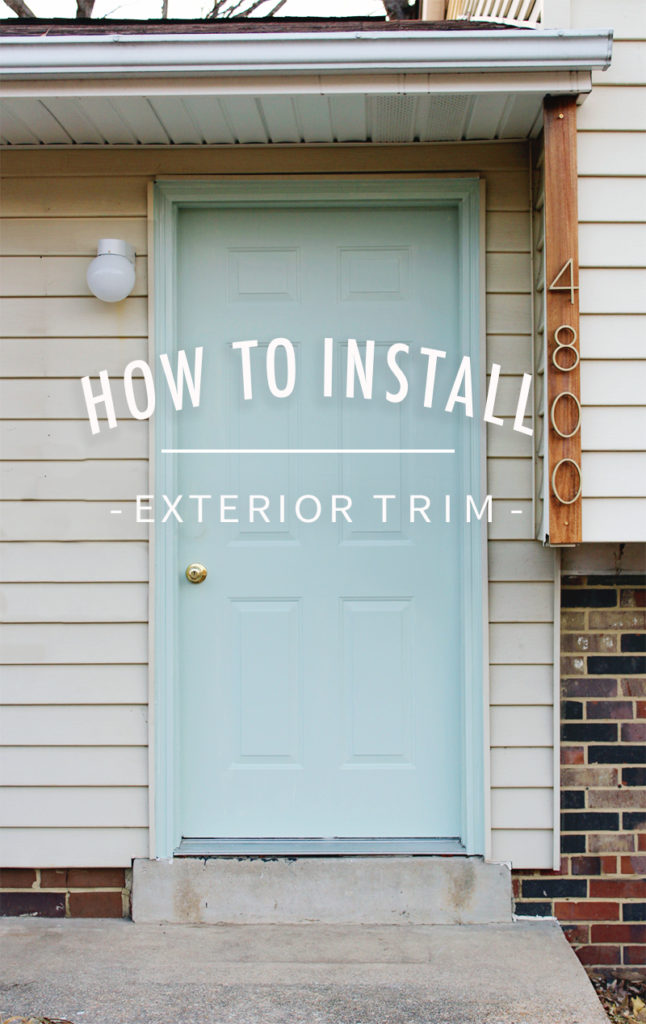
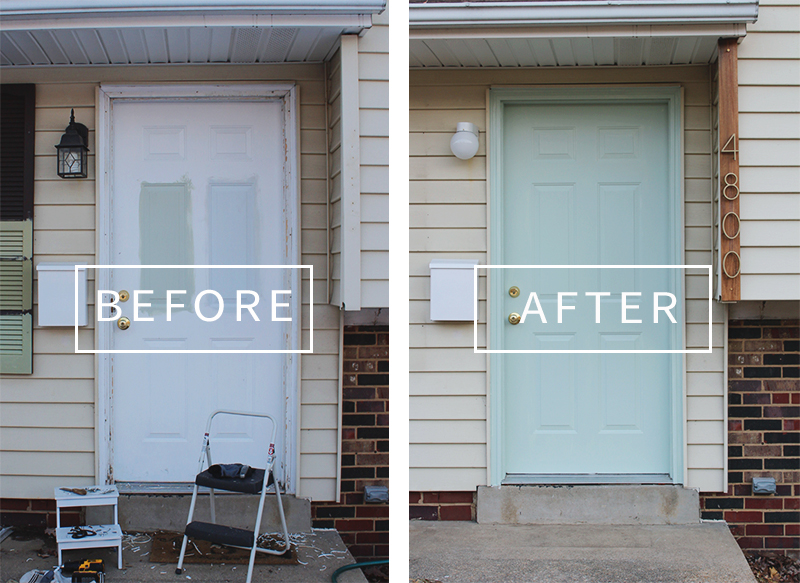
The silver lining? We mastered a new skill, and our front door looks a-mazing:
- X-acto knife
- Small crowbar
- Hammer
- PVC brick molding door kit
- Construction adhesive (make sure it’s PVC- & exterior-appropriate)
- #6 galvanized finishing nails (galvanized= resists rust)
- Miter saw (We didn’t have this and improvised. This is what you’re supposed to use…)
- Measuring tape
- Caulk
- Exterior paint
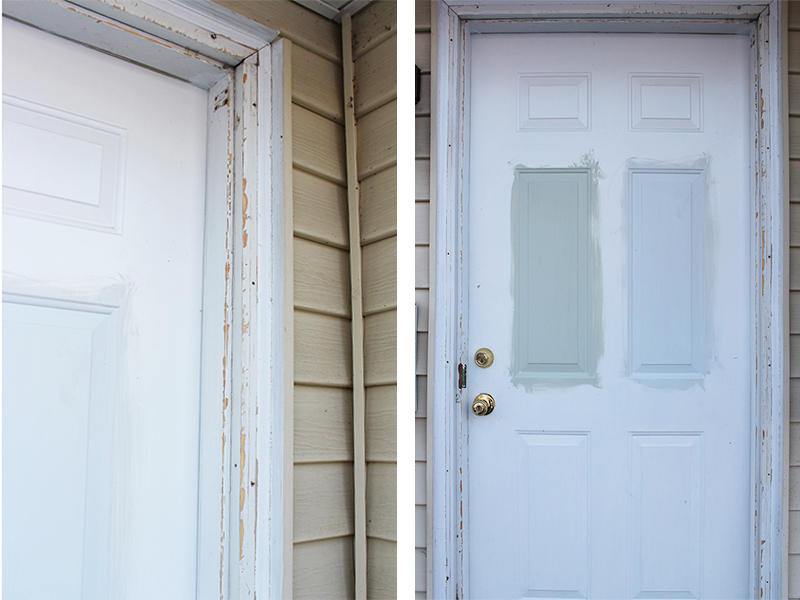 If you have a storm door, remove it. Either way, you’ll probably need the X-acto knife to cut through and scrape off any existing caulk on the old trim.
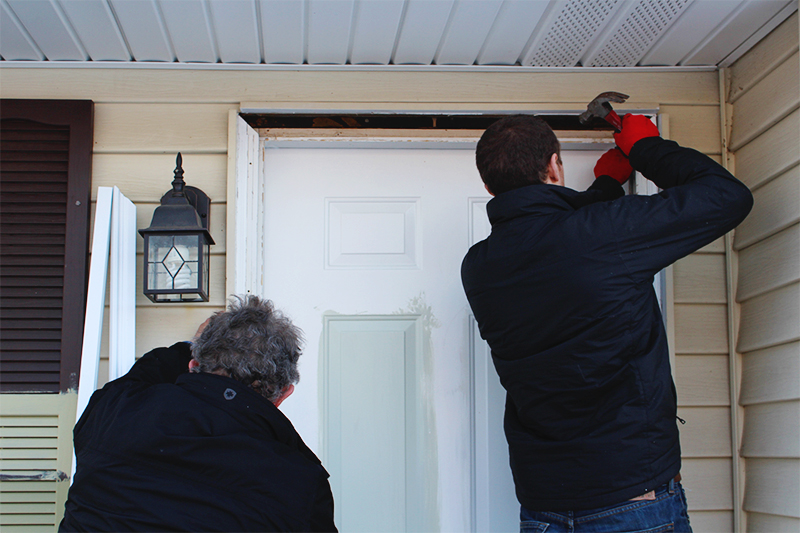 Once the old trim has been cut free from the house, use the crowbar and/or hammer to pry it off. I was fortunate that my future in-laws were visiting that weekend, and Austin’s dad loves a good project!
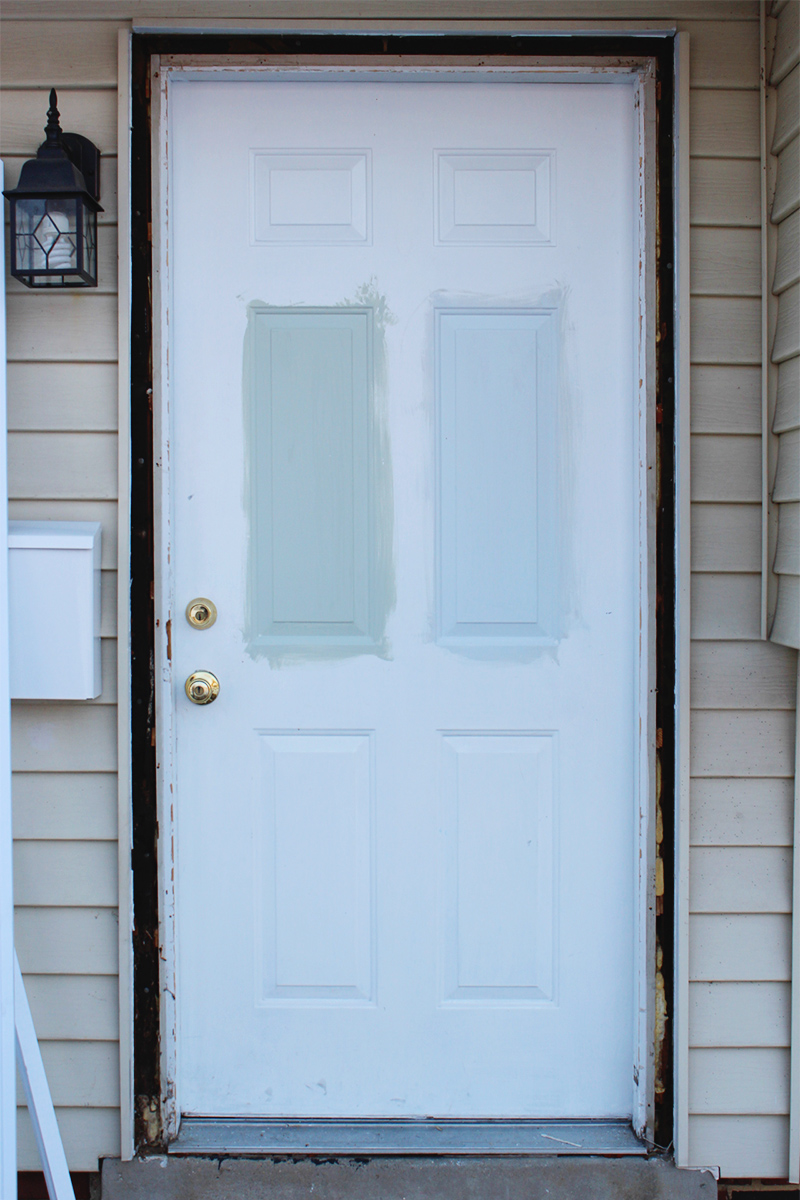
Our front door, existing trim removed.
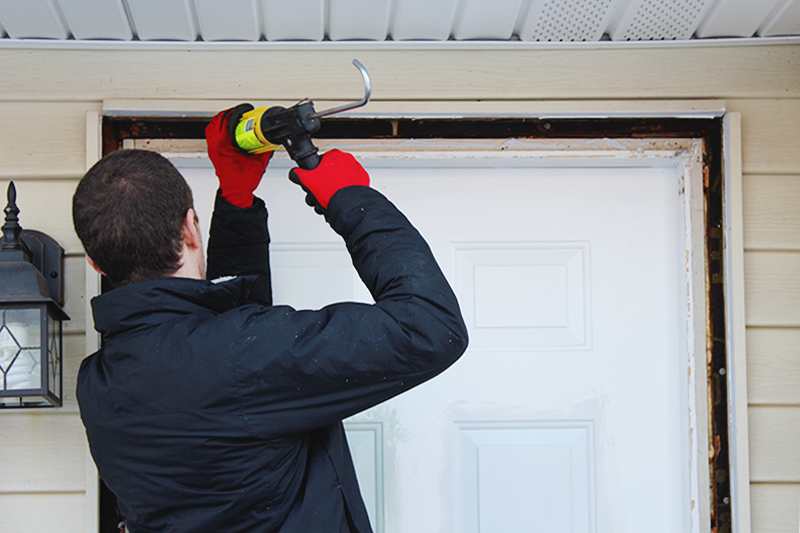 The nice thing about brick molding door kits is that the head casing (that’s the top piece) comes pre-mitered. So, just apply liquid nails to the frame…
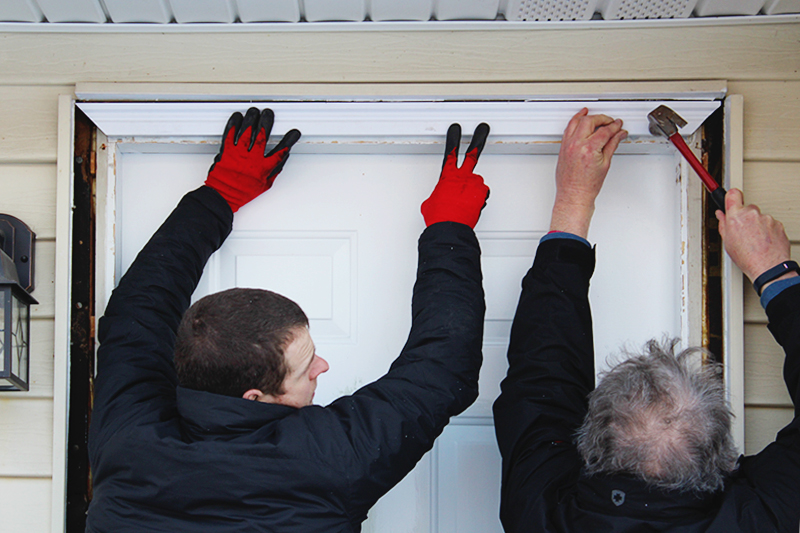 And press down the head casing, making sure it’s centered. Hammer 3-4 finishing nails, taking care to sink them.
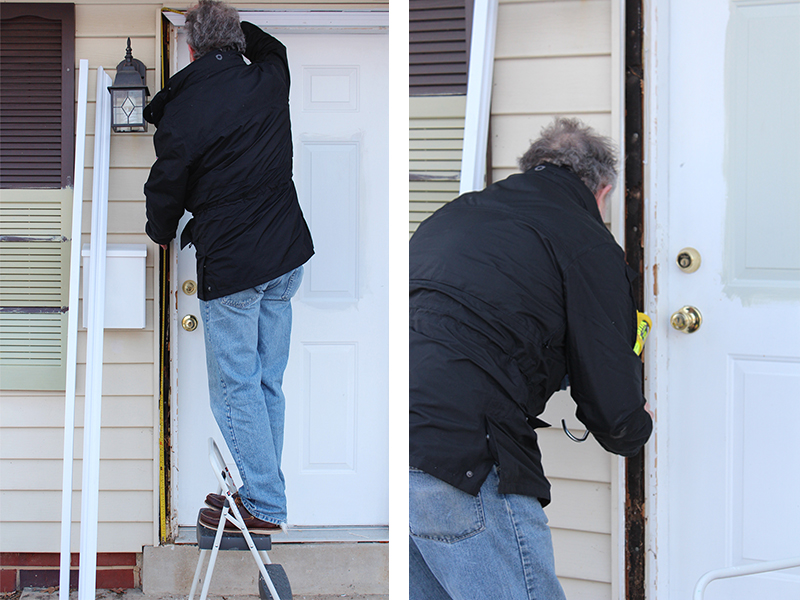 Next you’ll need to measure the length of the side casings, from the outermost corner of the head casing. Don’t assume the left casing measurement is equal to the right though — measure both! Mark these measurements on the two leftover PVC lengths from the kit.
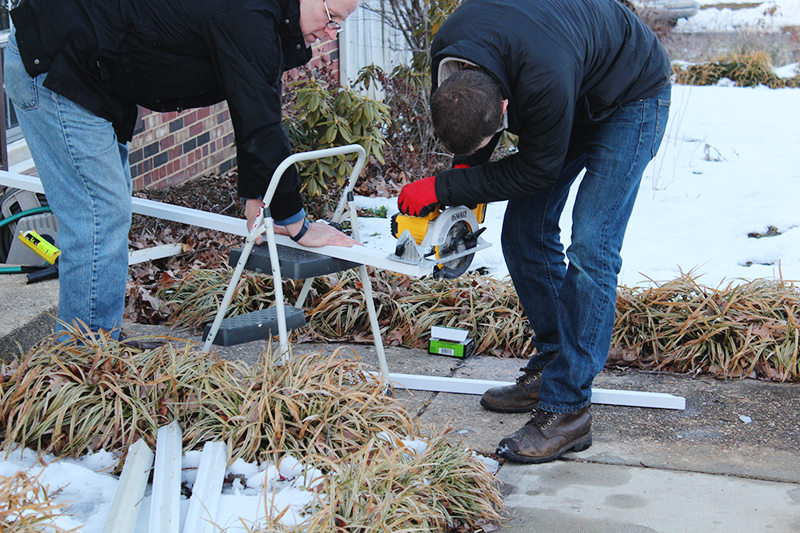
We didn’t have a miter saw. So we improvised.
Set the miter saw to 45 degrees right for the right casing, and 45 degrees left for the left casing. Cut the mitered edge first, then re-measure the correct length, and finally make a 90-degree cut at the other end.
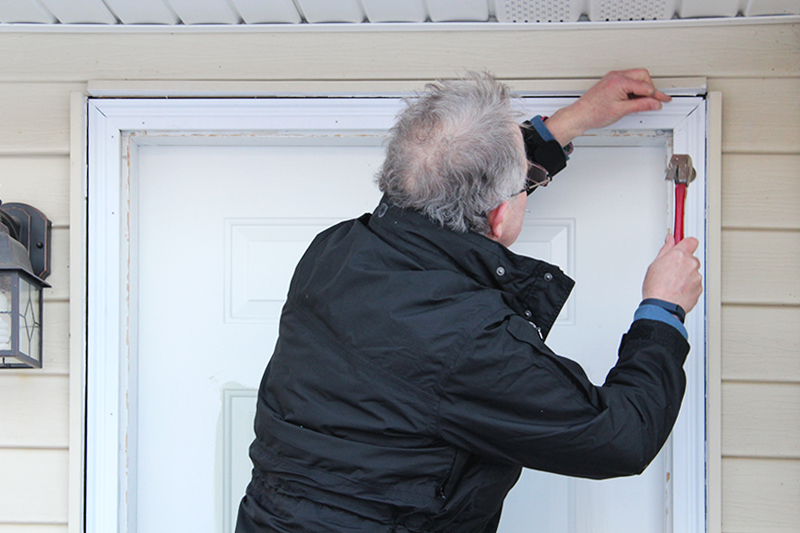 The next steps are the same as they were for the head casing. Apply the construction adhesive, hold the side casing in place, and hammer in finishing nails every 6-8 inches or so, and sink them with the hammer and another nail.
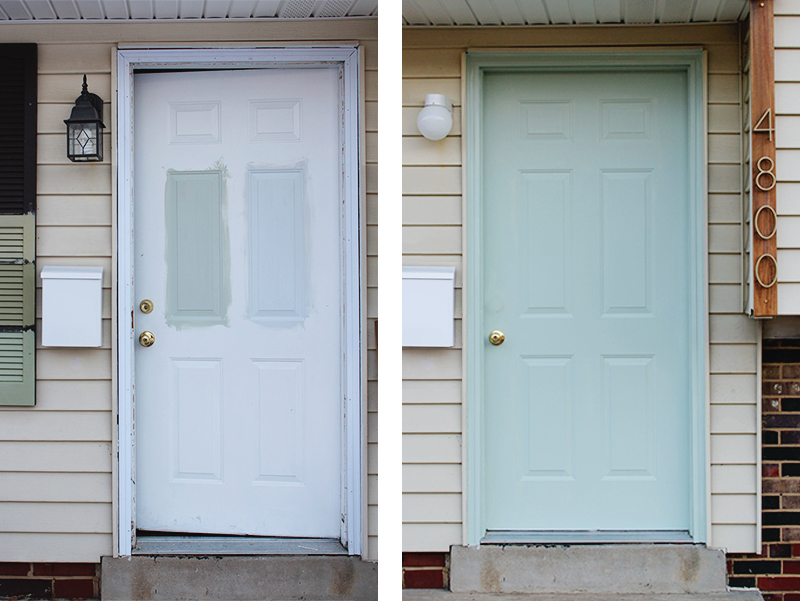 Fill the nail holes with caulk and wipe with a damp paper towel. Then, caulk the new trim to the house and door jamb, and fill the mitered edges. Wipe for a smooth, clean finish. Allow the caulk to fully dry before painting the trim.
What an improvement! You can see a few more updates we managed to make before winter reared its ugly head again, like that killer $17 light and those DIY house numbers (tutorial coming soon). We’re making progress, for sure, and I can’t wait to reveal the full curb appeal makeover next month!





Gilly @ Colour Saturated Life
| 21 March 2015It is looking beautiful Anna! I love the strip of wood with your house numbers, looks cute!
annabode
| 24 March 2015Thanks Gilly! That’s my favorite part 🙂
Kristen
| 21 March 2015That looks great! And I just love the color of your door – so fresh! And with the wood/house numbers – looks sooo good!
annabode
| 24 March 2015Thanks Kristen! It’s almost done, just need to paint the shutters and stoop. Cross your fingers it warms up (and stays warm!).
Ingrid
| 21 March 2015I also live in a split level (ugh) that has the EXACT same shade of pale yellow vinyl siding. I even have the same style of brick wrapped around the base of our exterior. I have been trying to brainstorm for months what color I could paint the shutters, door and garage to update the look of the exterior but not clash too much with the existing siding. One day I’ll paint the whole place, but not yet. I can’t wait to see photos of your finished place for some inspiration! Love the door color!
annabode
| 24 March 2015Haha I think we feel the same about our houses :). We’ve just picked the shutter color so as soon as it gets a bit warmer, we’ll paint them all and then I’ll have a big reveal post! Our landscaping is a whole other story…
Stella Lee @purfylle
| 24 March 2015This looks awesome! I despair of us ever getting our house sorted – it’s an endless list of things going wrong. Thanks so much for linking up at Two Uses Tuesday!
http://purfylle.blogspot.com/2015/03/two-uses-tuesday-link-up-21.html
annabode
| 24 March 2015Thanks Stella Lee! I know how you feel, the joys of being homeowner :). We just got a fixer-upper so my list is going to multiply x1000!